Here are simple instructions on how to render using 3Delight Cloud with the following listed applications below. In each case, you have to be signed in to your account using 3Delight Display for cloud rendering to work(using 3Delight Display as shown in Introduction - Step 1).

In Maya

→ Select "3Delight Cloud" in Maya's Render Settings dialog.
→ Render as usual in the Maya's render view or in 3Delight Display.
Using Maya's
Render commandRender command line
→ Specify "-r 3DelightCloud" (instead of "-r 3Delight") on the Render command line.

In Katana

→ Select the option "use3DelightCloud" in the Preferences.
→ Render as usual in the Katana Monitor or in 3Delight Display..

In Houdini
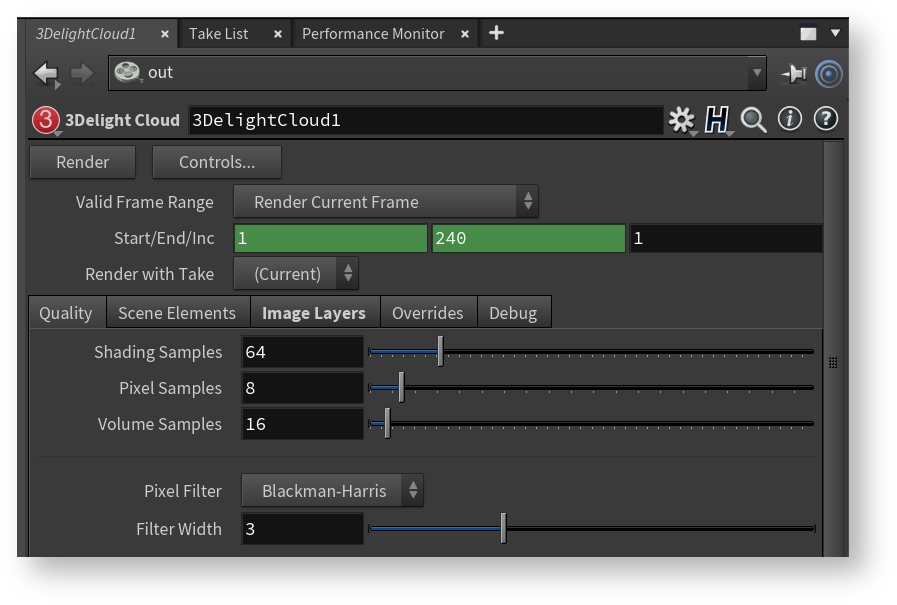
→ Simply create a 3Delight Cloud ROP to render on the cloud.

In Cinema 4D
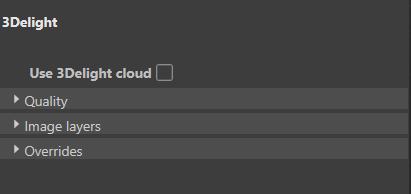
→ Select the option "Use 3Delight Cloud" in 3Delights Render Settings.
→ Render as usual in Cinema 4D's render view or in 3Delight Display,


Using 3Delight's renderdl command
line| Code Block |
|---|
renderdl -cloud file.nsi |
→ Specify Simply specify the option "-cloud" on the the usual renderdl command line. For rendering multiple NSI files, several filenames can be specified on the command line, with or without wildcard, such as:
| Code Block |
|---|
renderdl -cloud f1.nsi f2.nsi frame.*.nsi |