Texture Optimization
The optimization process consist of creating a mipmap version of a source image that can be used efficiently as a texture during rendering. This process is important as non-optimized textures (without mipmap) can slowdown rendering significantly.
Automatic Optimization
During rendering, whenever 3Delight encounters a non-optimized texture, it will create an optimized copy automatically. The optimized texture will be saved at the same location and will have the same base name as the associated non-optimized texture, but with a .tdl extension added. This process will skip any texture that have the .tdl substring in the file name (e.g. texname.tdl.tif and texname.tif.tdl) as they will be considered as already optimized. Note that 3Delight also detects if a source texture has changed since the optimized copy and will automatically re-optimize it.
For the automatic optimization to work in the context of teamwork, the directory or directories where the textures are located must have write permission not only to oneself, but also to other users (so the optimization process works for them if needed while rendering).
The non-optimized texture files themselves do not need to have write permissions as 3Delight only access them for reading and never modifies them.
When using 3Delight Cloud, the optimization process does not create additional files. Everything is performed in the cloud.
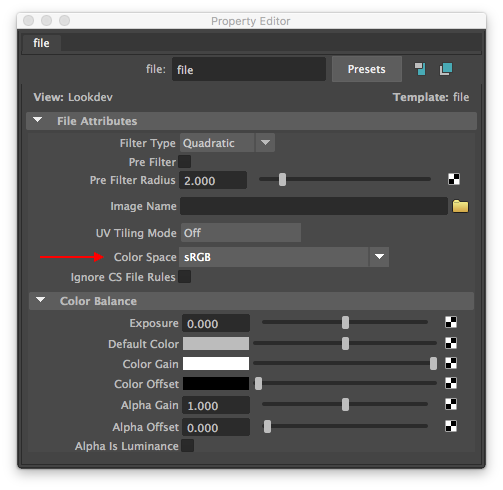
The texture optimization process takes care of using the proper color space assigned to the texture. Color space assignment depends on the source of the texture:
| Source | |
|---|---|
| Maya | Renders started directly from Maya, or from NSI files generated by Maya, will use the Color Space that is used in the File shading node of the source texture.
|
| Katana | Floating point textures (including 16 bit halfs) are considered as linear, everything else as sRGB. This is also the case for NSI files generated by Katana. |
| NSI file | NSI files generated by any other means (other than our Maya and Katana 3Delight plug-ins) can also take advantage of automatic texture conversion. To do so, there should be a special attribute accompanying every string value that points to a texture file. Here is a simple NSI example: Create "example" "shader" SetAttribute "example" "shaderfilename" "string" 1 "file" "textureName.meta.colorspace" "string" 1 "linear" "textureName" "string" 1 "sometexture.tif" The |
Manual Optimization
You may consider optimizing textures manually using the tdlmake tool for these reasons:
- You want to pass additional options to tdlmake for a custom preparation (e.g. type of filtering or output data type).
- The automatic color space conversion for Katana is not satisfactory and a more fine tuned approach is needed.
- Save storage space as 3Delight will create a separate texture file for the optimized version. (However, when using the automatic approach, you can manually remove the original non-optimized texture when the optimized version has been done).
Another consideration is if you don't like the delay that will occur at the start of a render the first time one or more textures are used. And instead you prefer handling that one time optimization process manually and on your own term.
The Network Cache
3Delight has a unique feature that improves performance when rendering over networked environments: the renderer can cache textures that are located on the network to the local drive of the machine doing the rendering. This provides two benefits that can be significant:
- Faster access to textures during rendering, especially if the local drive is an SSD.
- Reduced network traffic, which can become seriously clogged when several computers are accessing textures simultaneously while rendering.
The network cache content is updated automatically: when texture files are modified on the file server, the local (cached) copies will be automatically updated the first time they are needed for a rendering. If there is no more space in the cache, copied textures are removed to make space for incoming textures by following the Least Recently Used (LRU) principle.
By default, the Network Cache in not active. We recommend you turn it on. You only need to specify its maximum size (we recommend at least 50GB). This is done through the 3delight.config configuration file.
The only inconvenience is an initial delay before you start to see the image on the first render (because the first time the cache needs to be filled). The amount of delay will depend on how many textures are used in that particular image. Note that if you use only one computer, and all the textures are on a local drive of that computer, enabling the Network Cache won't have any effect.
Add Comment