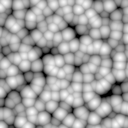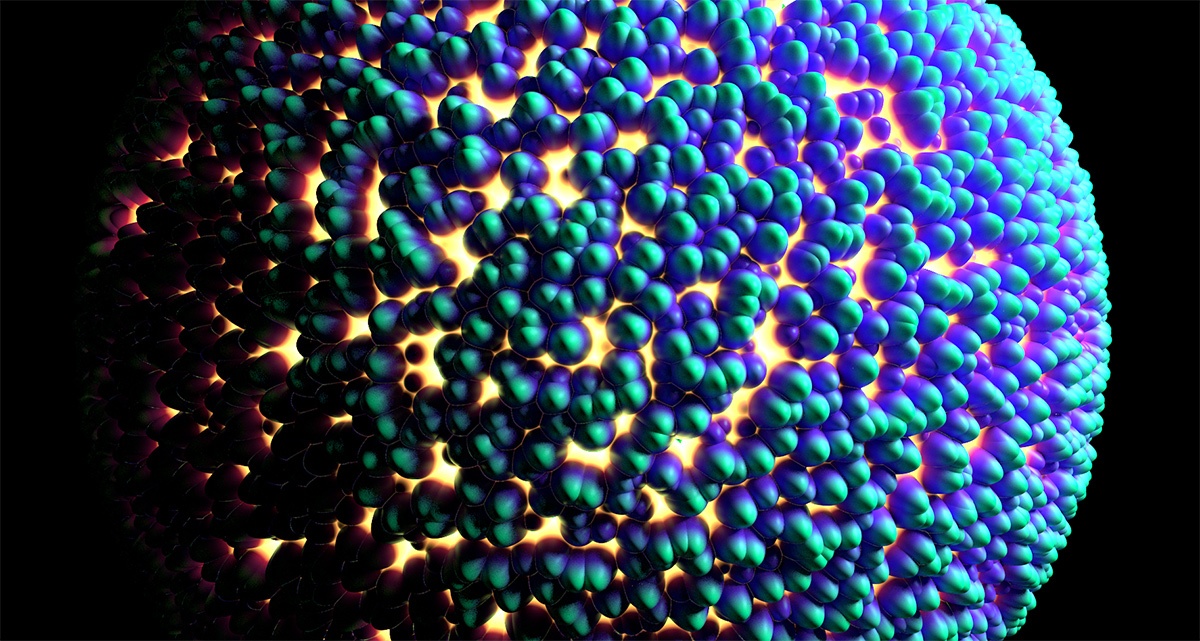
Sample Render using the custom Voronoi 3D Texture Node.
The following package contains all the material described in this tutorial: Custom_Hypershade_Nodes.tar.xz.
| Section | ||||||||||||||||||||||
|---|---|---|---|---|---|---|---|---|---|---|---|---|---|---|---|---|---|---|---|---|---|---|
|
Main Components
To create a single node only compiled OSL shader is needed. Optionally, it is possible to add icons to have a better visual representation of the node inside Hyerpshade and the Outliner.
The following table shows where each component should be installed for a Maya 2015 package.
| Component | Installation Environment Variable | Default Location |
|---|---|---|
| Compiled OSL shader path | _3DFM_USER_OSL_PATH | user-defined |
| Icons | XBMLANGPATH | C:\Program Files\3Delight\maya\2015\icons |
Creating a Custom 2D Texture Node
After correctly providing the compiled OSL shader path, you will be able to render using the new texture as with any other Maya 2D Texture. A place2dTexture node is automatically created and connected if the shader has attributes uv and uvFilterSize.
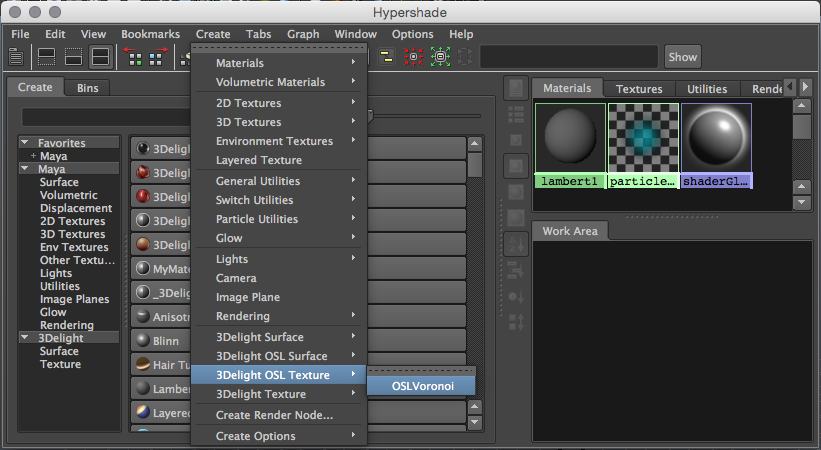
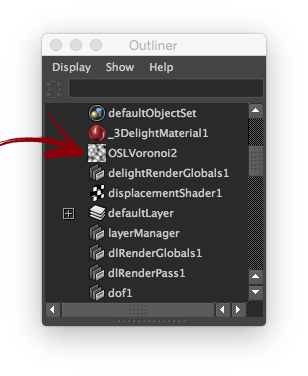
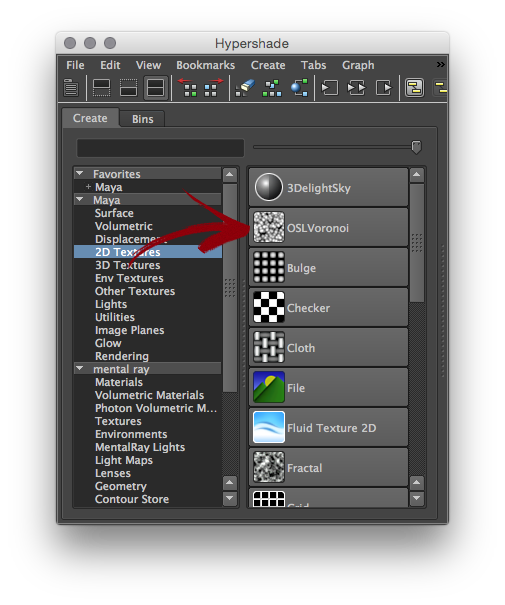
The Voronoi node viewed in the Create menu of the HyperShade
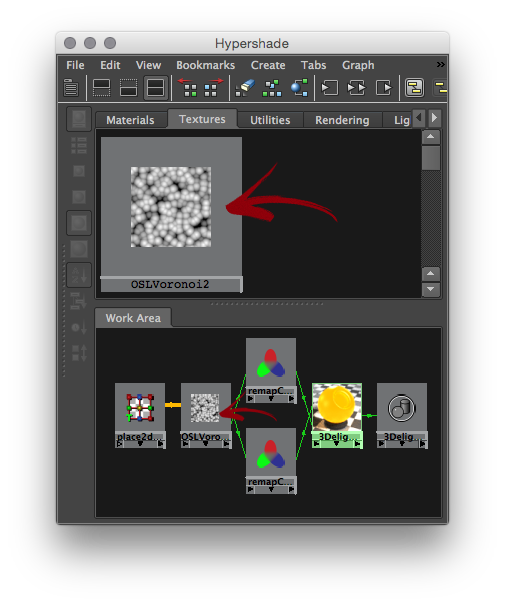
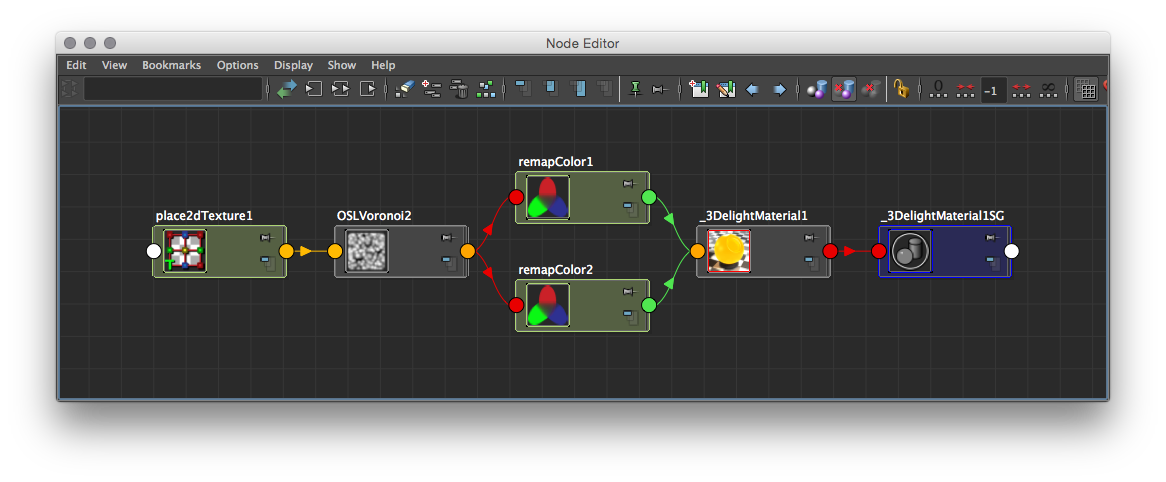 The Voronoi node viewed in the Node Editor. The
 place2dTexture node is automatically created and connected.
 Voronoi noise connected to the 3Delight Material.
The OSL Source Code
The Voronoi texture looks like a standard Open Shading Language surface shader but with some optional annotation:
string maya_type
Specifies the shading node classification or the attribute type.
Shading Node classification
To define the shading node classification, this annotation mus be provided right after the shader name and before the shader parameter list. For instance:
surface OSLVoronoi [[ string maya_type = "texture" ]] ( ... )
The classification affects where the node is presented in the Hypershade tree lister and menus. Some classification types will change the node creation mechanism to automatically create and connect related nodes - for instance, creating a surface shader will also create and connect a shading group.
The currently supported types are:
texture
The shading node will be classified as a texture node. The node will be classified as a 2D texture node, for which Maya automatically create and connect a place2DTexture node, if:
- it contains a
float[2]parameter that has thestring maya_name = "uv"annotation, and - it contains a
float[2]parameter that has thestring maya_name = "uvFilter"annotation.
- it contains a
lens
The shading node will be classified as a lens shader. Lens shaders can be connected to a camera's lens shader 3Delight extension attribute.
surface
The shading node will be classified as a surface shader. It will be connected to a shading group upon creation.
Attribute type
When this is provided right after the shader name, specifies how to display the attribute in the attribute editor. For now, only "bool" is supported to display an integer parameter as a checkbox.
string maya_name
Specifies the script name of the attribute in Maya.
string maya_label
Specifies the display name of the attribute in the Attribute Editor.
string maya_group
Specifies the name of the group in the Attribute Editor.
float maya_min
Sets the soft minimum value for this attribute.
float maya_max
Sets the soft maximum value for this attribute.
int maya_hidden
If 1, the attribute is hidden and not appears in the Attribute Editor.
The source code for our voronoi texture follows. To use it as Maya HyperShade node, the shader should be compiled using oslc utility from the 3Delight Studio Pro package (or the standard OSL distribution).
| Code Block | ||||||||
|---|---|---|---|---|---|---|---|---|
| ||||||||
#include "texture3d.h"
#include "utils.h"
surface OSLVoronoi [[ string maya_type = "texture" ]] (
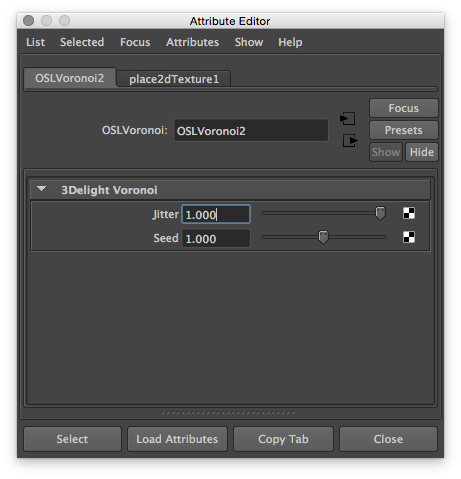
float i_jitter = 1.0 [[
string maya_name = "jitter",
string maya_label = "Jitter",
float maya_min = 0.0,
float maya_max = 1.0,
string maya_group = "3Delight Voronoi" ]],
float i_seed = 1.0 [[
string maya_name = "seed",
string maya_label = "Seed",
float maya_min = 0.0,
float maya_max = 2.0,
string maya_group = "3Delight Voronoi" ]],
float i_uvCoord[2] = {GetS(), GetT()} [[
string maya_name = "uv",
int maya_hidden = 1,
int skip_init = 1 ]],
float i_uvFilterSize[2] = {0, 0} [[
string maya_name = "uvFilterSize",
int maya_hidden = 1,
int skip_init = 1 ]],
output color outColor = 0.0 [[
int maya_hidden = 1 ]],
output float outDistance = 0.0 [[
int maya_hidden = 1 ]] )
{
float edgeDist;
float outside;
point pp = point(i_uvCoord[0], i_uvCoord[1], i_seed);
point position;
point thiscell = point( floor(pp[0])+.5, floor(pp[1])+.5, floor(pp[2])+.5);
float f1 = 1000;
for (int i = -1; i <= 1; i += 1)
{
for (int j = -1; j <= 1; j += 1)
{
for (int k = -1; k <= 1; k += 1)
{
point testcell = thiscell + vector(i,j,k);
point pos = testcell + i_jitter * ((vector)cellnoise(testcell) - 0.5);
vector offset = pos - pp;
float dist = dot(offset, offset); /* actually dist^2 */
if (dist < f1)
{
f1 = dist;
position = pos;
}
}
}
}
outDistance = sqrt(1 - f1);
outColor = outDistance;
} |
Adding Icons for the Outliner and Hypershade
You can add icons to both the Outliner and Hypershade (this applies to both texture nodes and shader nodes). The table below details the convention for creating the icons for our Voronoi Noise.
Outliner
| HyperShade - Node Lister
| HyperShade - Work Area
| |
|---|---|---|---|
| Icon Resolution | 20 x 20 pixels | 32 x 32 pixels | 128 x 128 pixels (up to 512 x 512 pixels) |
| Format | Transparent 24 bits PNG | Transparent 24 bits PNG | Transparent 24 bits PNG |
| Naming Convention | "out_" + <node_type> + ".png" | "render_" + <node_type> + ".png" | <node_type> + ".png" |
| Example |
|
Note the transparent corners of the icon matching Maya |
|