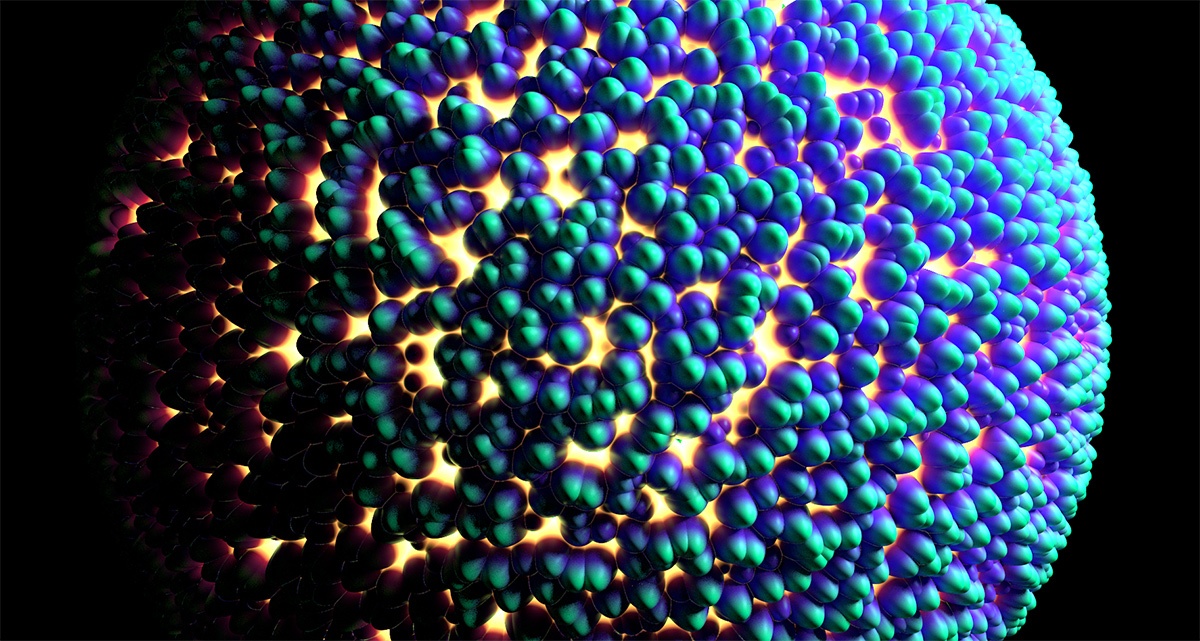
Sample Render using the custom Voronoi 3D Texture Node.
The following package contains all the material described in this tutorial: Custom_Hypershade_Nodes.zip.
| Section | |||||||||||||||||||
|---|---|---|---|---|---|---|---|---|---|---|---|---|---|---|---|---|---|---|---|
|
Main Components
|
Using the example package
Download and decompress Custom_Hypershade_Nodes.zip. To use the package files, you can either copy them to specific locations of your 3Delight installation, or define environment variables to indicate their locations.
Copying example files to your 3Delight installation
- Copy the
customShadingNodesdirectory itself into themayafolder of your 3Delight installation - for instance, place the directory copy intoC:\Program Files\3Delight\maya\on a default Windows installation of 3Delight Studio Pro, so to have it inC:\Program Files\3Delight\maya\customShadingNodes - Optional - copy the files from the icons directory into the icons folder of your 3Delight installation. Make sure to choose the subdirectory that corresponds to the Maya version you are using. For instance, on a default Windows installation of 3Delight Studio Pro, for Maya 2015, the correct destination location is
C:\Program Files\3Delight\maya\2015\icons.
Or, defining environment variables
The XBMLANGPATH definition is optional. On Linux, paths set in XBMLANGPATH must end with /%B .
| Environment Variable | Value |
|---|---|
_3DFM_USER_OSL_PATH | Path to the customShadingNodes directory of the downloaded package. |
XBMLANGPATH | Path to the icons directory of the downloaded package. |
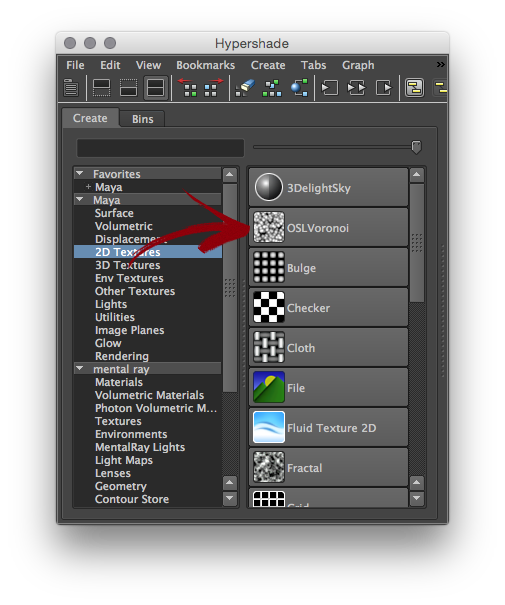
Lauch Maya and go to the Hypershade editor. The OSLVoronoi node should appear listed under 3Delight → Texture in the Create tab, and under 3Delight OSL Texture in the Create menu. Note that the Maya script editor will report the creation of the new OSL nodes.
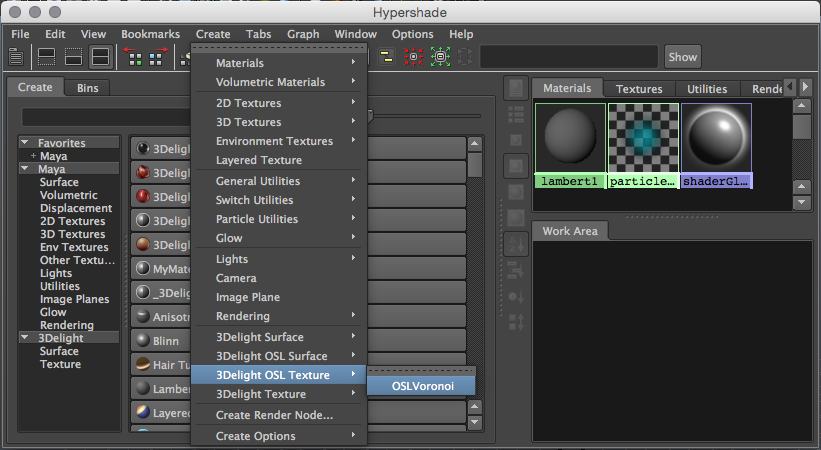
The Voronoi node viewed in the Create menu of the HyperShade
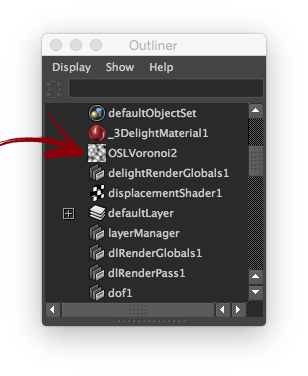
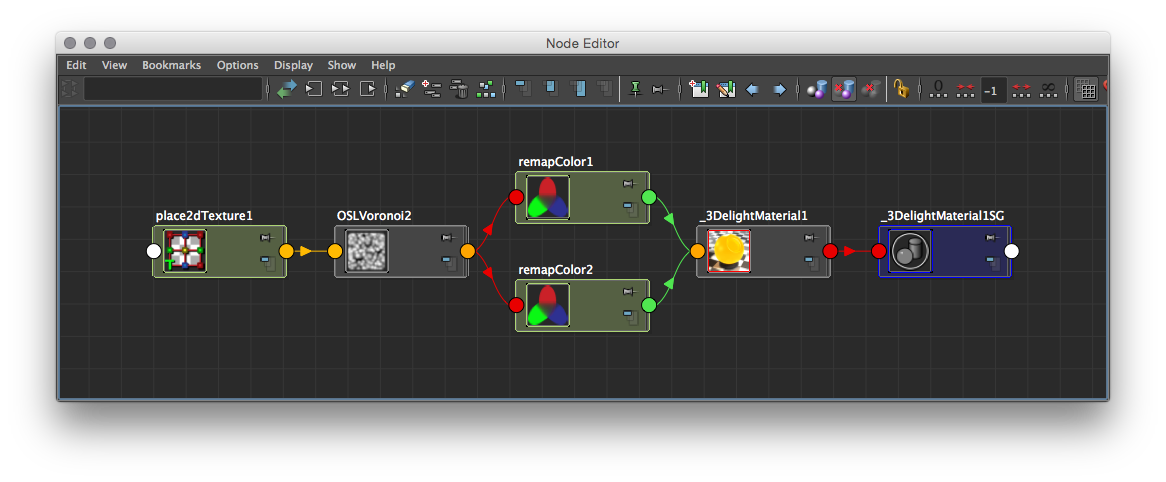 The Voronoi node viewed in the Node Editor. The
 place2dTexture node is automatically created and connected.
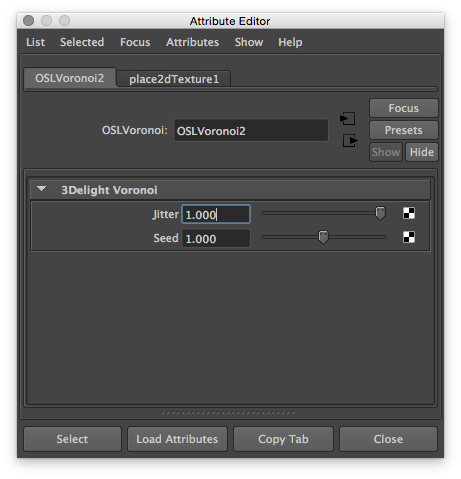 Voronoi noise connected to the 3Delight Material.
Components of a custom shading node
There is only one required component to define a custom shading node: a compiled OSL shaderTo create a single node only OSL shader is needed. Optionally, it is possible to add icons to have a better visual representation of the node inside Hyerpshade inside the Hypershade and the Outliner.
Components location
The following table shows where each component should be installed for a Maya 2015 packagethe default location where 3Delight for Maya will look for components, and the environment variable that allows you to specify another location for them.
| Component |
|---|
| Environment Variable | Default Location |
|---|---|
| Compiled OSL |
| shaders | _3DFM_USER_OSL_PATH |
C:\Program Files\3Delight\maya\customShadingNodes | ||
| Icons | XBMLANGPATH | C:\Program Files\3Delight\maya\2015\icons |
Creating a Custom 3D Texture Node
After correctly providing the compiled OSL shader path, you will be able to render using the new texture as with any other Maya 3D Texture.
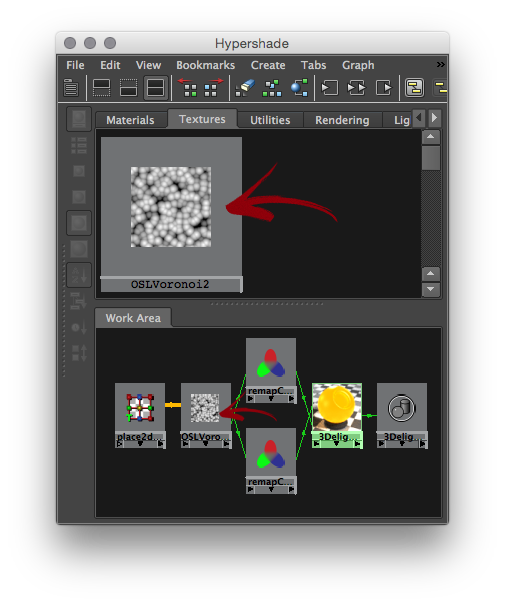
The Voronoi node viewed in the Node Editor. Note how
place3dTexture node is automatically supported.
Voronoi noise connected to the 3Delight Material.
The OSL Source Code
The Voronoi texture looks like a standard Open Shading Language function but with some optional metadata:
The source code for our voronoi texture follows| (varies according to the Maya version being used) |
The compiled shader
This is a standard Open Shading Language surface shader, complied with oslc (provided with the 3Delight Studio Pro package). The shader source code can be annotated to provide indications to 3Delight for Maya about the Maya shading node classification and its appearance in the Attribute Editor.
| Warning | |||||
|---|---|---|---|---|---|
While annotations are optional, it is highly recommended to provide the shader annotation that specifies the type ID.
|
| Expand | |||||||||||||
|---|---|---|---|---|---|---|---|---|---|---|---|---|---|
| |||||||||||||
Annotations in the OSL source codeThe annotations are defined between double square brackets. Multiple, comma-separated annotations, can be used in one set of double square brackets. Shader annotationThis annotation is provided between the shader name and its parameter list. For instance:
The supported shader annotations are:
Specifies the type ID used for the node registration. This is a integer that Maya uses to identify the node type, most notably when saving a scene in the Maya Binary format. Each OSL shader that defines a given shading node type should be assigned a unique type ID. You can chose a value between The IDs from You may use any ID between string maya_type Specifies the Maya shading node classification. The classification affects where the node is presented in the Hypershade tree lister and menus. Some classification types will also change the node creation mechanism to automatically create and connect related nodes - for instance, creating a surface shader will also create and connect a shading group. The currently supported types are:
The shading node will be classified as a texture node. The node will be classified as a 2D texture node, for which Maya automatically create and connect a place2DTexture node, if:
The shading node will be classified as a lens shader. Lens shaders can be connected to a camera's lens shader 3Delight extension attribute. surface The shading node will be classified as a surface shader. It will be connected to a shading group upon creation. Parameter AnnotationsParameter annotations are provided between a parameter's default value and the comma that ends its declaration. For instance:
The supported parameter annotations are:
Specifies the type of the Maya attribute related to the shader parameter. For now, only
Specifies the name of the Maya attribute related to the shader parameter.
Specifies the label to use for the Maya attribute in the various Maya editors (Attribute Editor, Node Editor, Channel Box, etc.). string maya_group Specifies the label of a Frame Layout into which the Maya attribute will be displayed in the Attribute Editor.
Specifies the soft minimum value for the Maya attribute attribute related to the shader parameter.
Specifies the soft maximum value for the Maya attribute attribute related to the shader parameter.
When set to 1, the Maya attribute will not be shown in the Attribute Editor. It will still be visible in the other Maya editors (Node Editor, Channel Box, etc.). Annotated OSL shader example#include "texture3d.h" #include "utils.h" surface OSLVoronoi
| |||||||||||||
| collapse | true |
|
|
Anchor icons icons
The icons
| icons | |
| icons |
You can add icons to both the Outliner and Hypershade (this applies to both texture nodes and shader nodes). The table below details the convention for creating the icons for our Voronoi Noise.
Outliner |
|---|
| HyperShade - Node Lister |
|---|
| HyperShade - Work Area |
|---|
| |||
|---|---|---|---|
| Icon Resolution | 20 x 20 pixels | 32 x 32 pixels | 128 x 128 pixels (up to 512 x 512 pixels) |
| Format | Transparent 24 bits PNG | Transparent 24 bits PNG | Transparent 24 bits PNG |
| Naming Convention | "out_" + <node_type> + ".png" | "render_" + <node_type> + ".png" | <node_type> + ".png" |
| Example |


2D Texture nodes. |