...
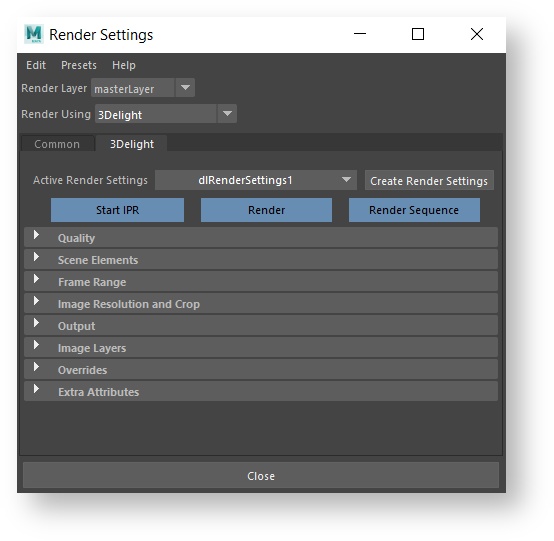
The 3Delight rendering options are accessible in Maya’s Render Settings window once ‘3Delight’ is set as the current renderer. This is done by selecting ‘3Delight’ in the Render Using option menu.
The 3Delight tab in Maya's Render Settings window
The Five Categories of Rendering Attributes
All the rendering options are stored as attributes and are grouped into the five categories; here is an overview of the purpose of each category:
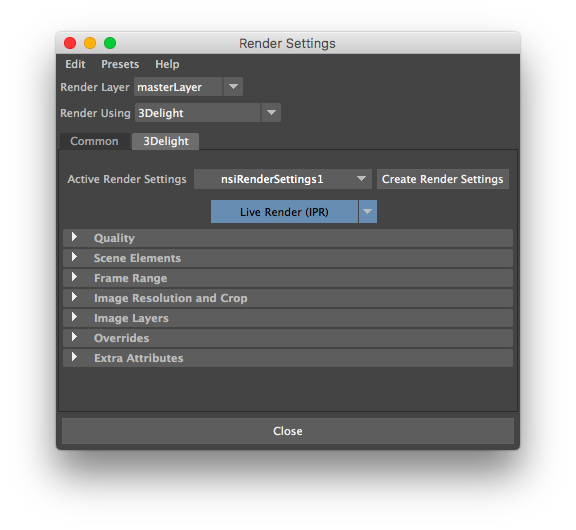
The 3Delight tab in the Maya Render Settings window
The options defining the objects to render, rendering quality and image layers to produce are all contained as attributes of 3Delight Render Settings nodes. Since they are regular Maya nodes, it is possible to define multiple Render Settings in a scene and quickly switch between them; they can also be selected, shown and renamed in the Attribute Editor, and deleted just like any other Maya node.
It is of course possible to use a single Render Settings and edit it through the Maya Render Settings window, which is the usual setup for a Maya renderer.
Creating and Editing Render Settings
Using the Maya Render Settings window
Open the Maya Render Settings window and set Render Using to '3Delight'. Then, select the 3Delight tab.
The Active Render Settings option menu lists all existing Render Settings; the selected one has its attributes shown below, and will be used for rendering unless a specific Render Settings is requested when starting the rendering. Click Create Render Settings to create a new one.
Outside the Maya Render Settings window
Create a new Render Settings by either:
- clicking
 in the 3Delight Shelf, or
 - choosing 3Delight → Create Render Settings.
The new Render Settings is shown in the Attribute Editor.
Select an existing Render Settings by either:
- clicking
 in the 3Delight Shelf, or
 - choosing the relevant item under 3Delight → Select Render Settings.
The selected Render Settings is shown in the Attribute Editor.
Render Settings Attributes
The rendering options are grouped into the following categories:
Quality – Contains all the settings related to image quality (filtering, sampling, etc... ).
Scene Elements – Specifies Scene Elements – Specifies the scene elements to use for rendering, including the camera and environment.
OutputFrame Range – – Specifies the output of the renderer: layers of images, resolution and frame range .
Render Engine – Specifies the rendering engine to use and options over its operation.
Image Quality – Options specifically geared to affect the look of the image to be rendered.
Advanced – Options geared toward managing more elaborate rendering pipelines.
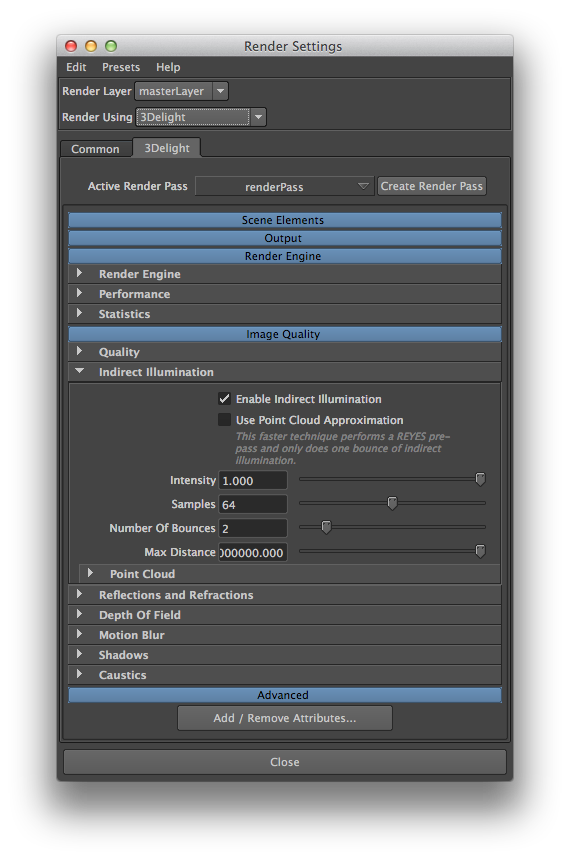
Clicking in the category (blue button) will collapse or expand the category to hide or show the groups it contains. In the above window, each category is shown as expanded. Each category contains a few groups of related attributes. They are drawn in a collapsable layout that is expanded or collapsed by clicking on the arrow on the left side of the group's label. Note that clicking on a category to show or hide its groups, it will do so without changing their expanded or collapsed state.
to be rendered.
Resolution and Crop – Specifies a crop region and optionally different resolution than selected in Maya's Common render settings.
Output – Specifies whether we are outputting to iDisplay, Image file or NSI file, as well as the path where files are being exported.
Image Layers (AOVs) – Specifies the image layers (AOVs) to output, including Multi-Light output.
Overrides – Specifies overrides to various settings to obtain quick interactive renders.
Rendering the Scene
The Render button above all attributes in the Render Settings can be used to start or abort renderings. Clicking on the arrow near its right end allows changing the button operation. See Rendering with 3Delight for more information about the rendering modes, and the other means to start a rendering job.
Using multiple Render Settings
Although it is not necessary to have multiple Render Settings, having the possibility to use many such settings gives increased flexibility of rendering in the production pipeline. As an example, multiple render settings could be used to:
- Have multiple rendering quality levels. It is usual to have a Render Settings configured for a draft render and another one for high quality render.
- Split rendering of different objects in the scene (such as foreground and background objects). In this case, a Render Settings is equivalent to the rendering of a layer which might be composited in a compositing software later in the pipeline
...
| title | Example showing some collapsed categories and one expanded group |
|---|
...
- .