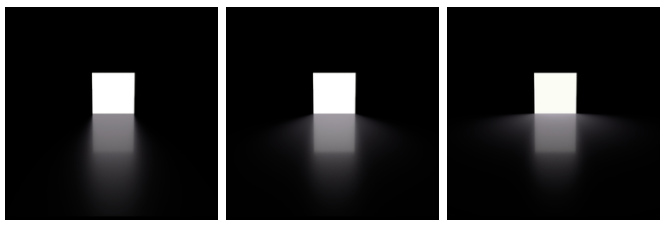
Shape Allows the selection of one of the default shapes (square, sphere, disk and cylinder), or specify a custom geometry (the mesh of a torus shaped filament in this example). Visible to Camera Makes the light source visible to the camera (a.k.a primary rays). From left to right: off (default) and on. Two Sided When enabled, the area light will illuminate from both sides. Comparing to the image above (Two Sided OFF) and this one below (Two Sided ON), we can see increased lighting underneath the sphere, cylinder and mesh lights. This is because for such closed or partially closed object, illumination from the interior (opposite side) of the light will add to the total illumination. This happens because area lights are created transparent (even when you make them visible to the camera) and do not cast shadows. It should be noted also that since two-sided area lights emit light in both directions, they will illuminate anything enclosed within. Light Spread Specifies the spread of the light. A spread of 1 is to natural "cosine" spread. Lower spreads will produce a more focused light. From left to right: 0.2, 0.5 and 1.0 (default). Normalize Intensity by Area This will devide the total intensity of the area light by its area. The net effect of this is that no matter the size of your area light, the intensity will remain the same. This non-physical behaviour can be handy when adjusting shadows from area light: penumbra (shadow softness) adjustment can easily be done by changing the size of the area light while not affecting its overall intensity.Shaping the Light using an Area Light
Overview
Content Tools