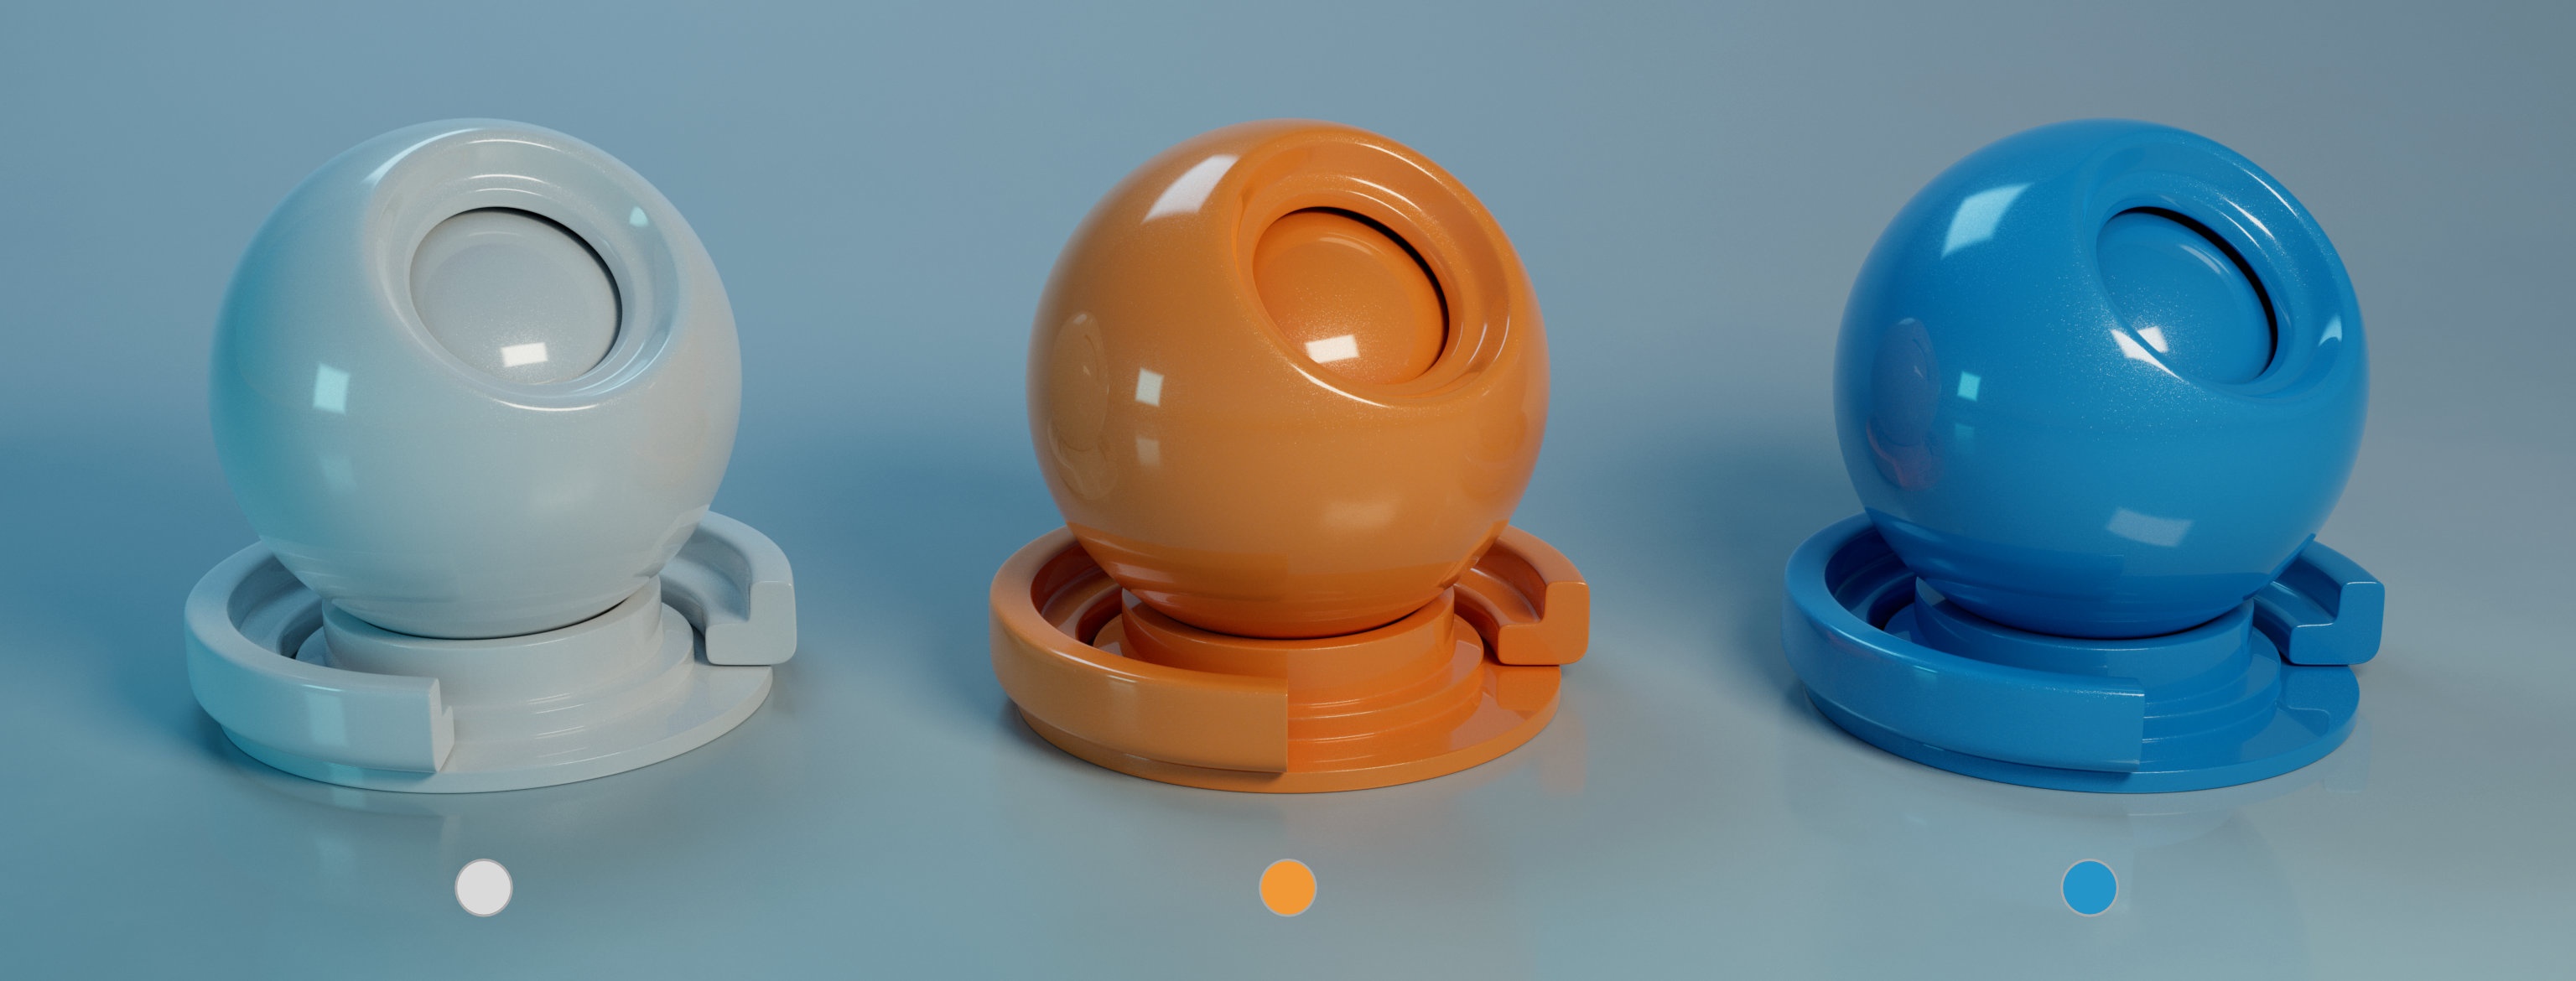
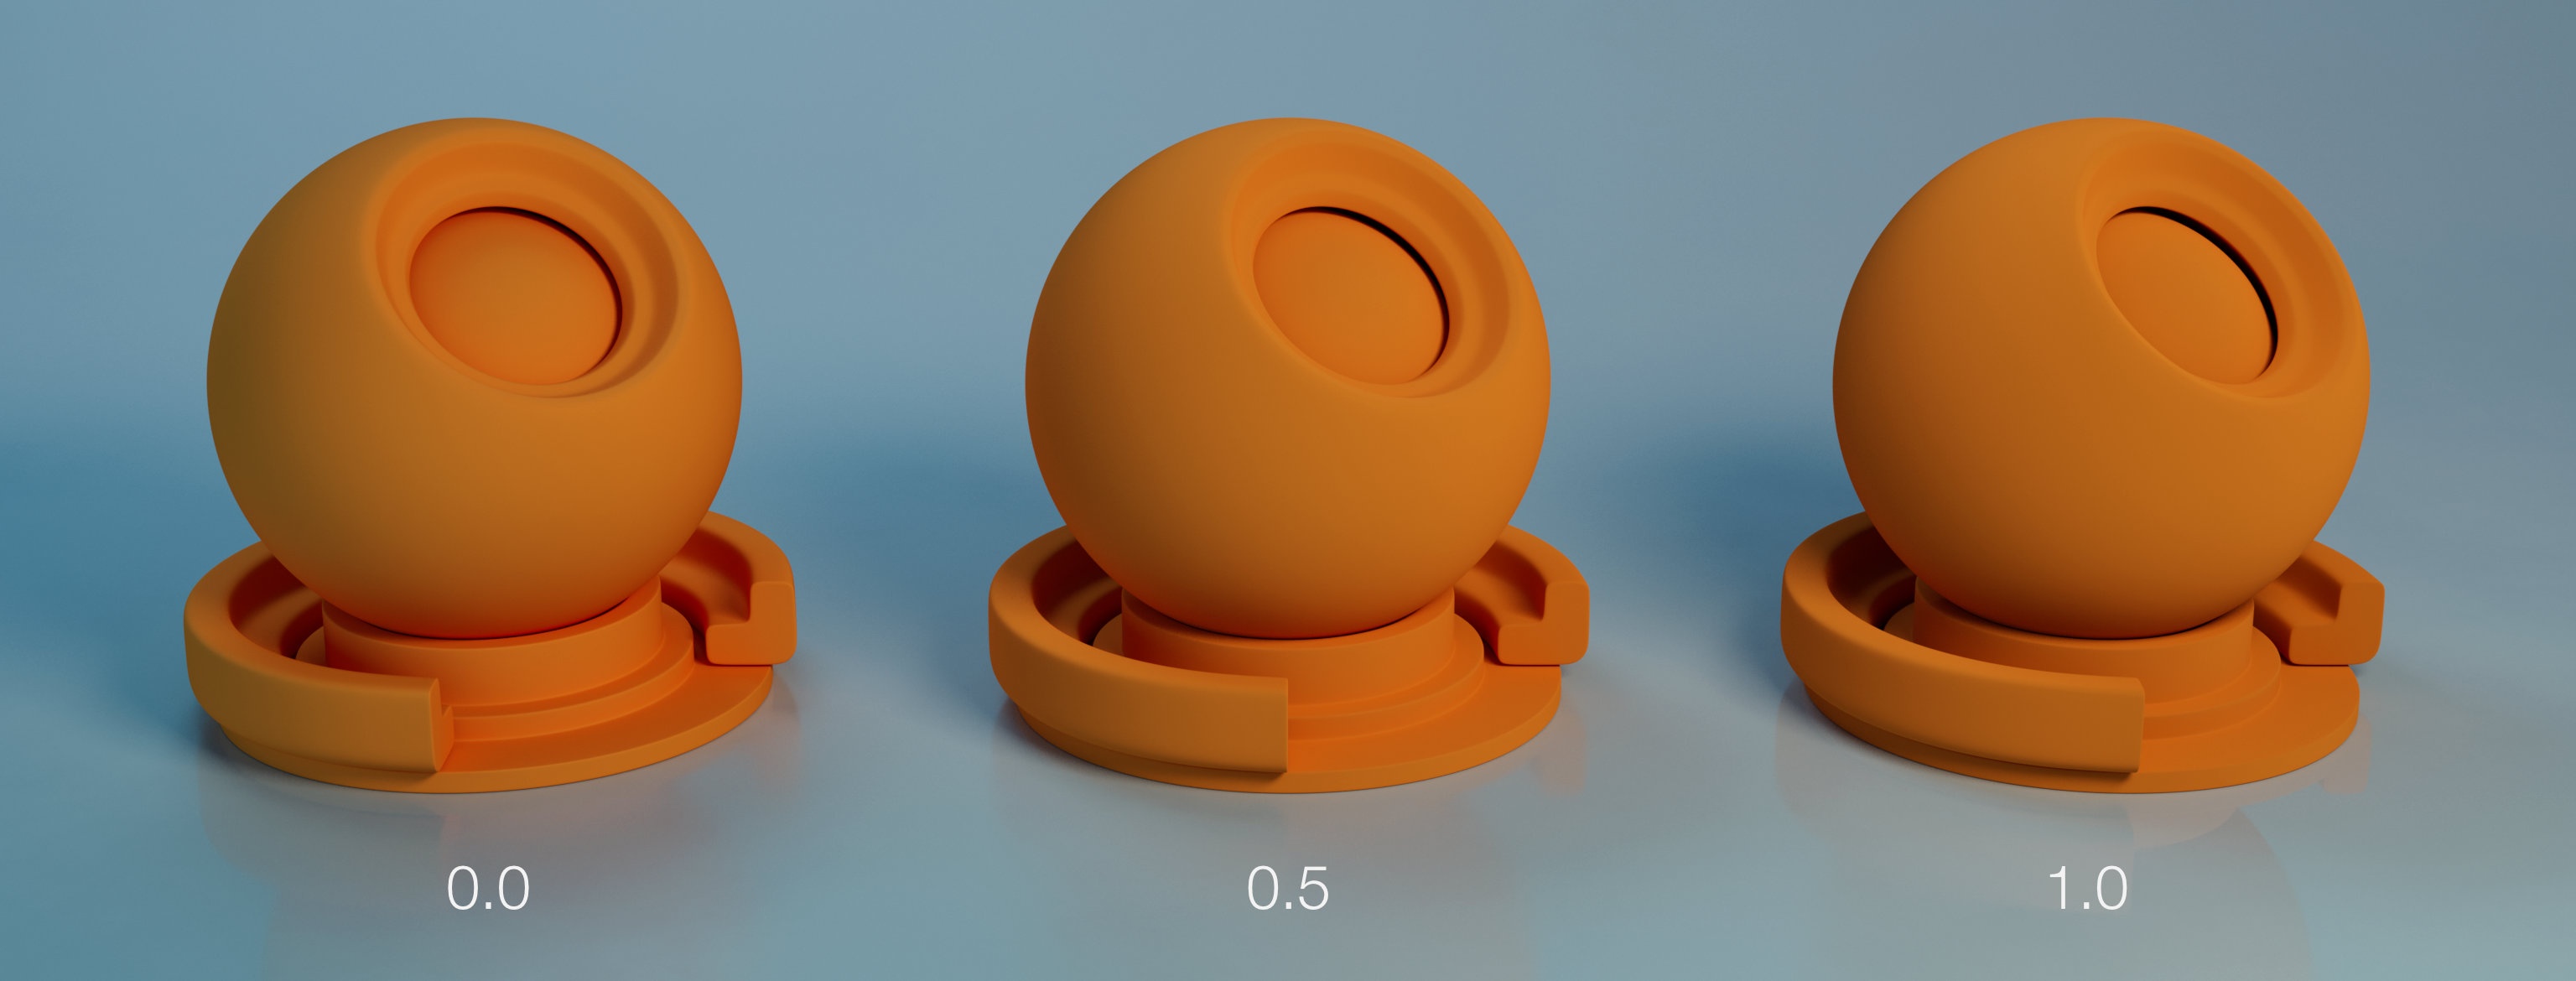
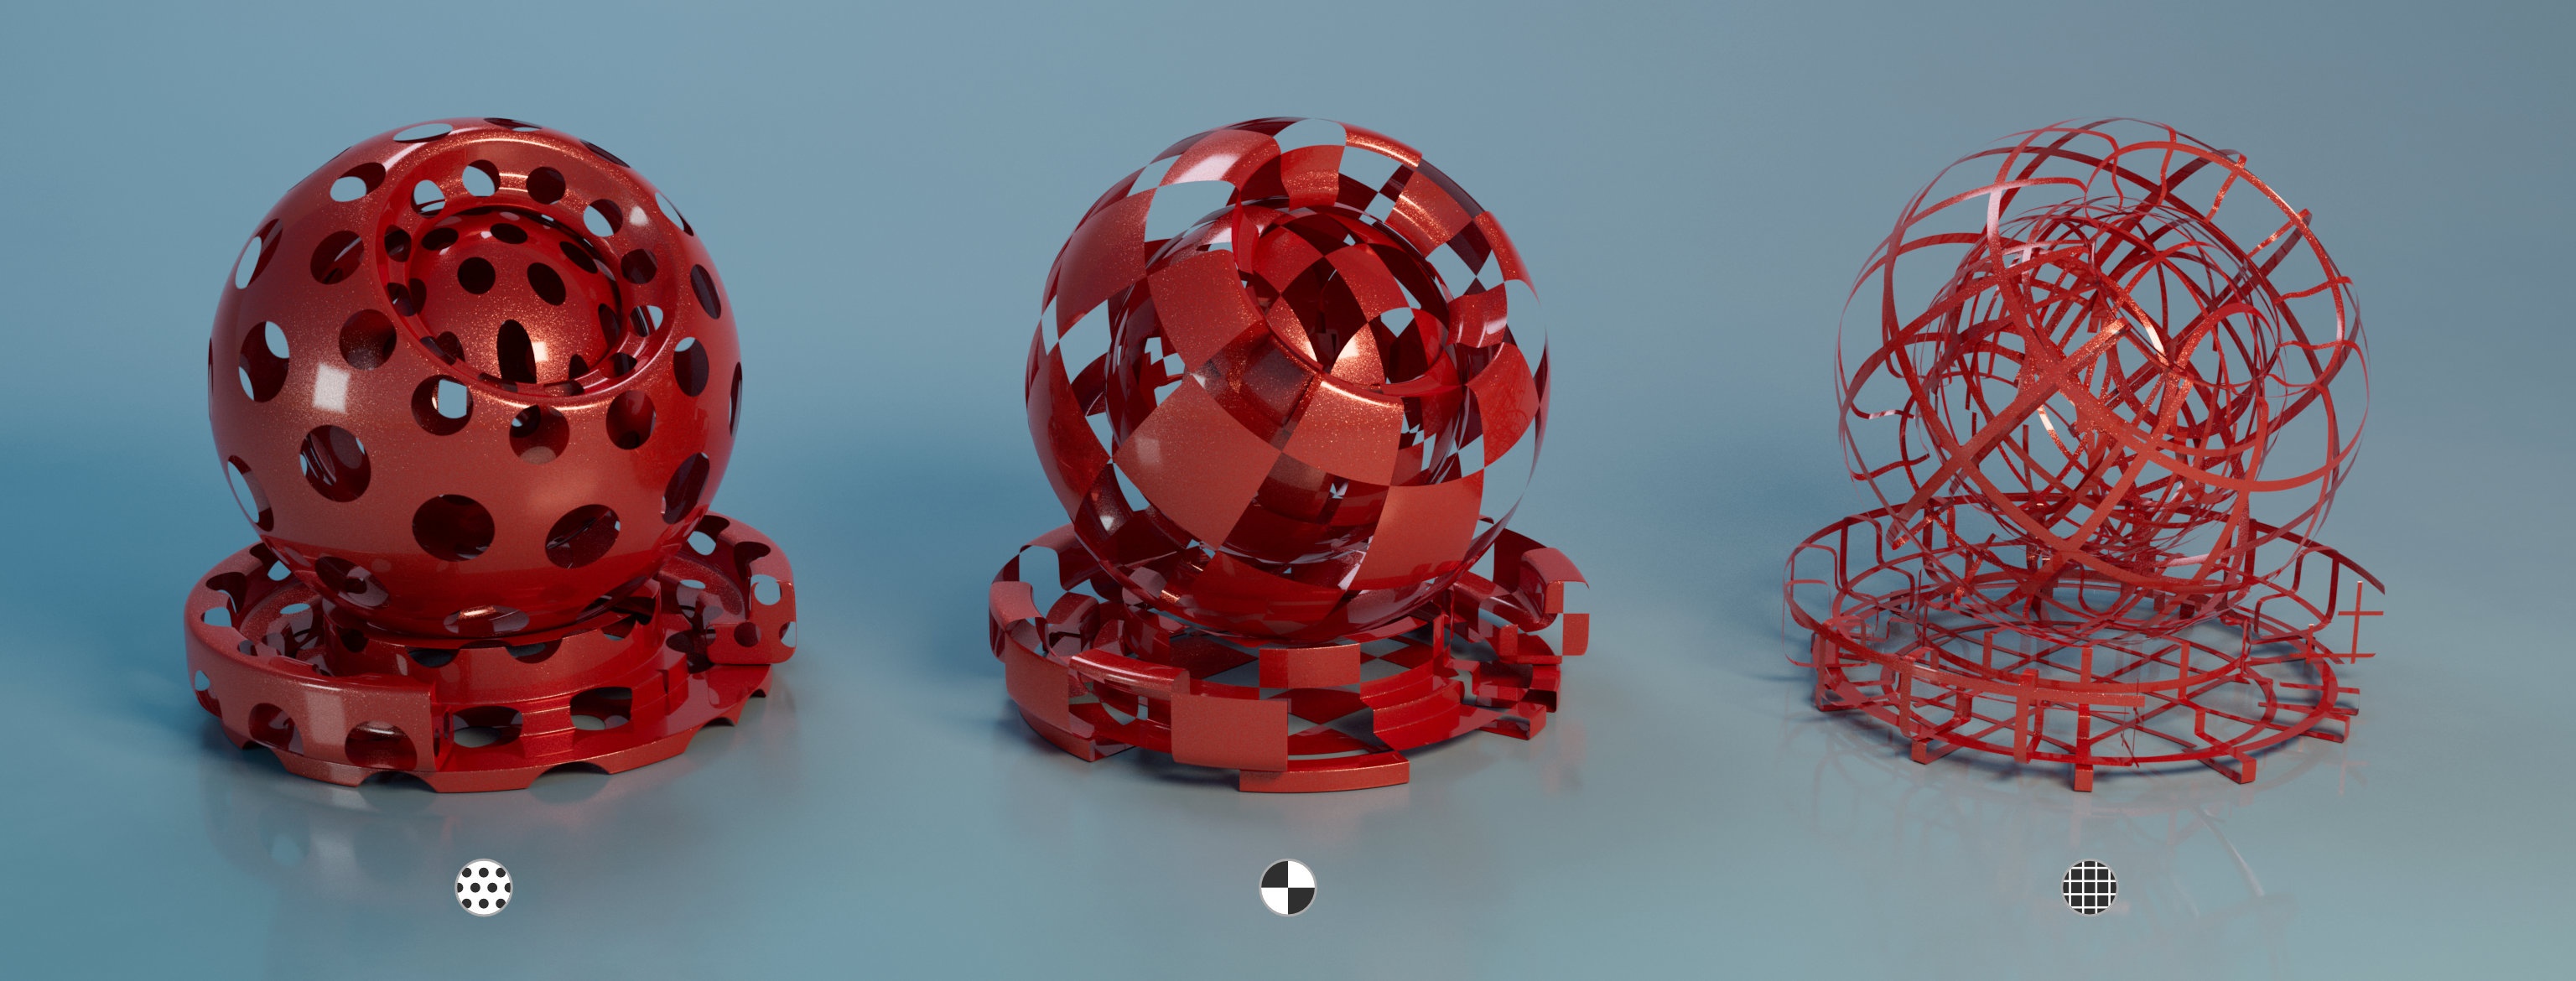
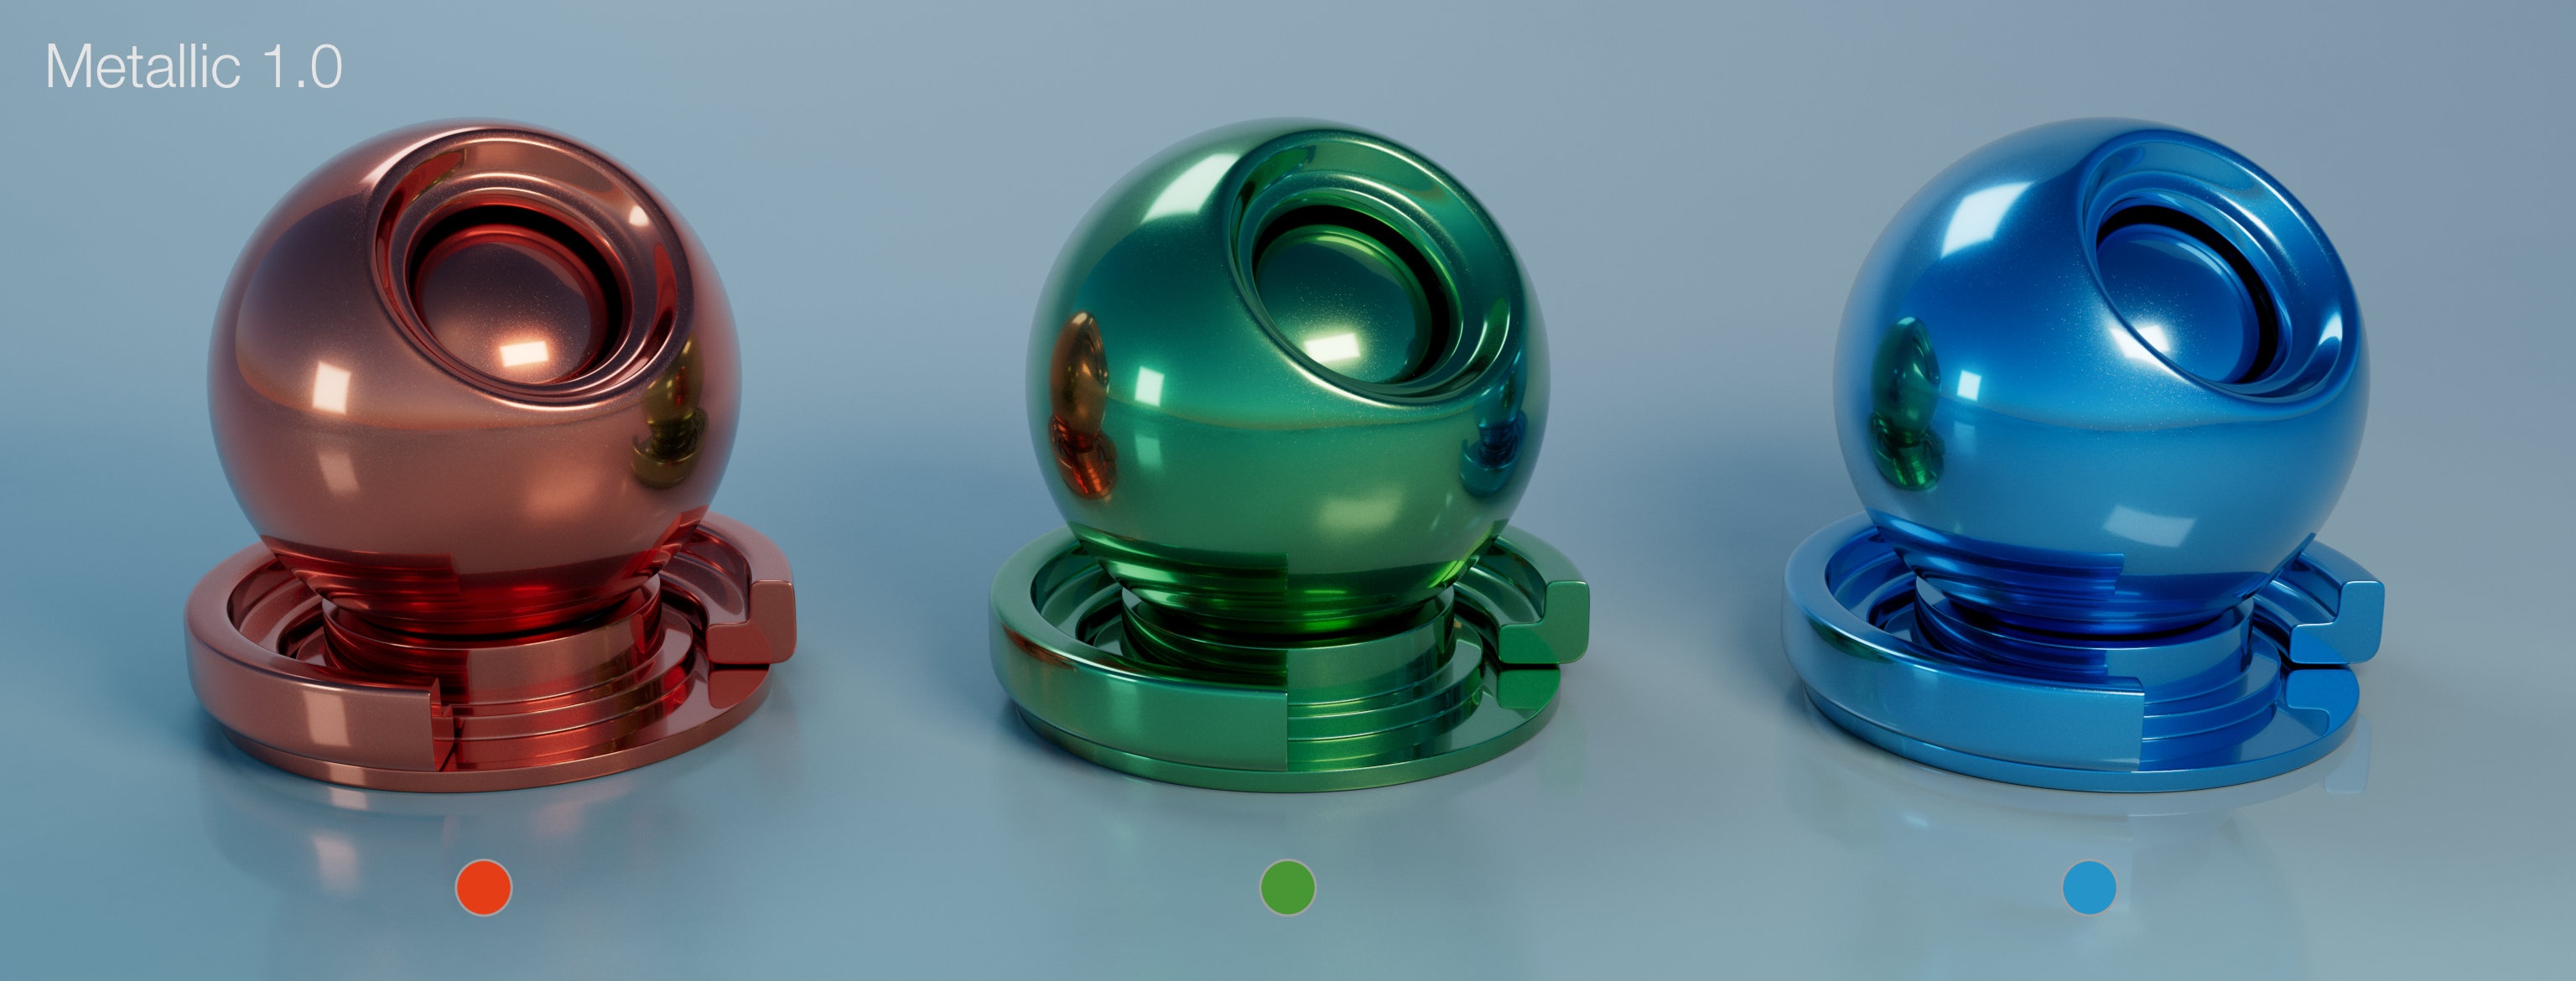
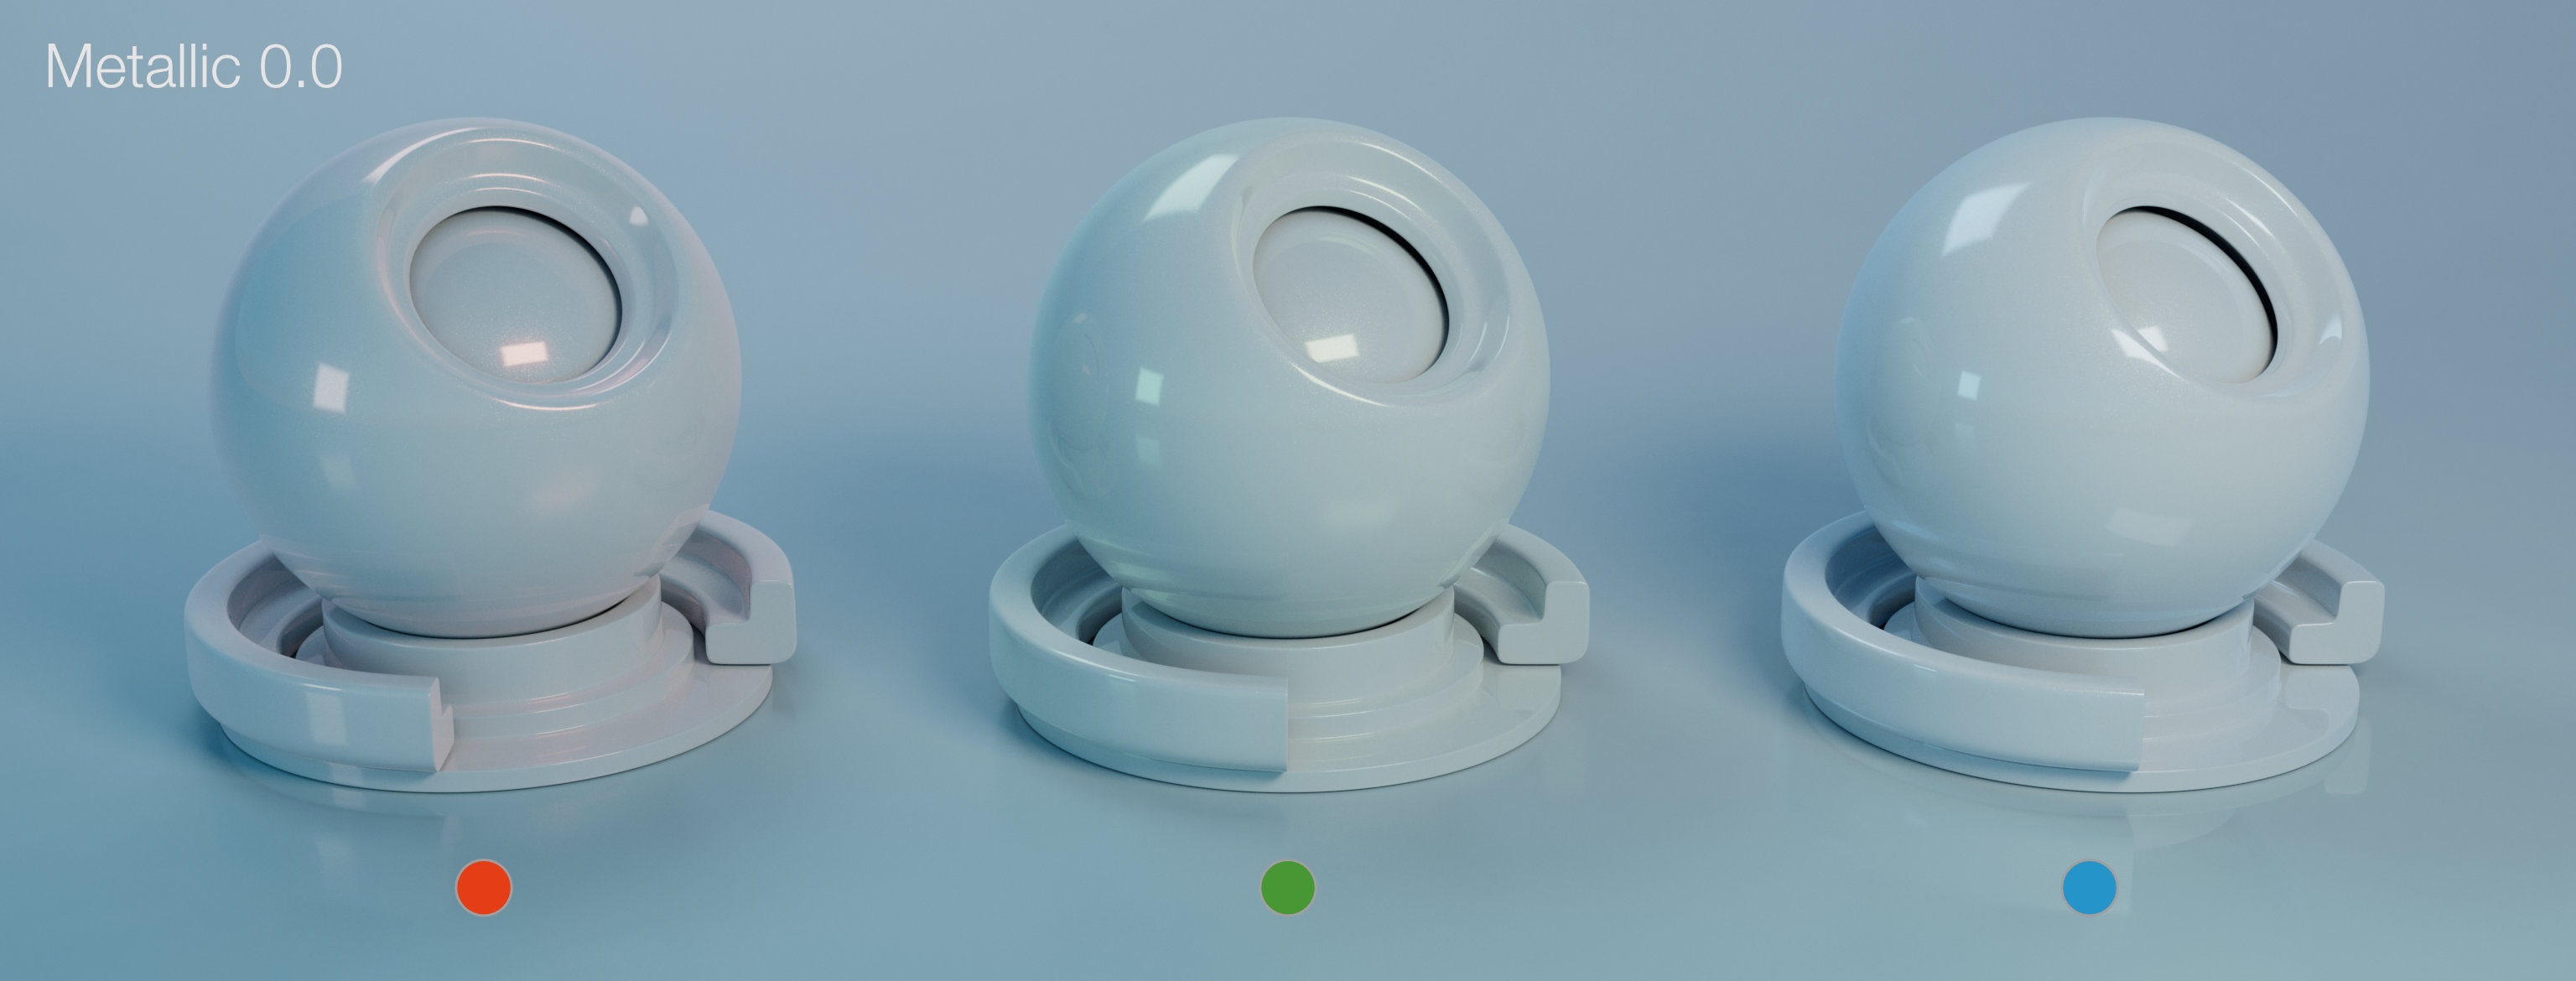
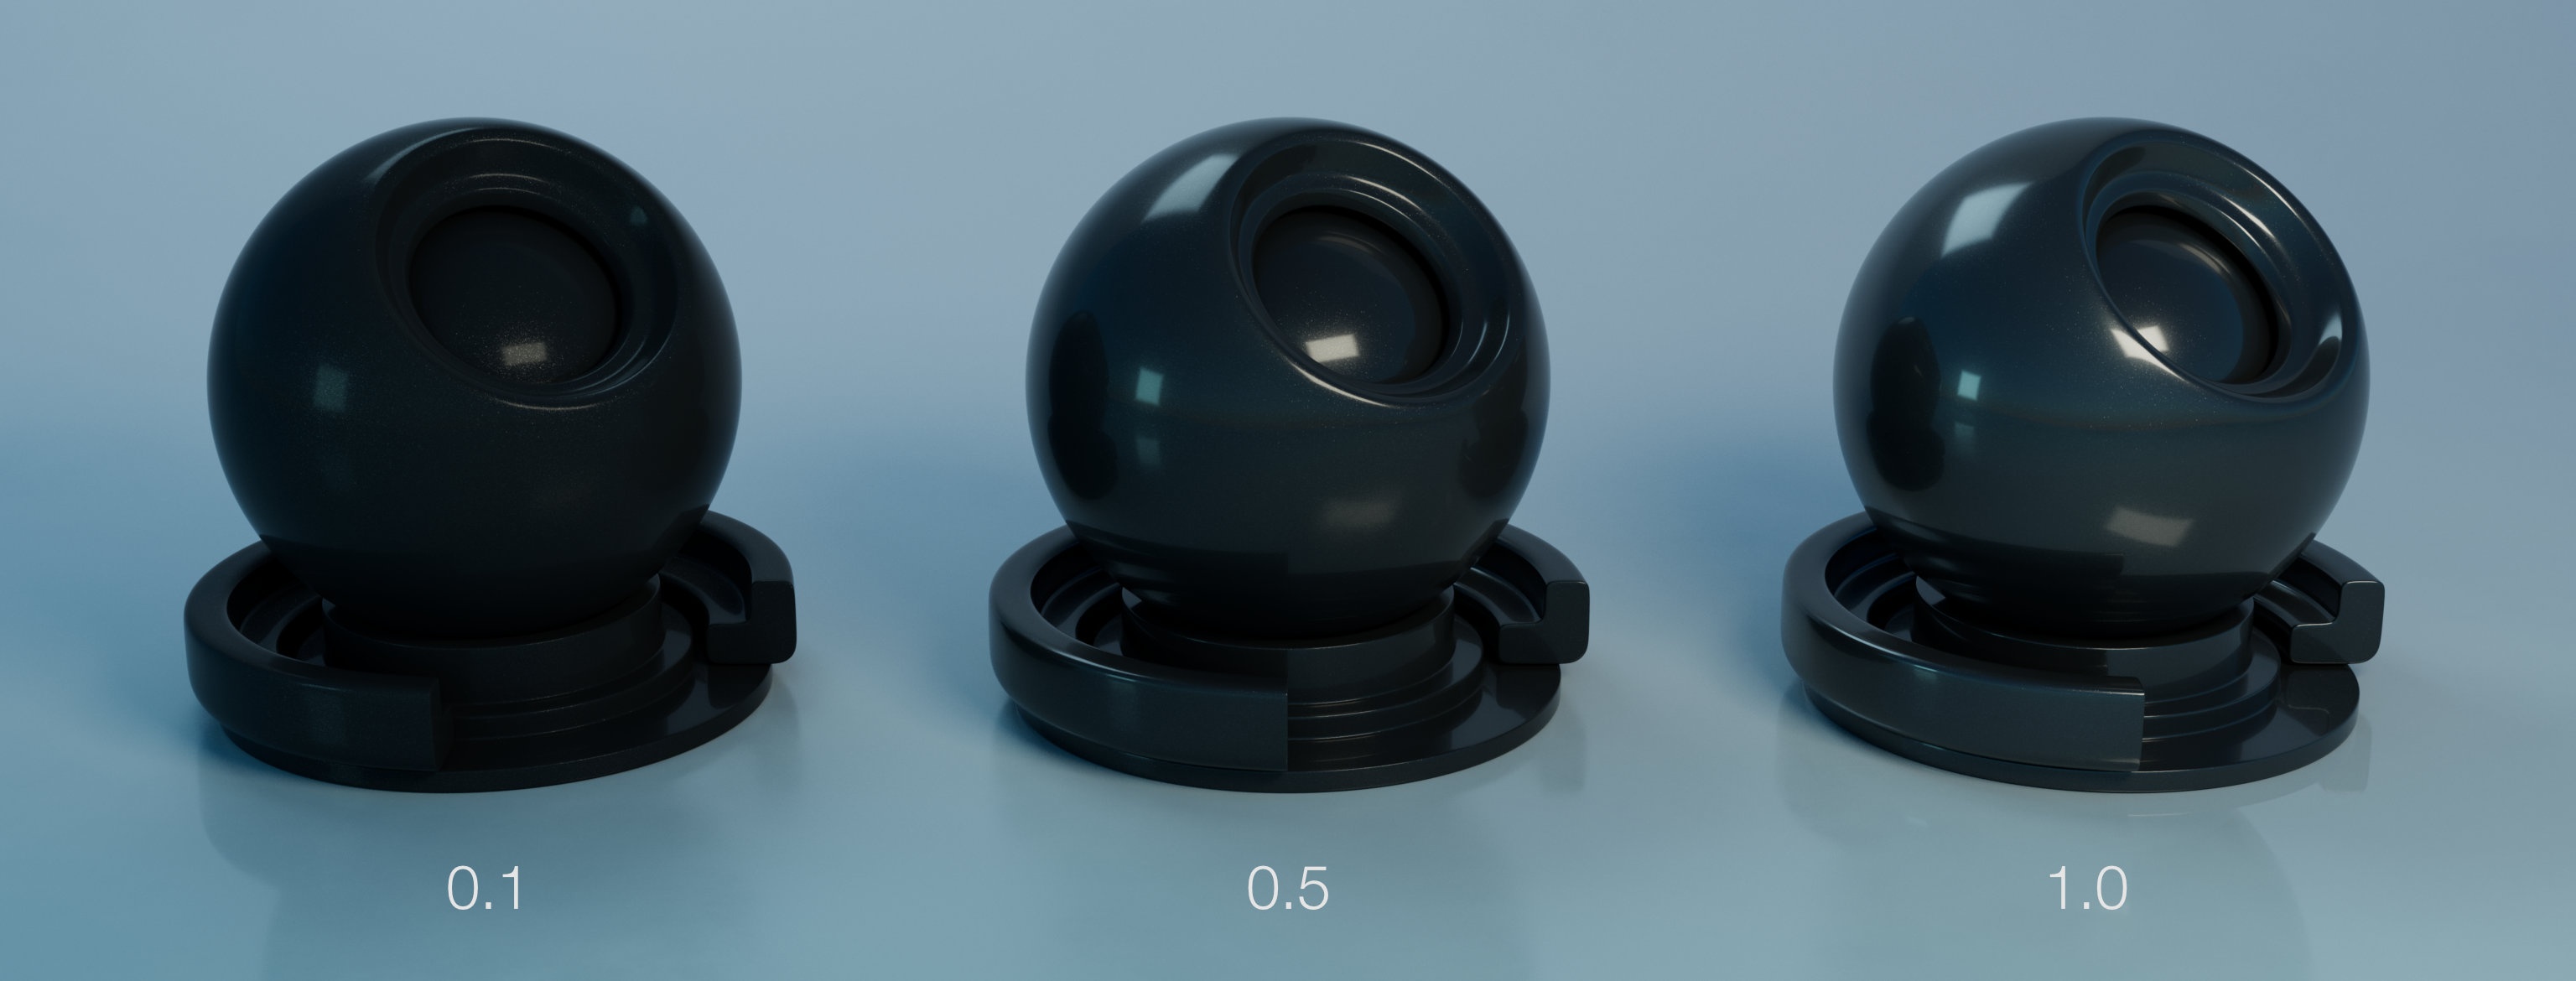
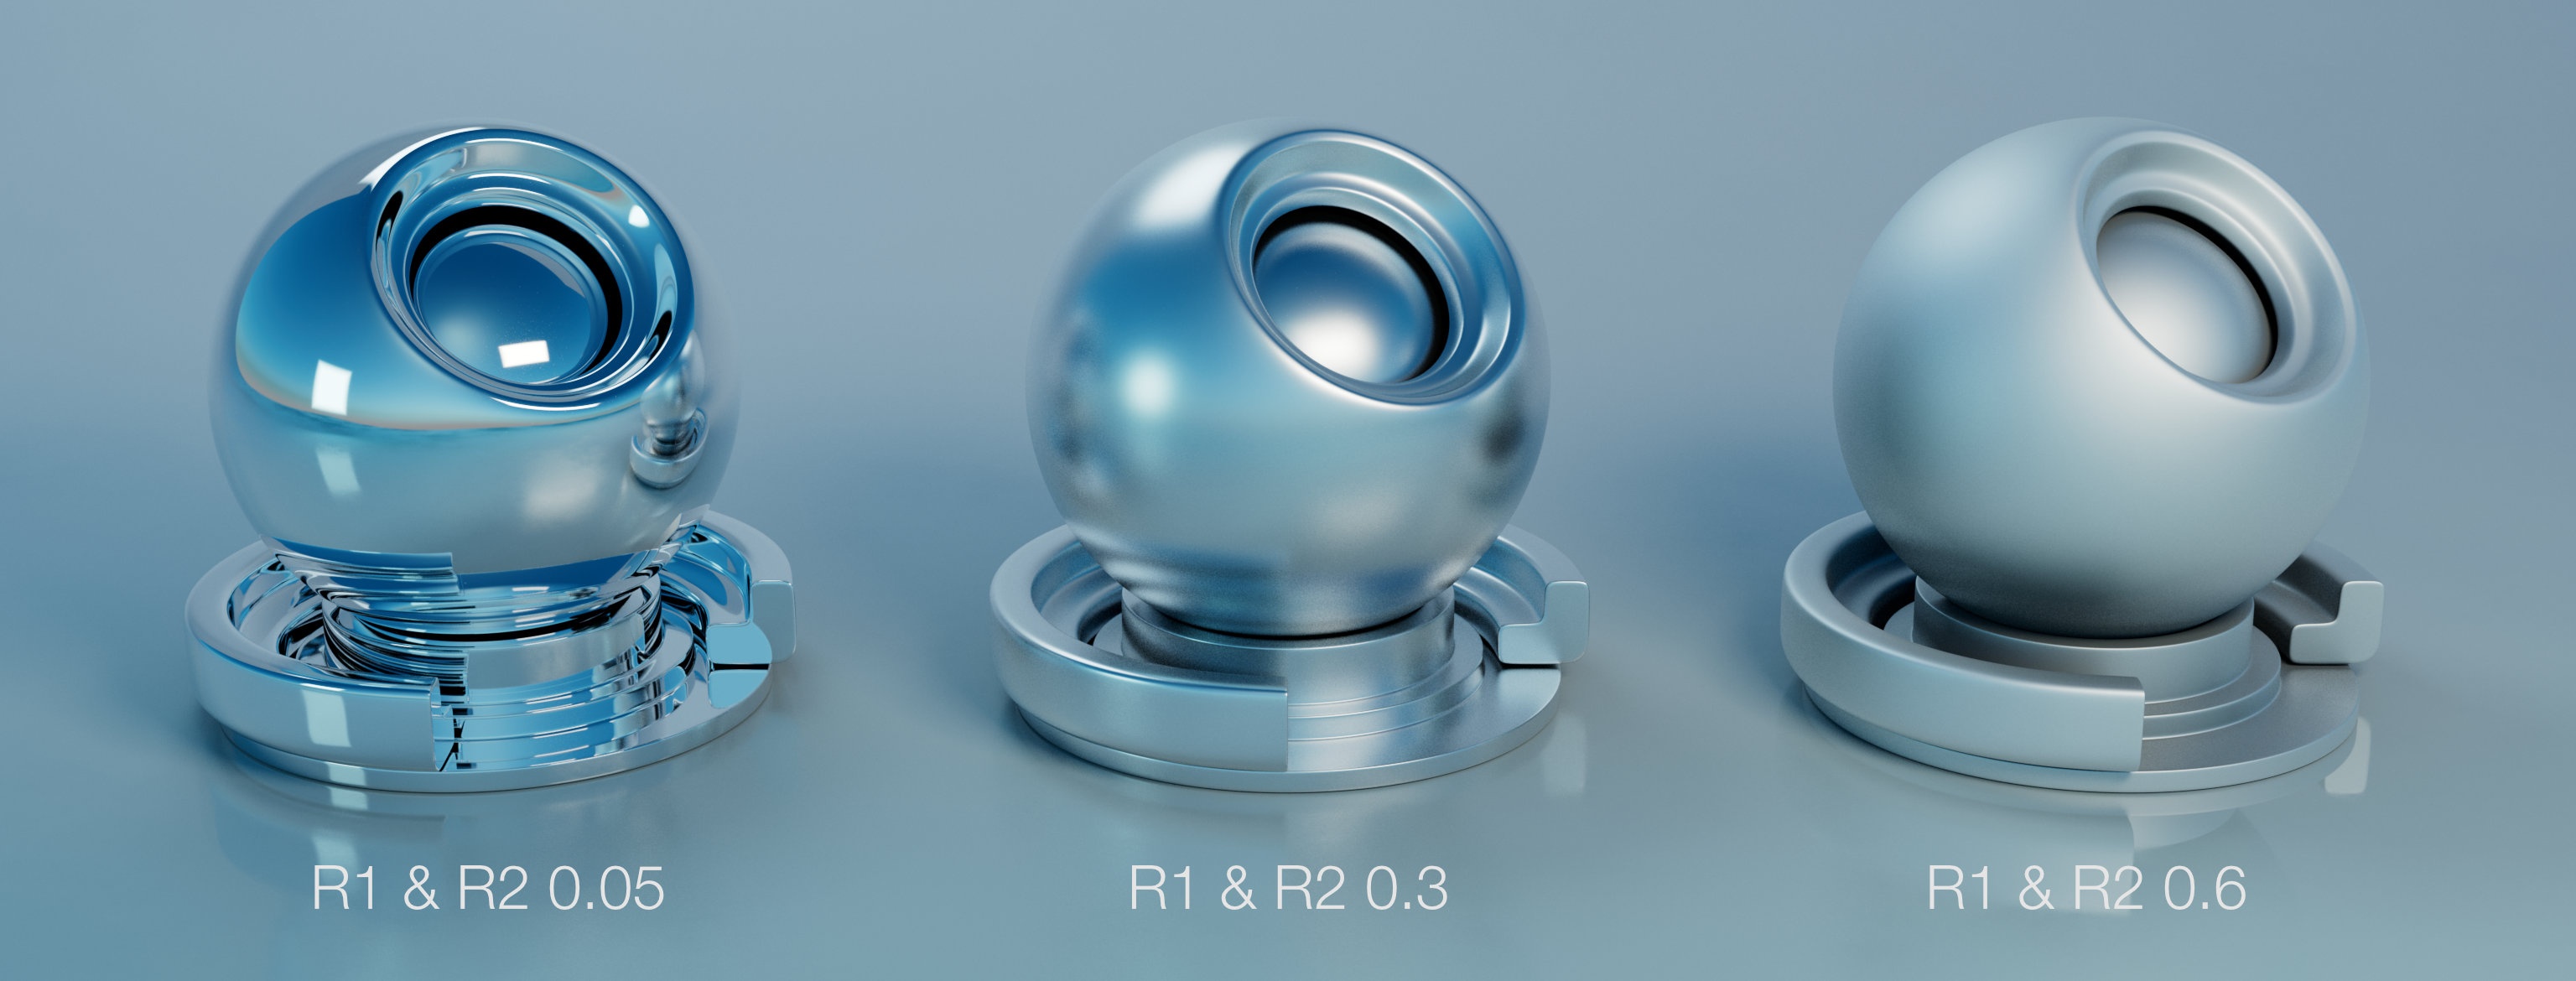
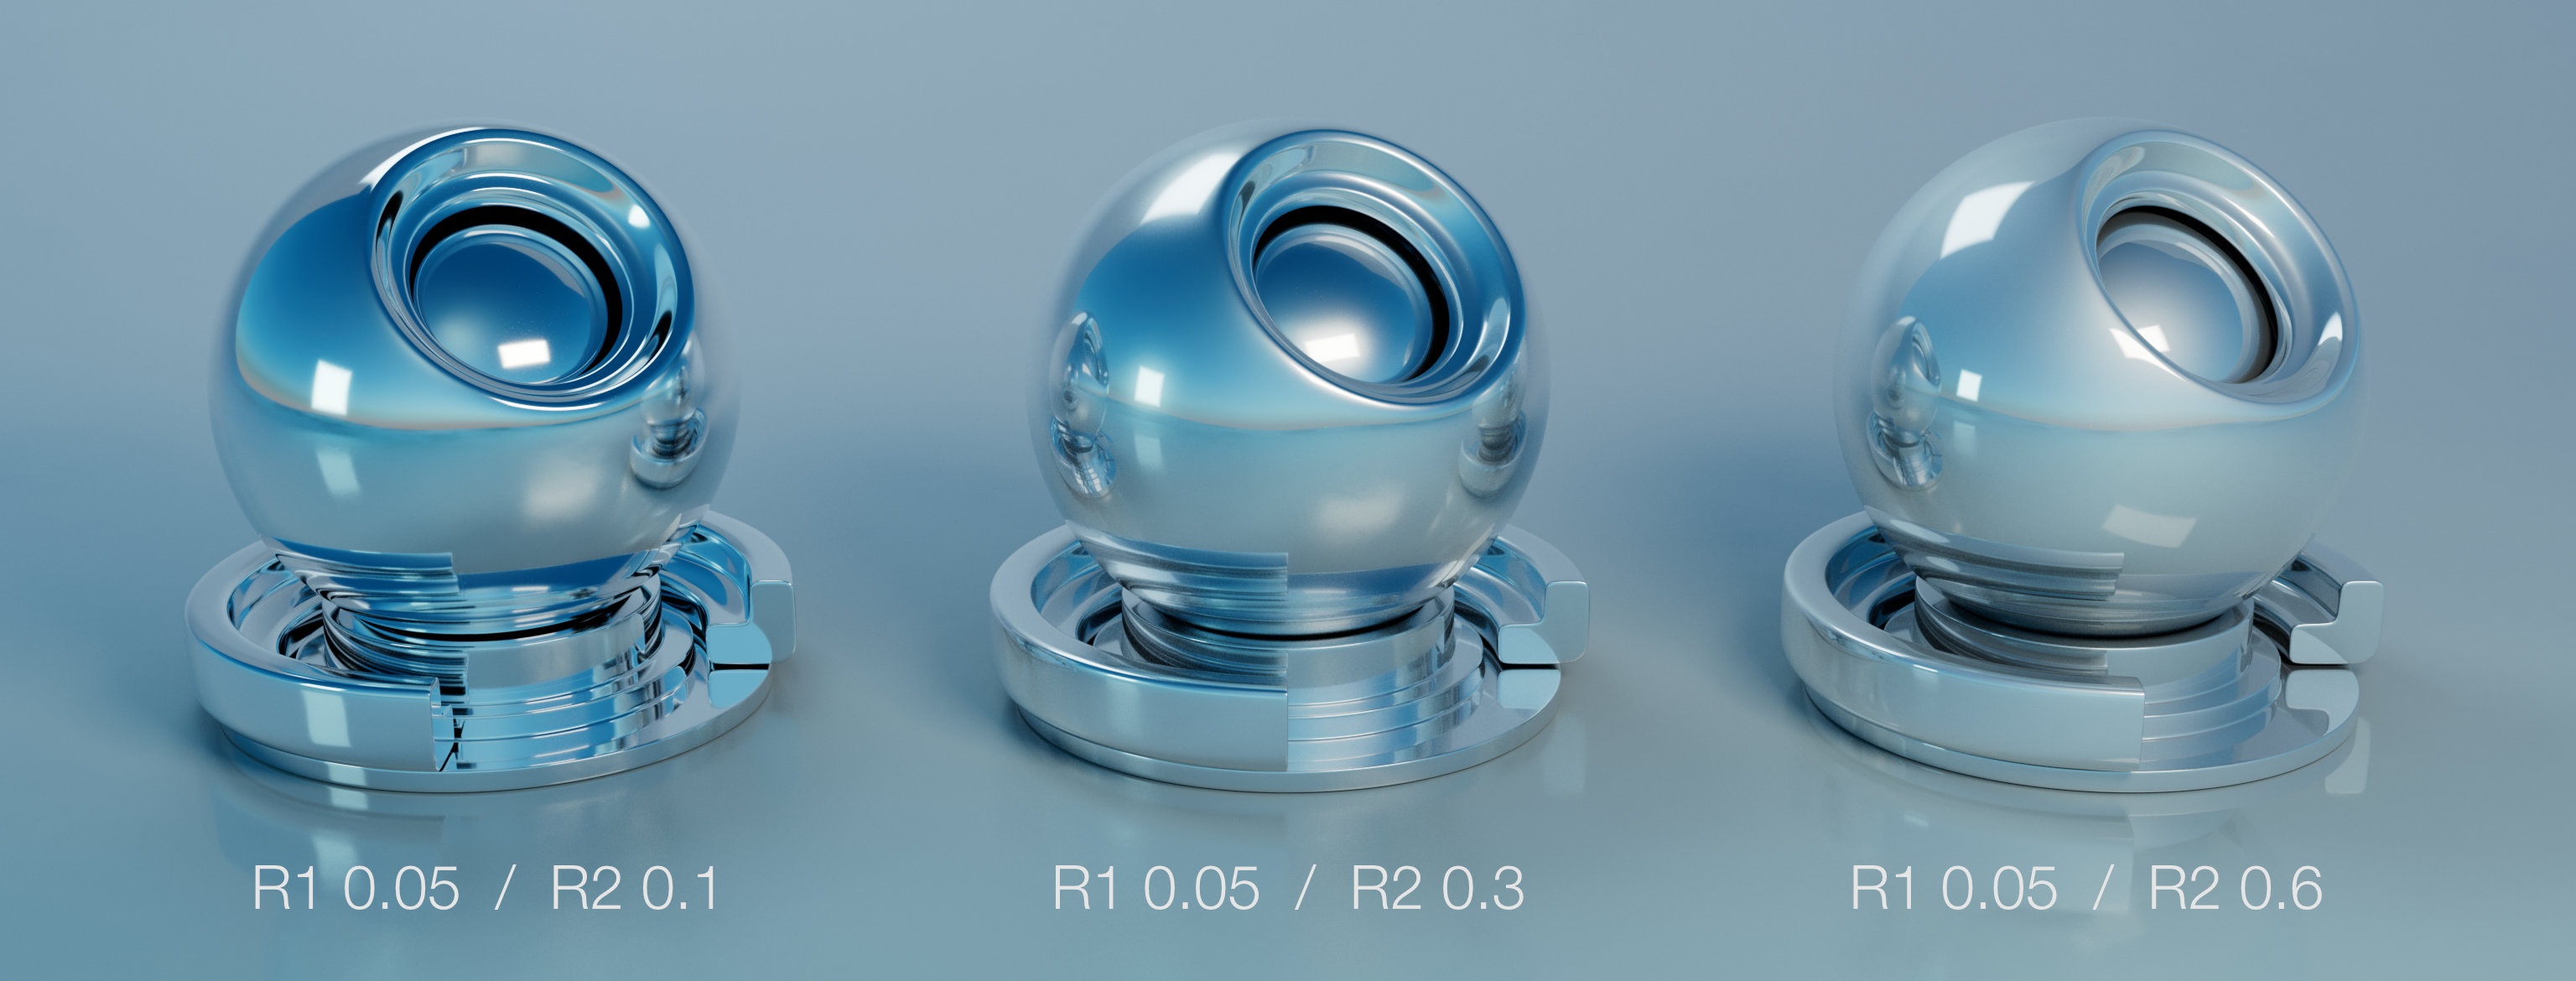
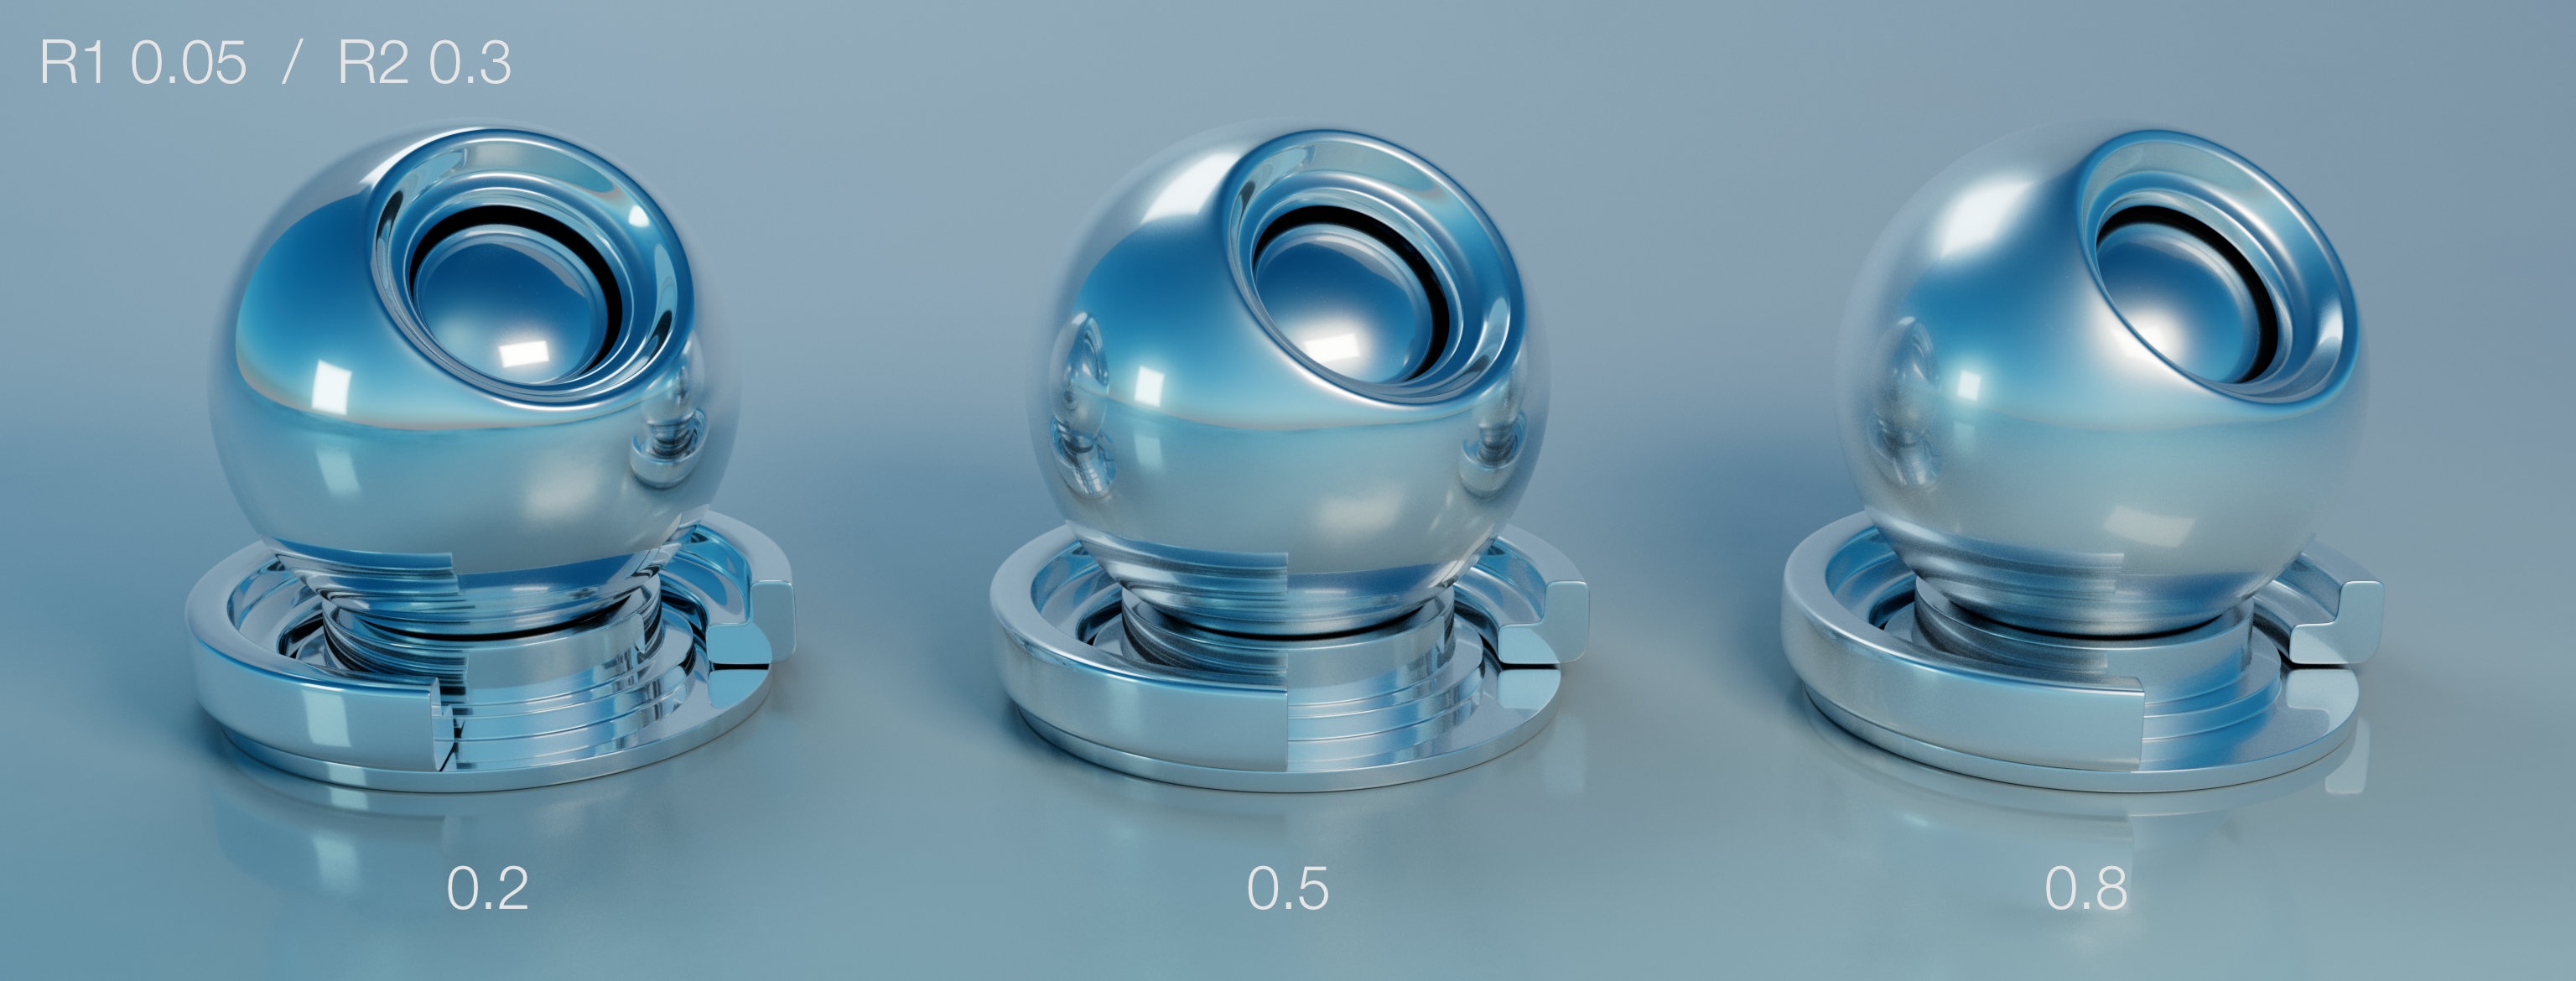
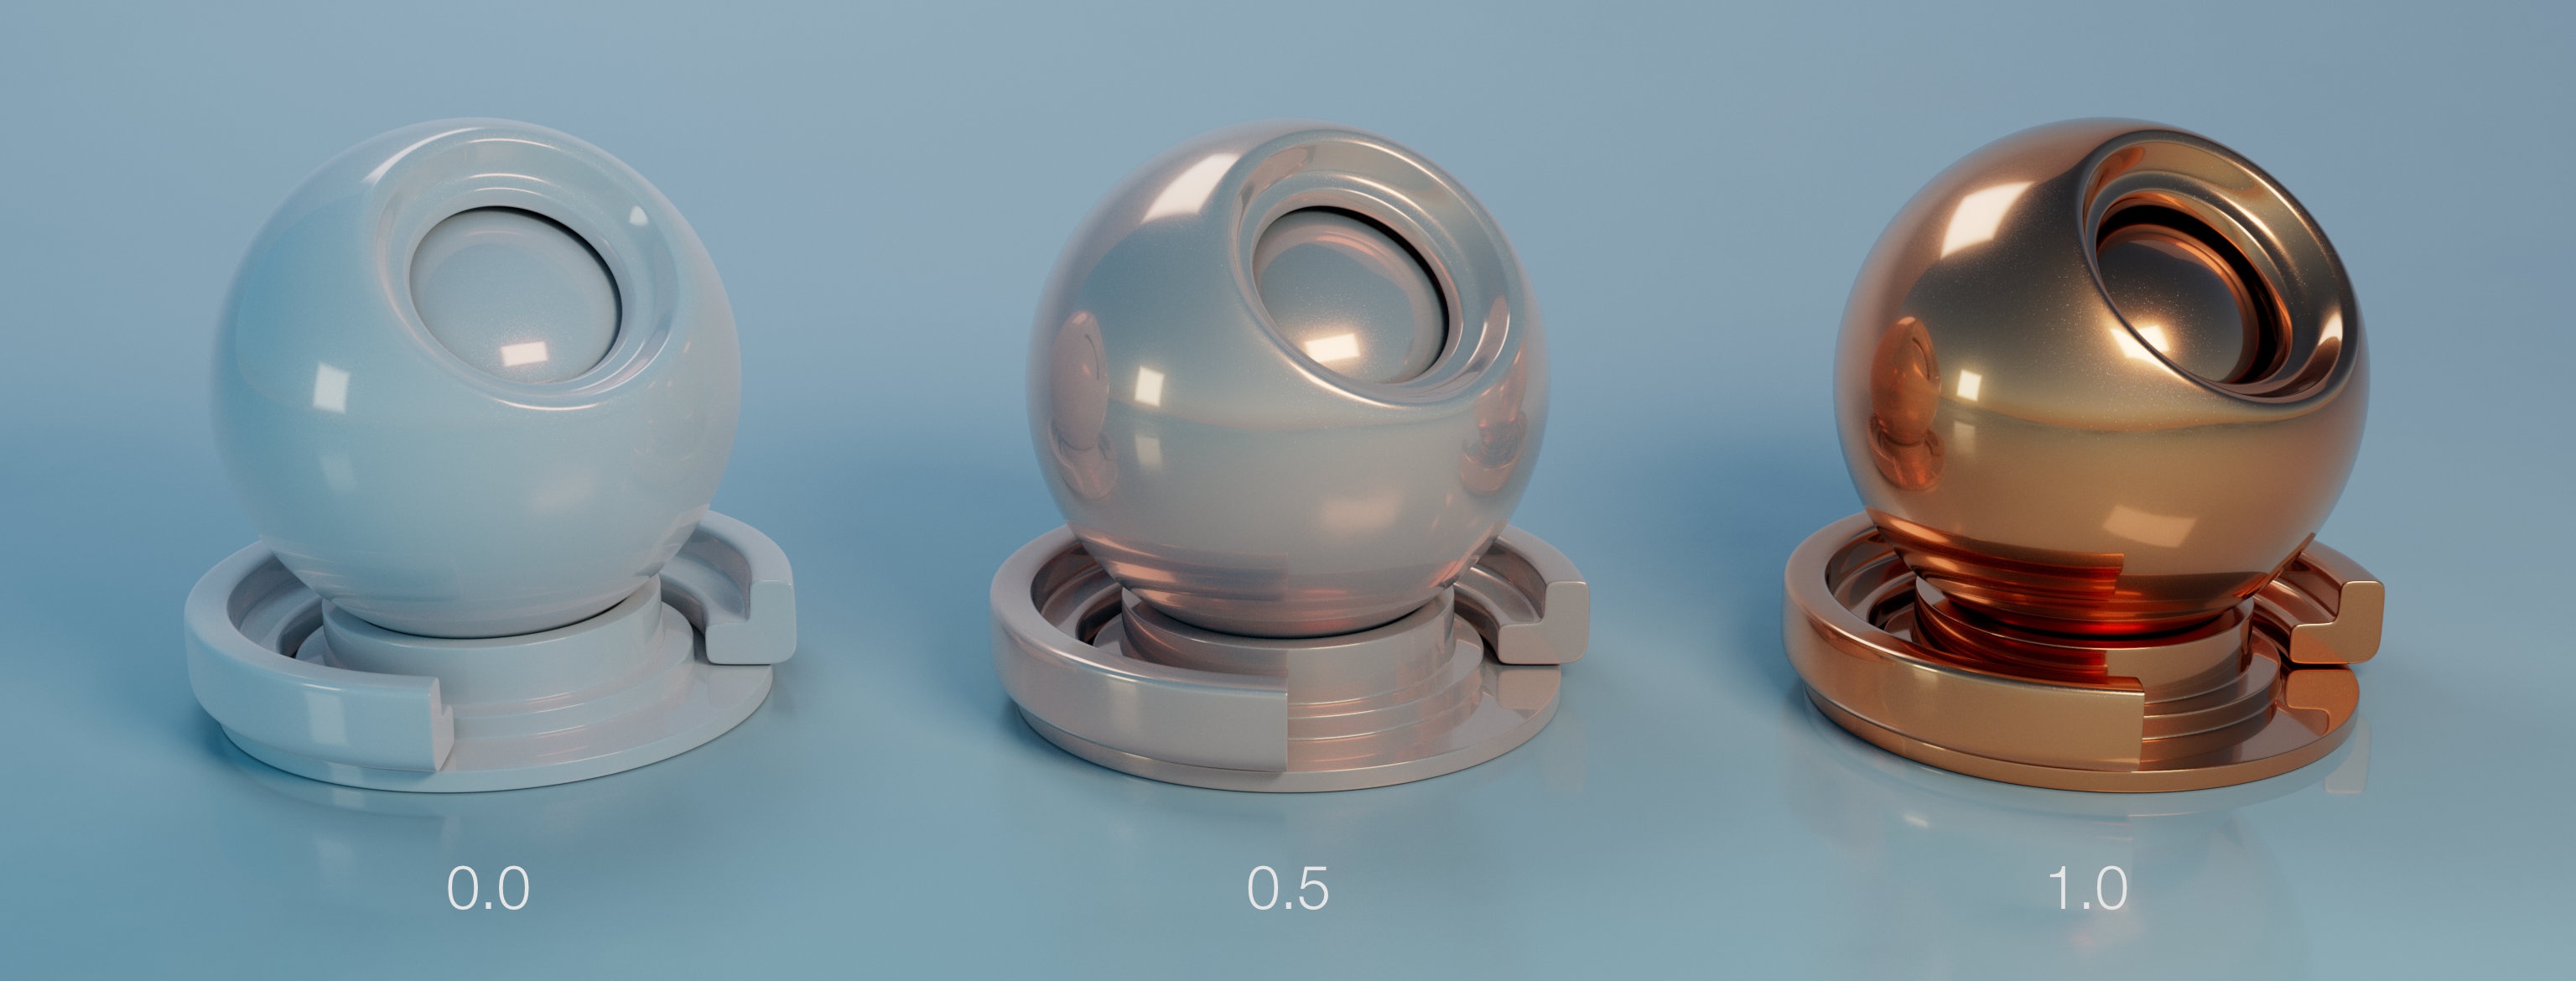
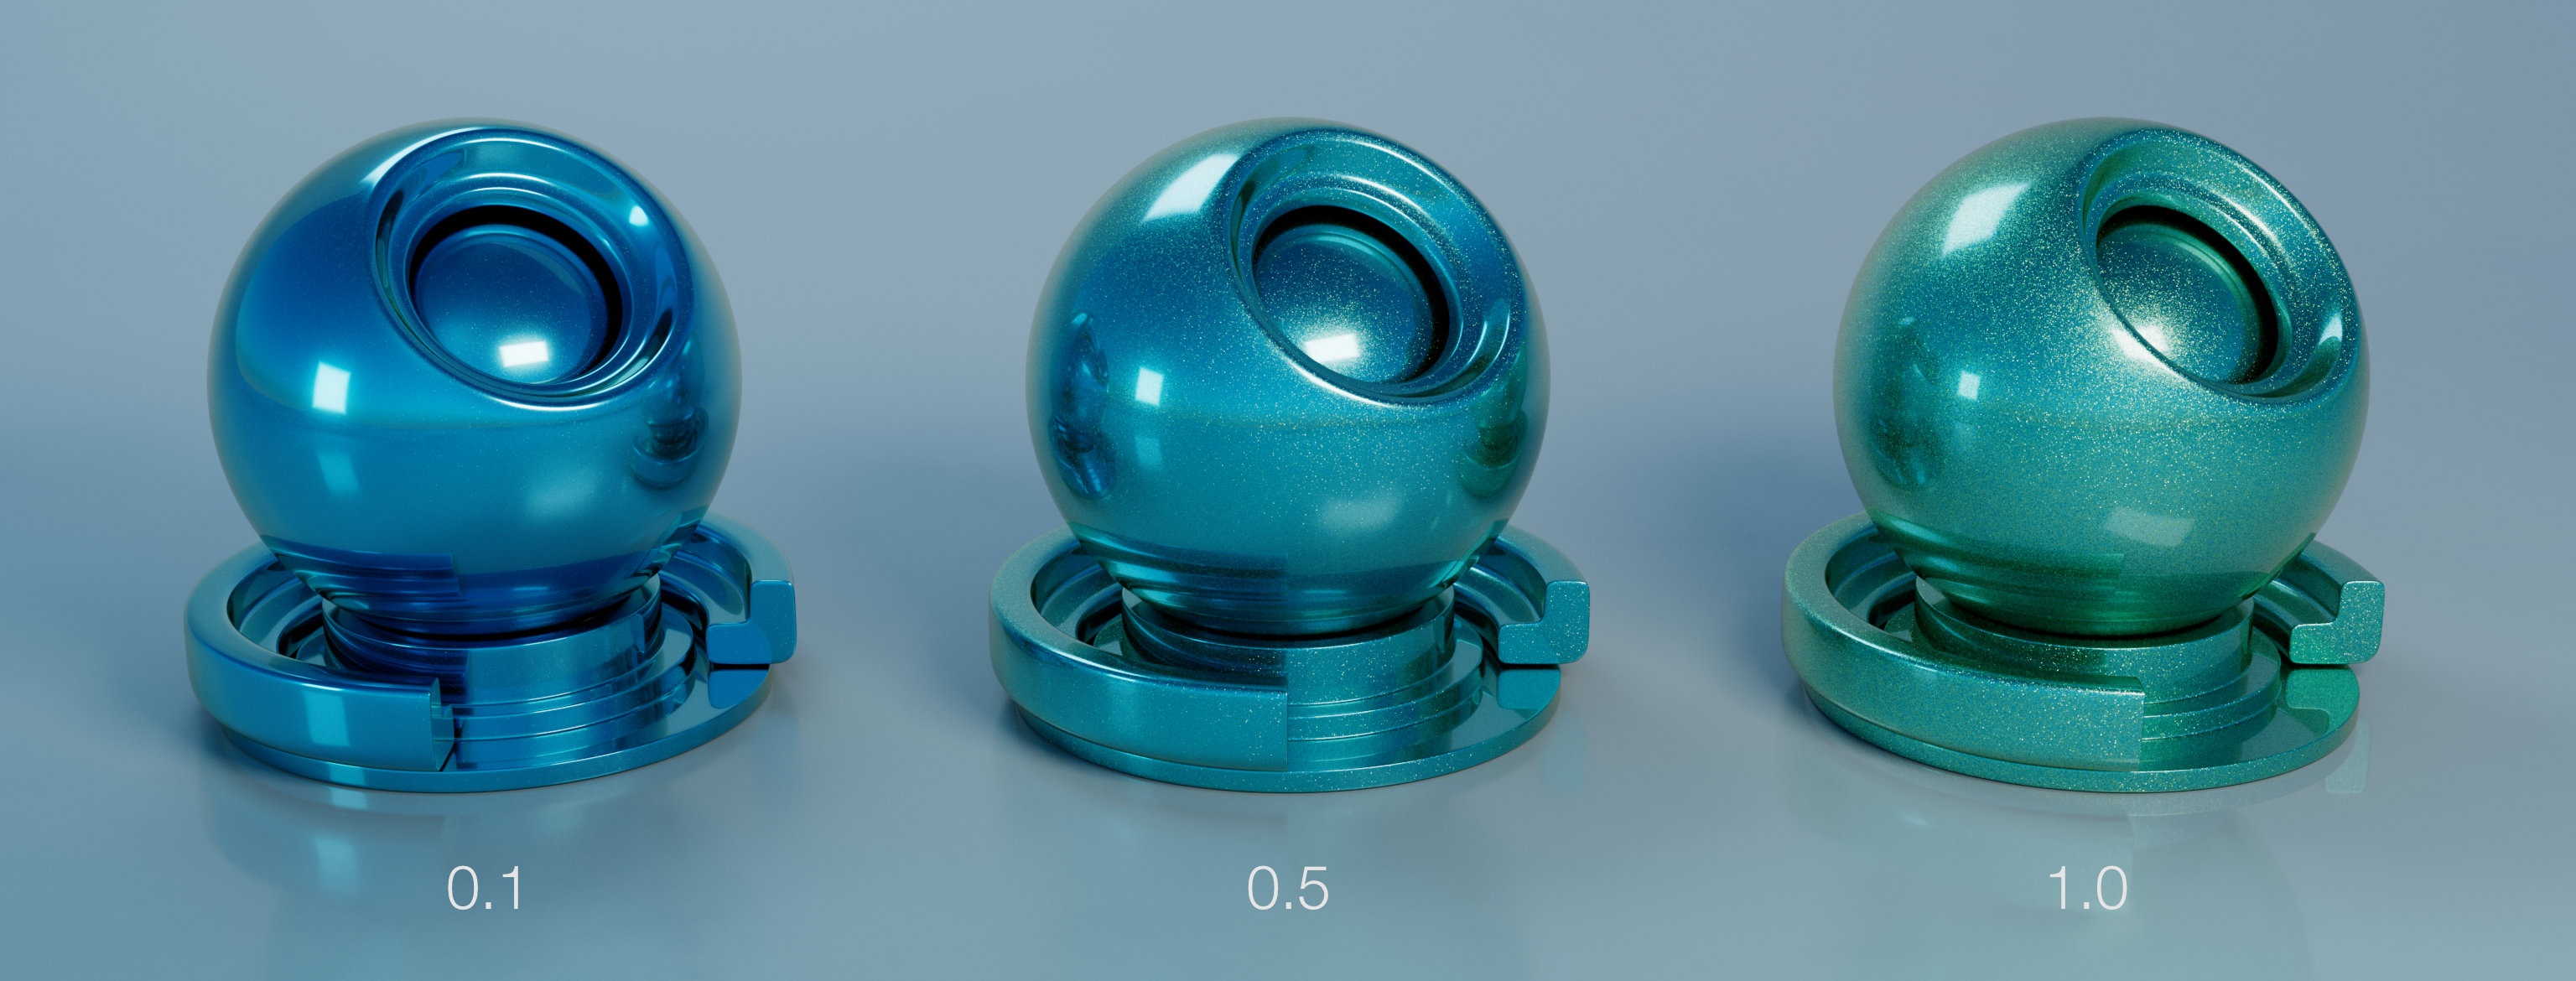
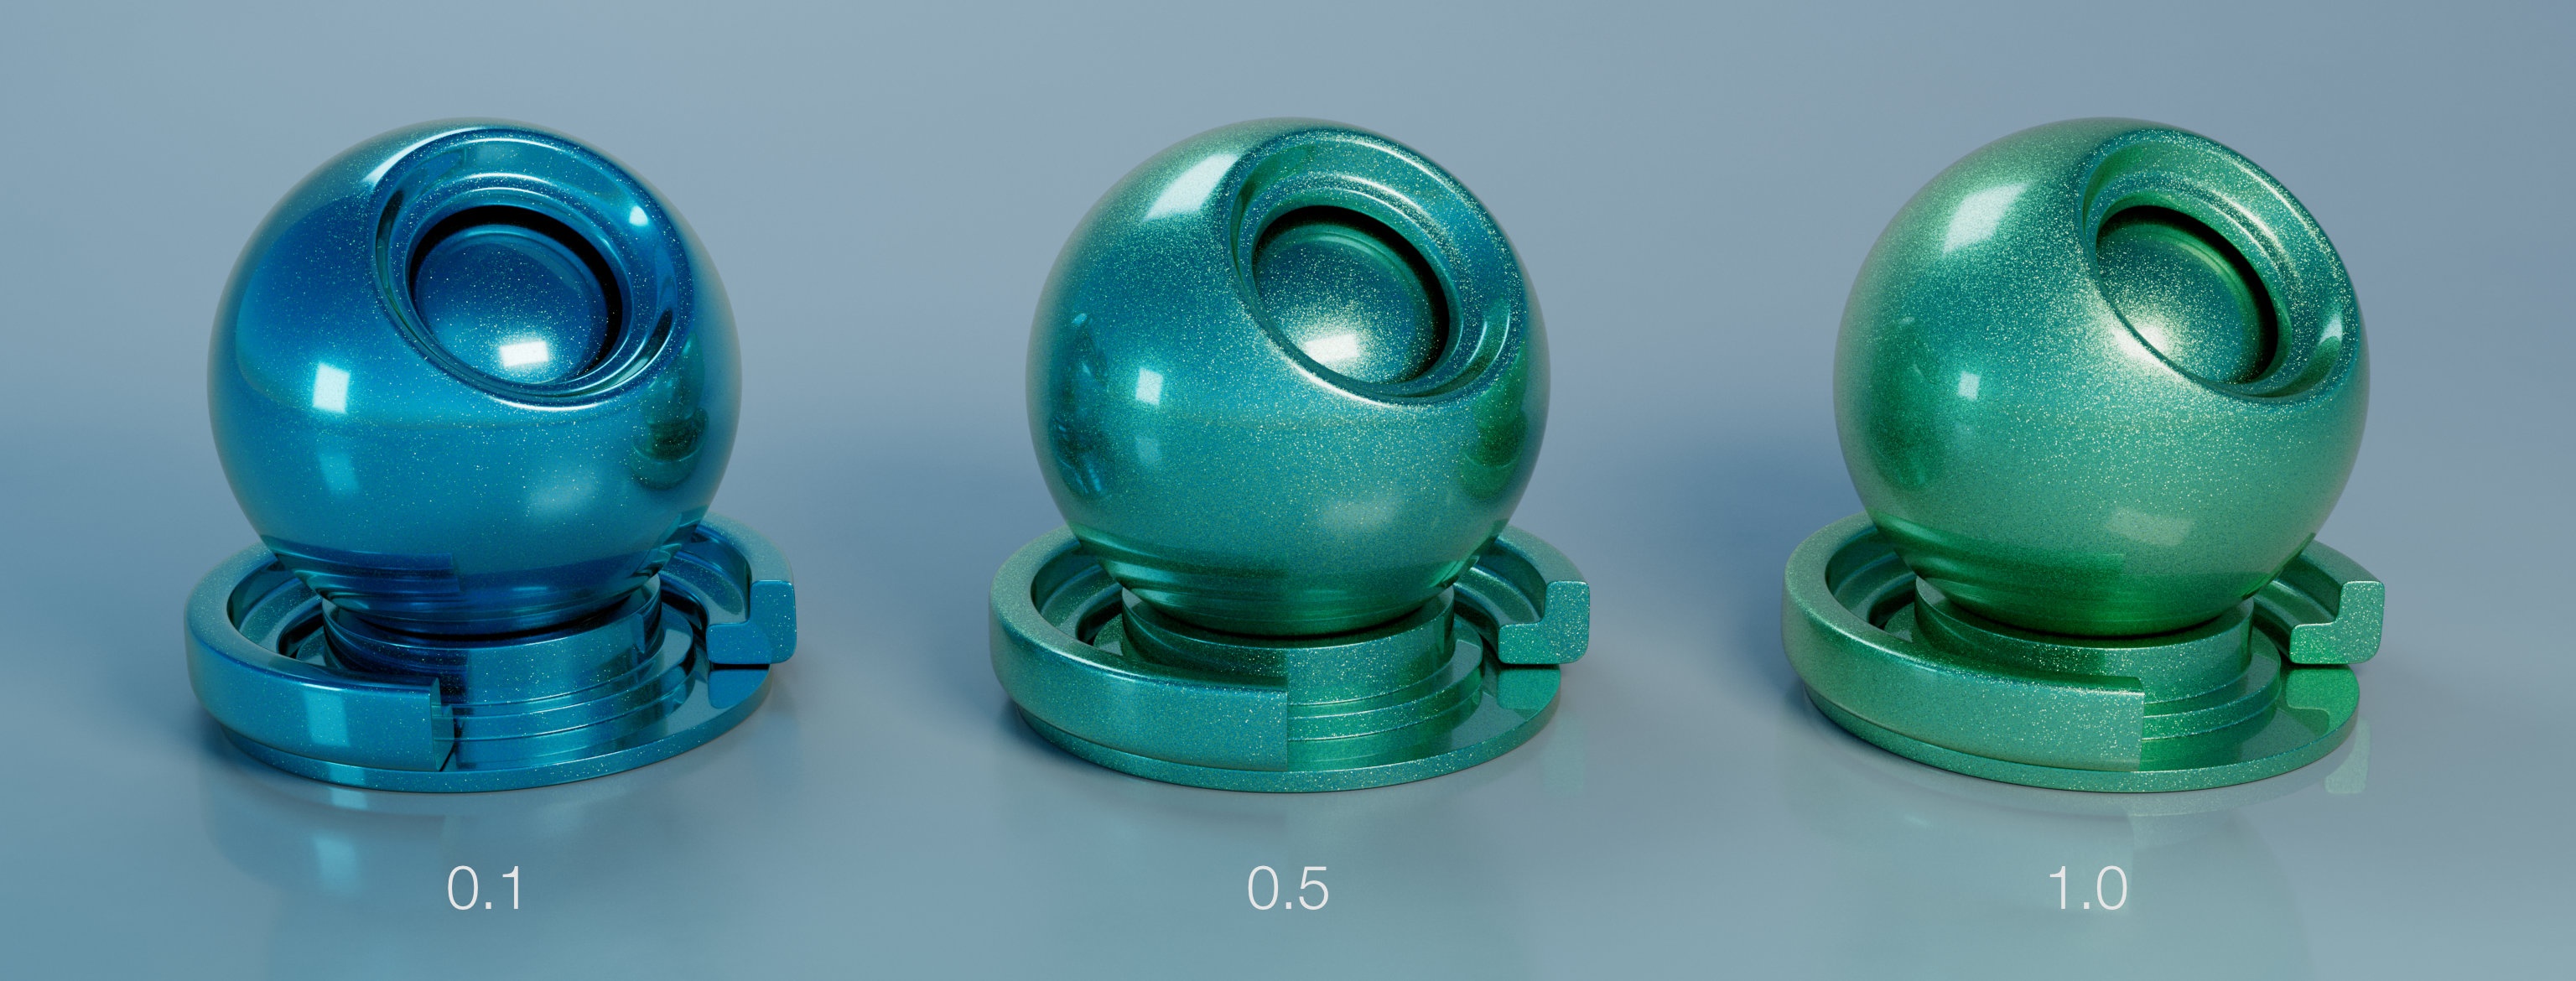
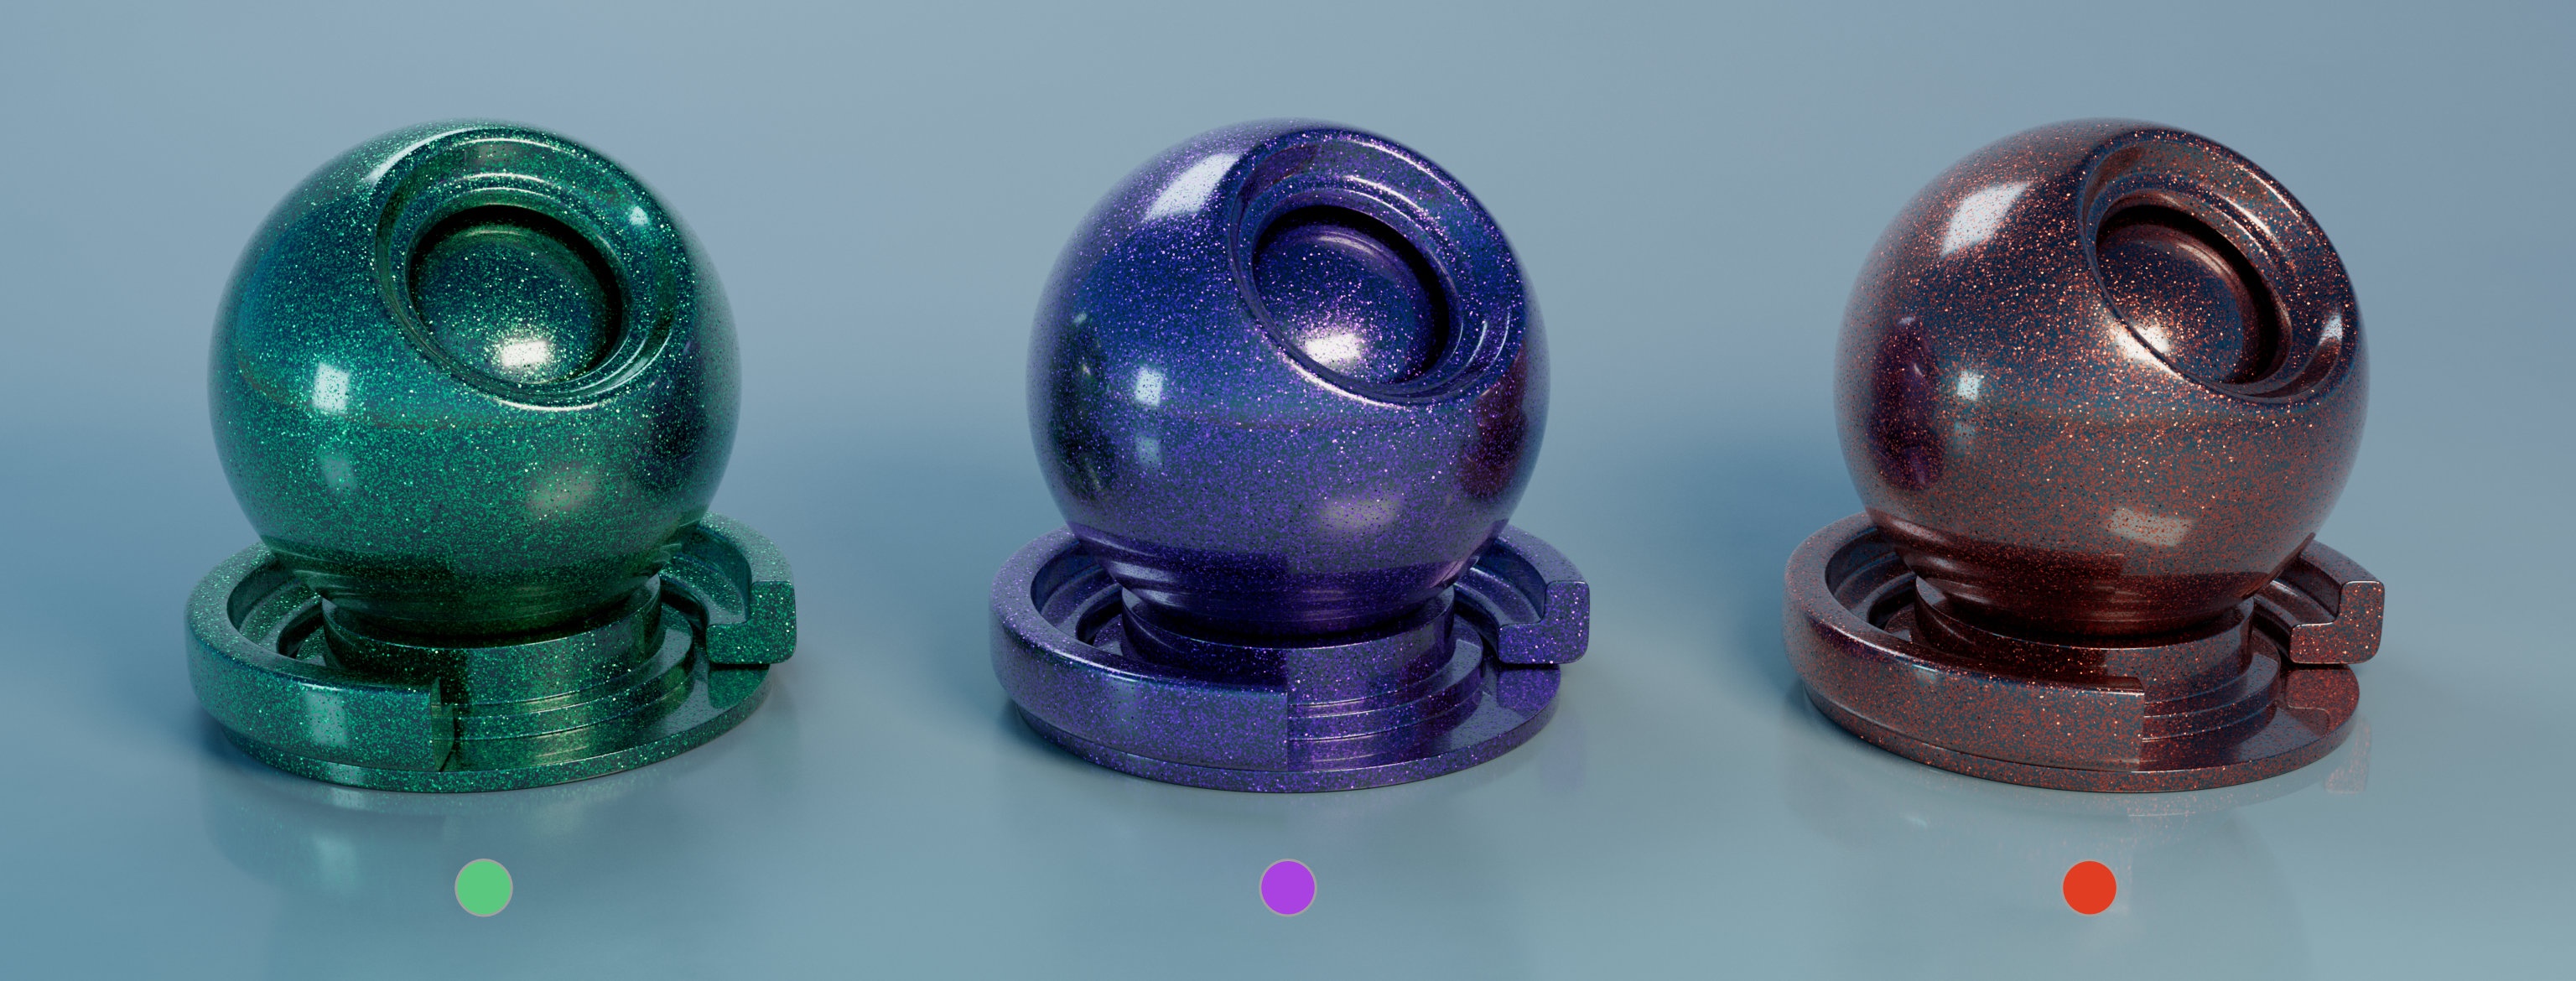
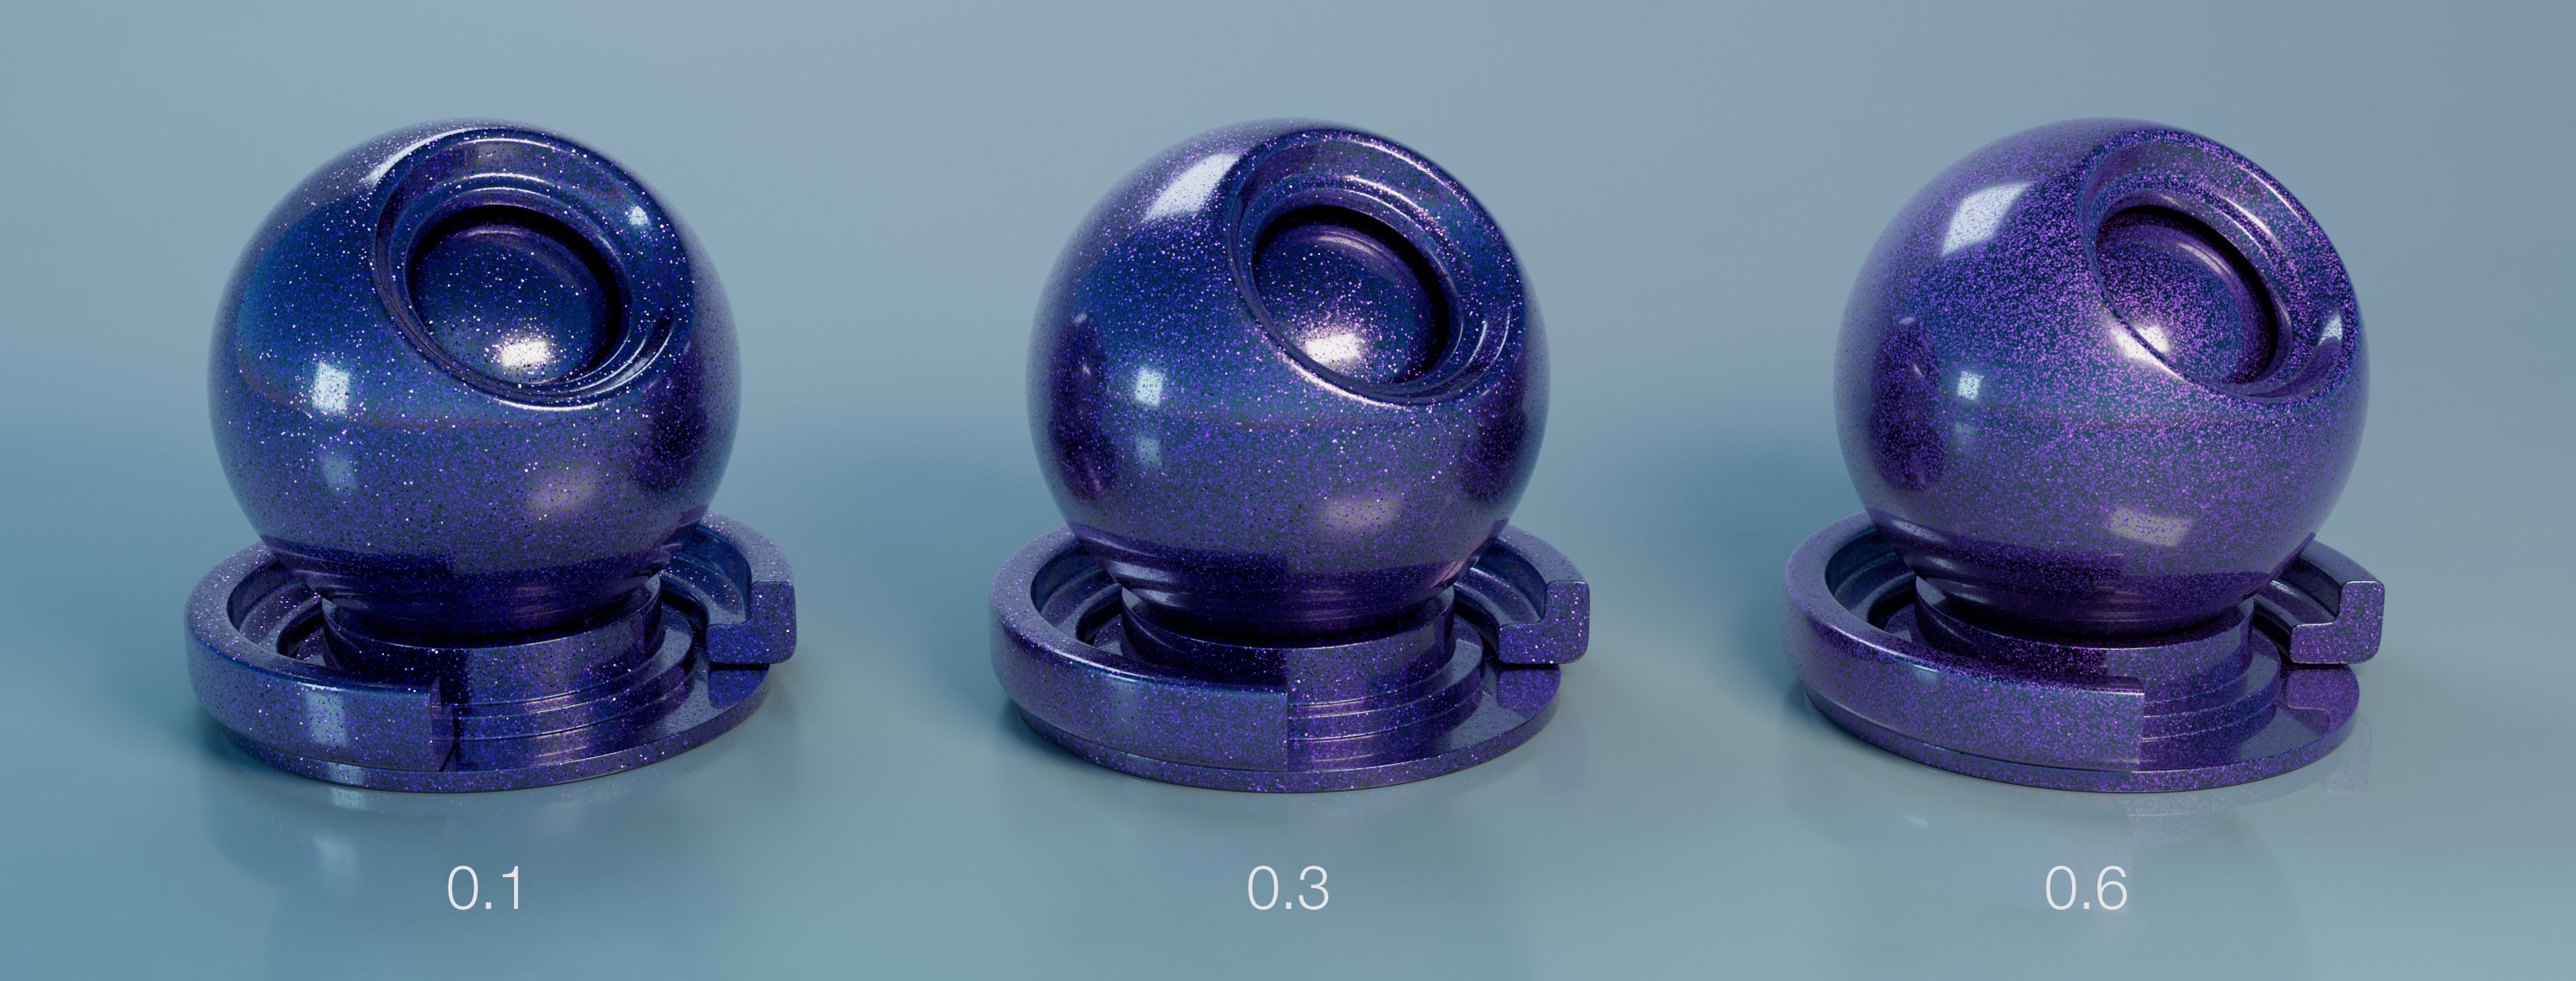
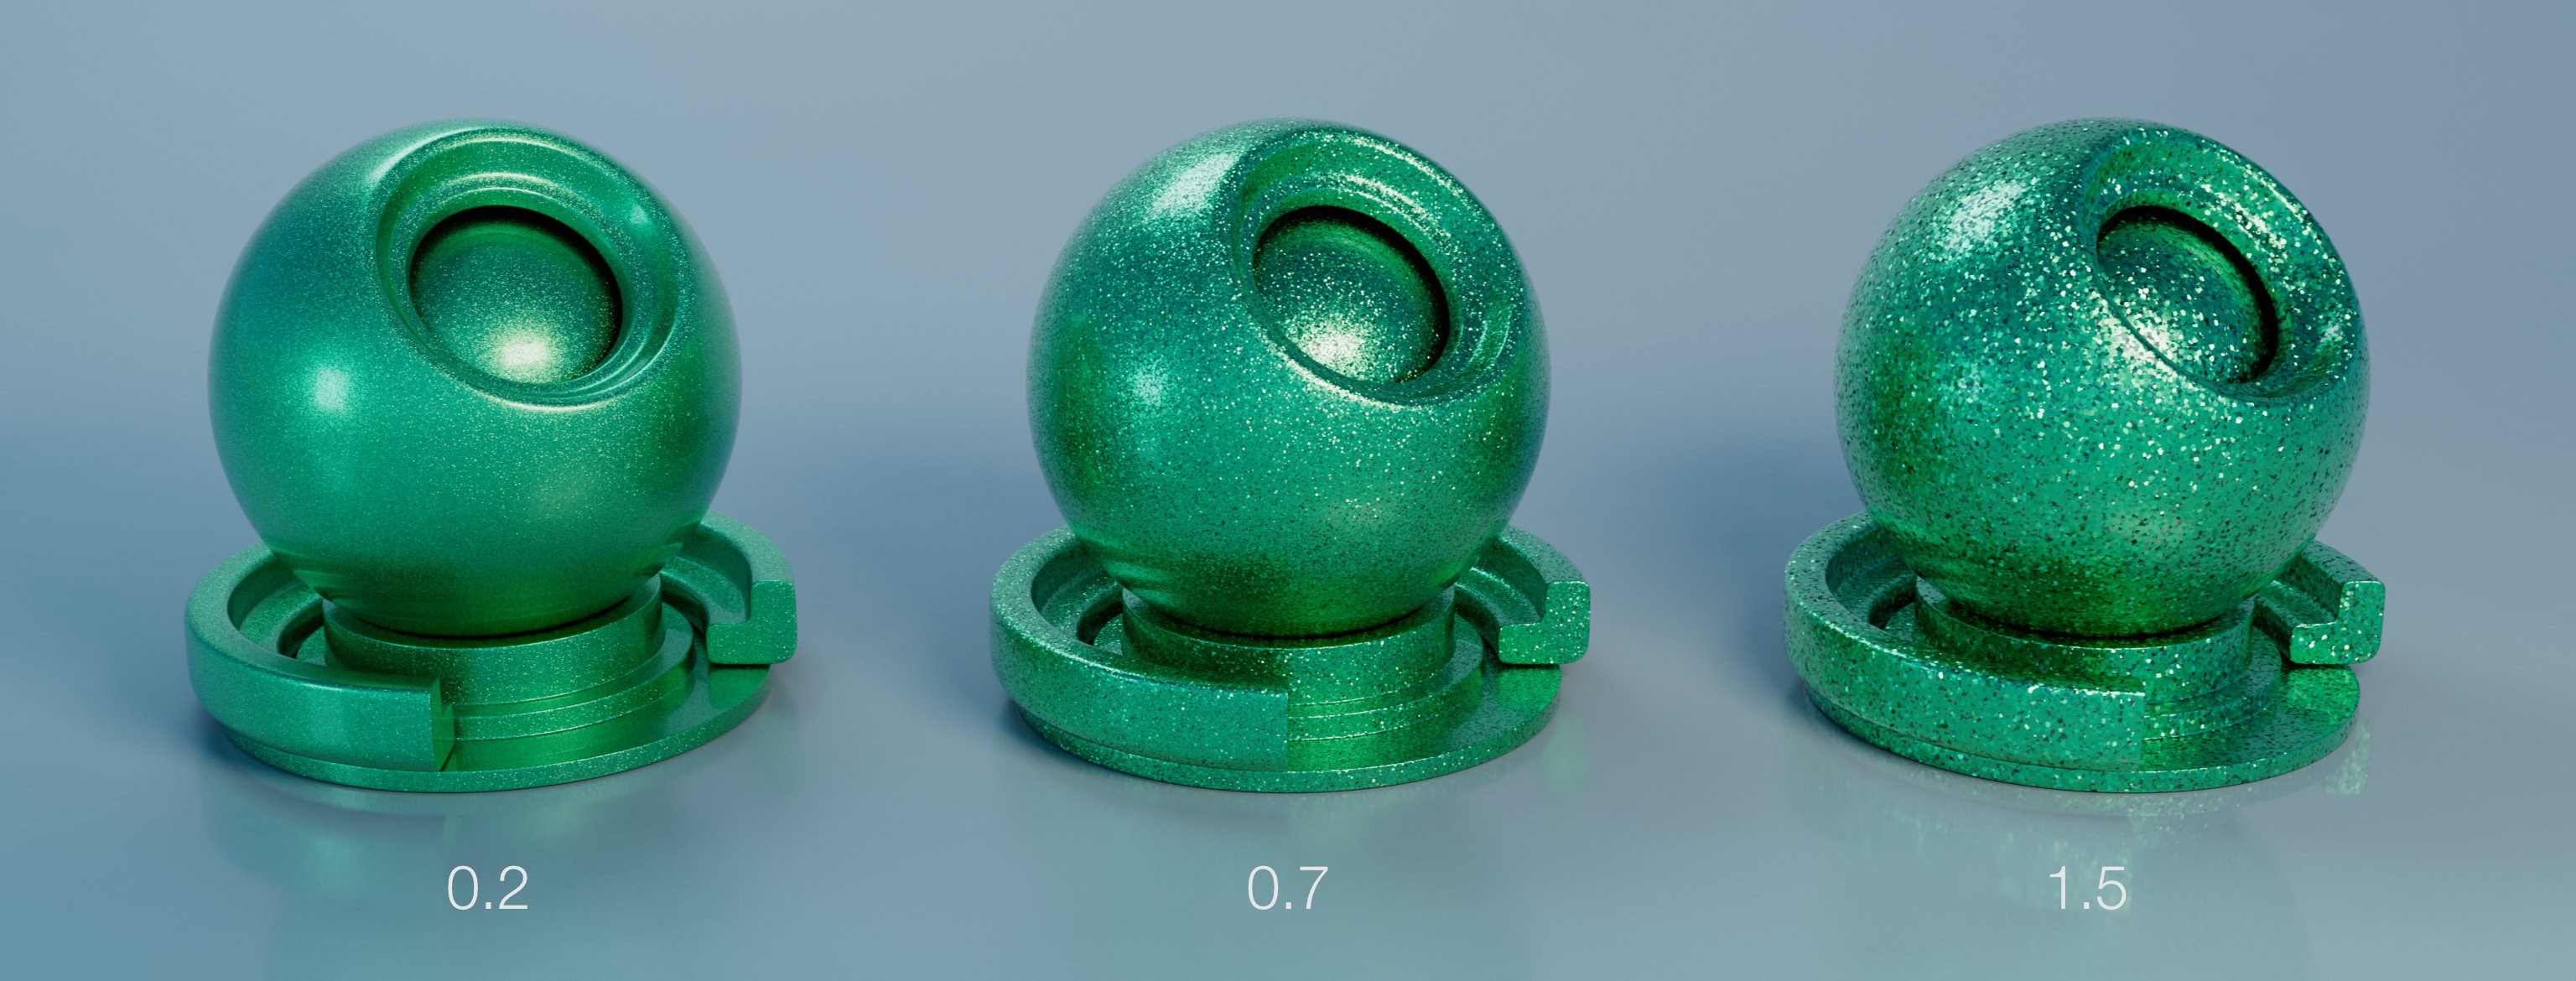
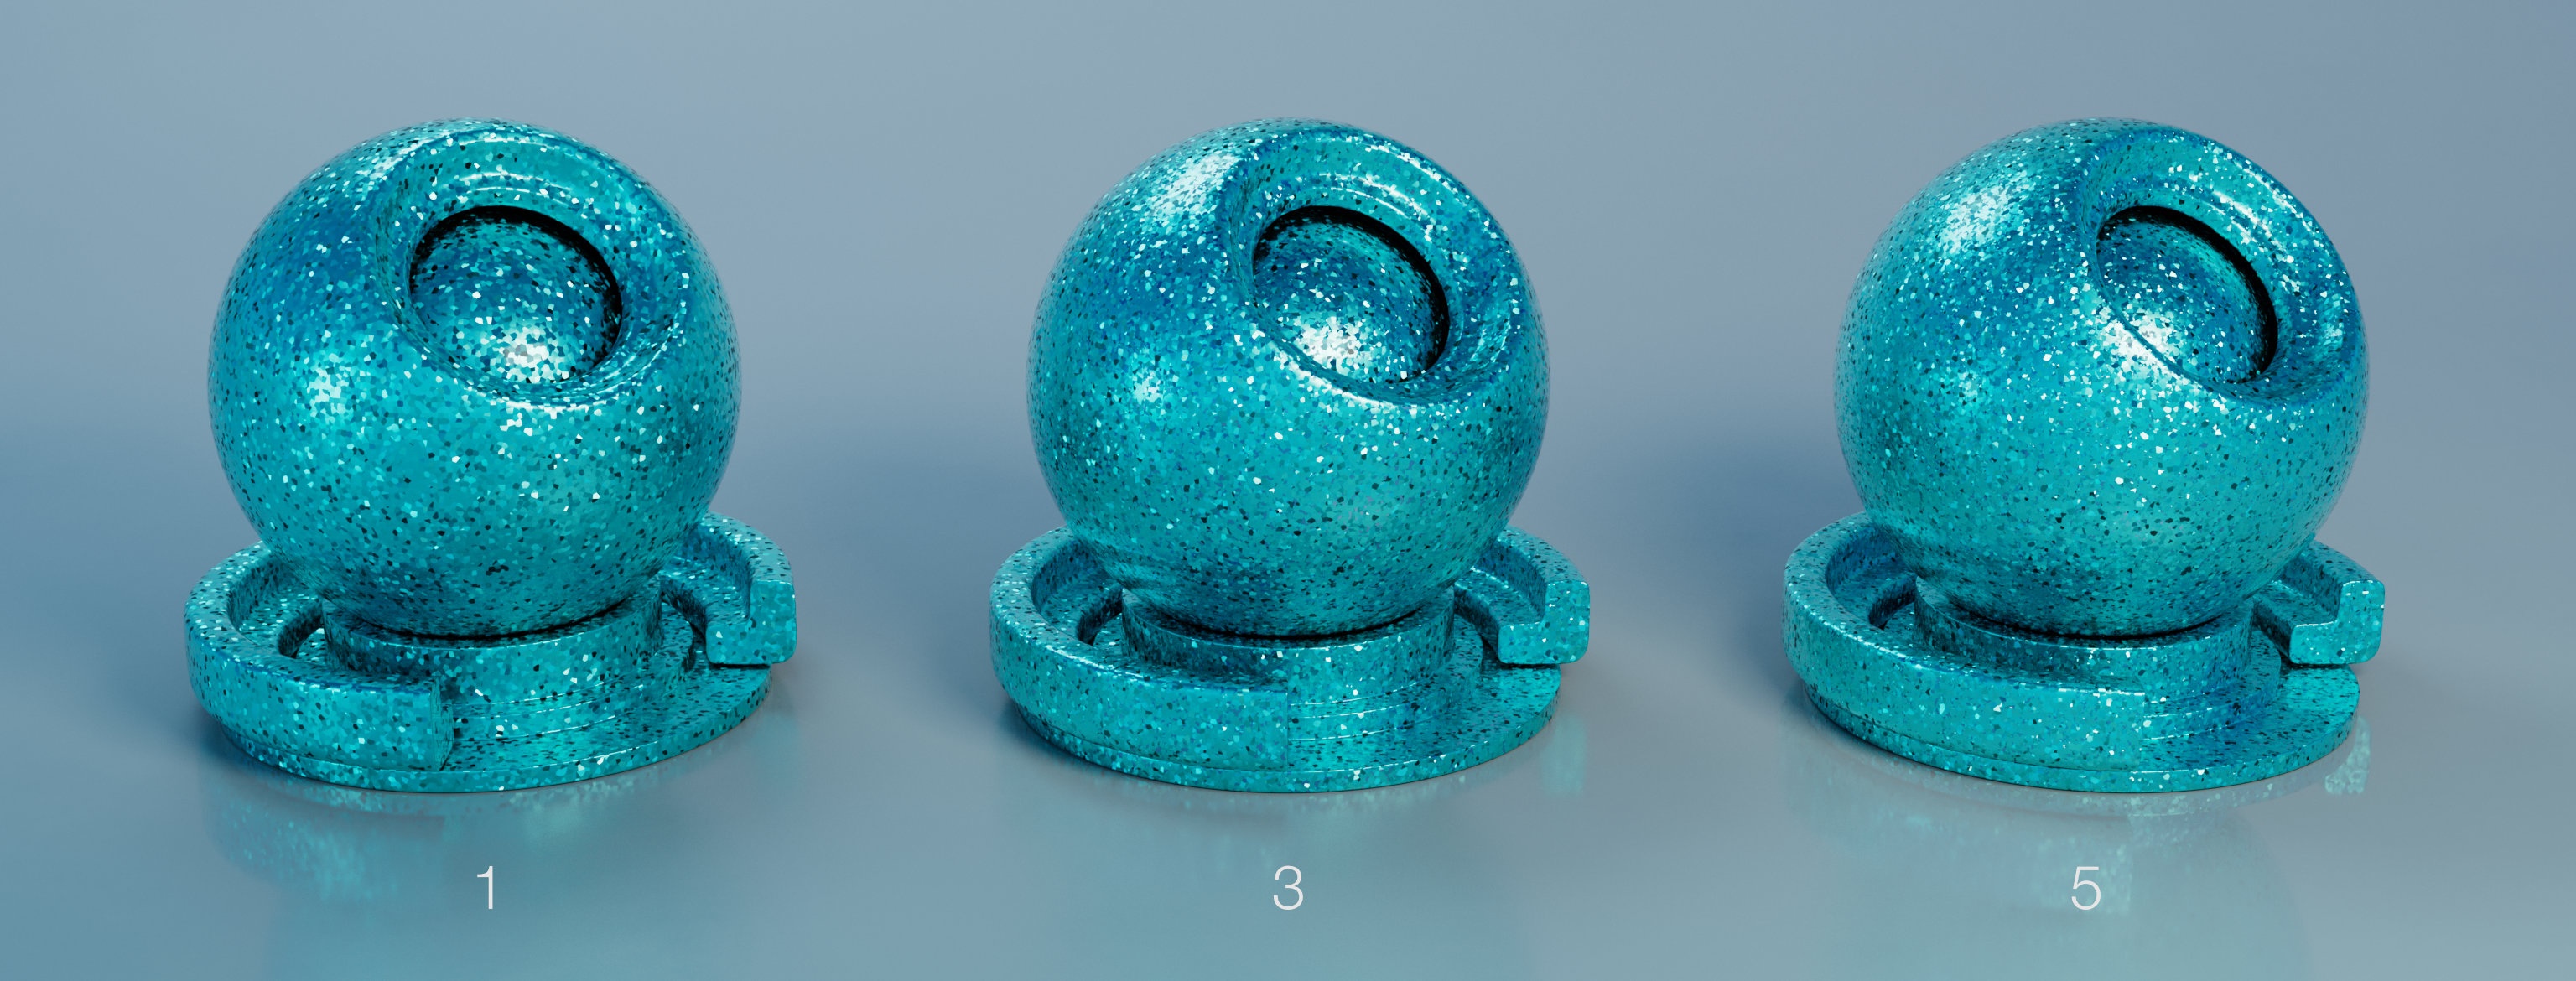
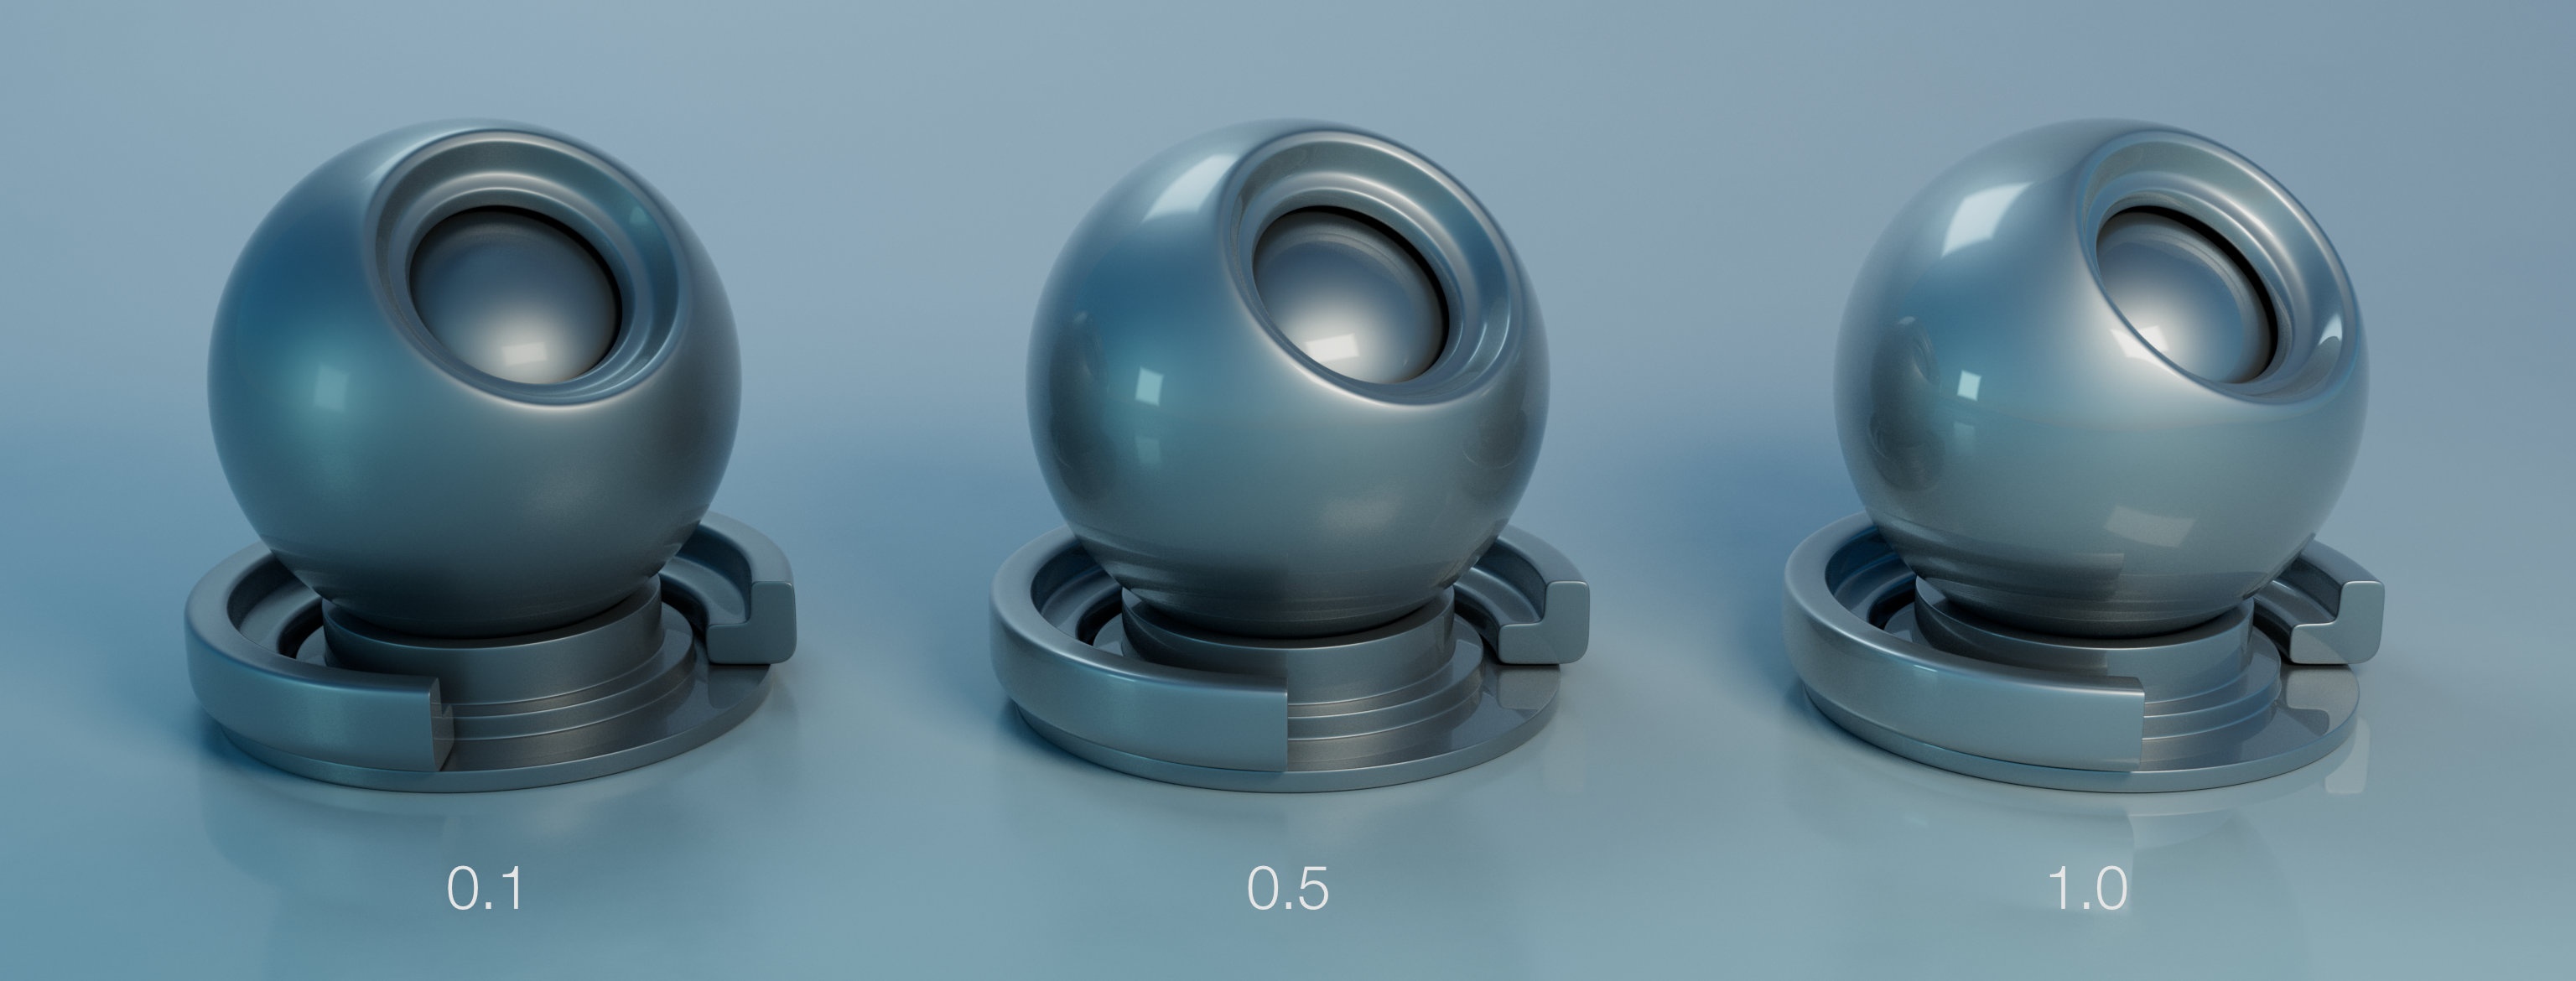
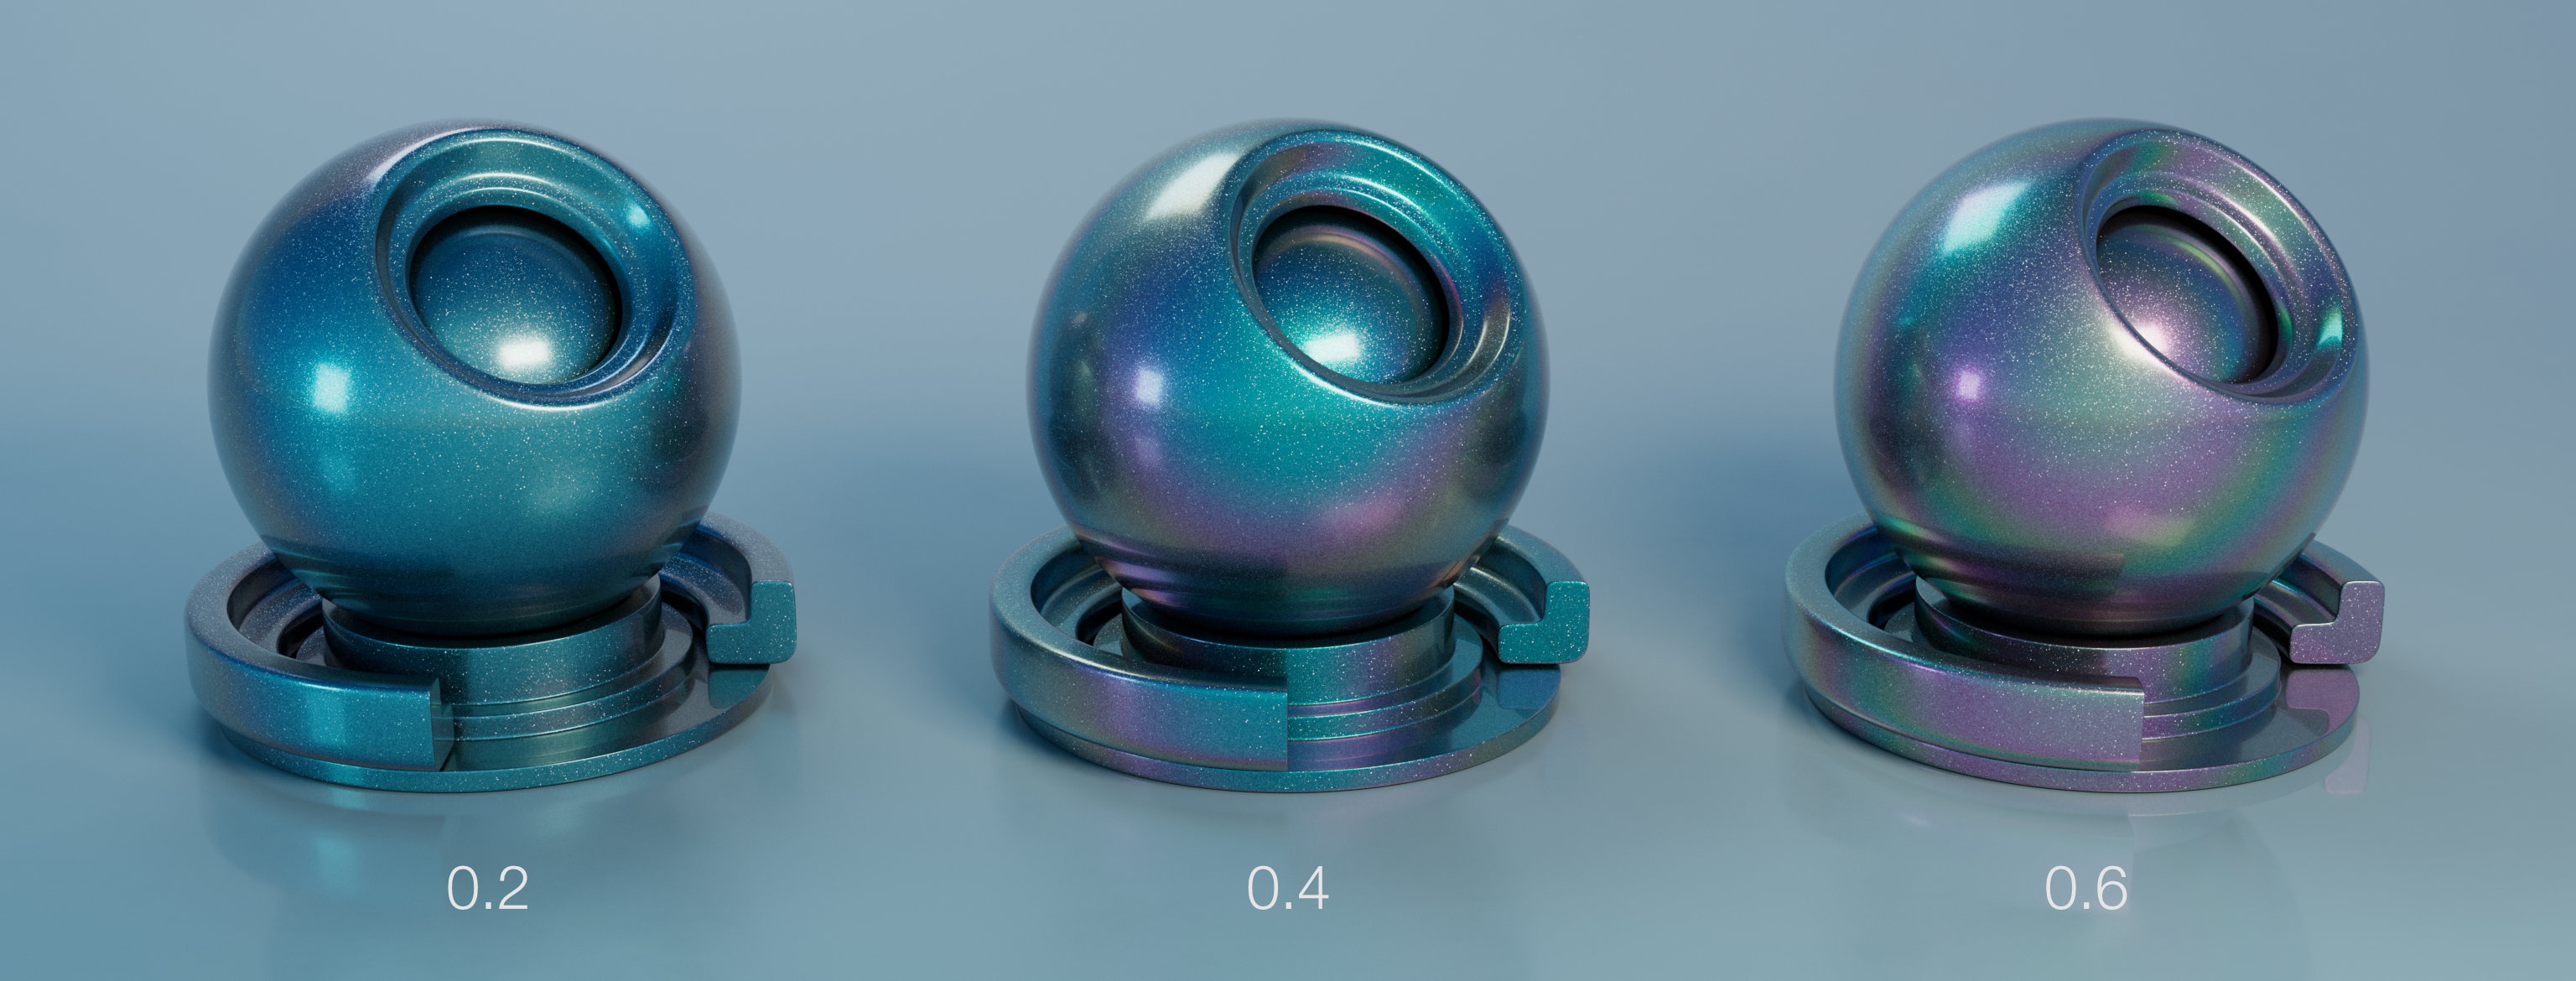
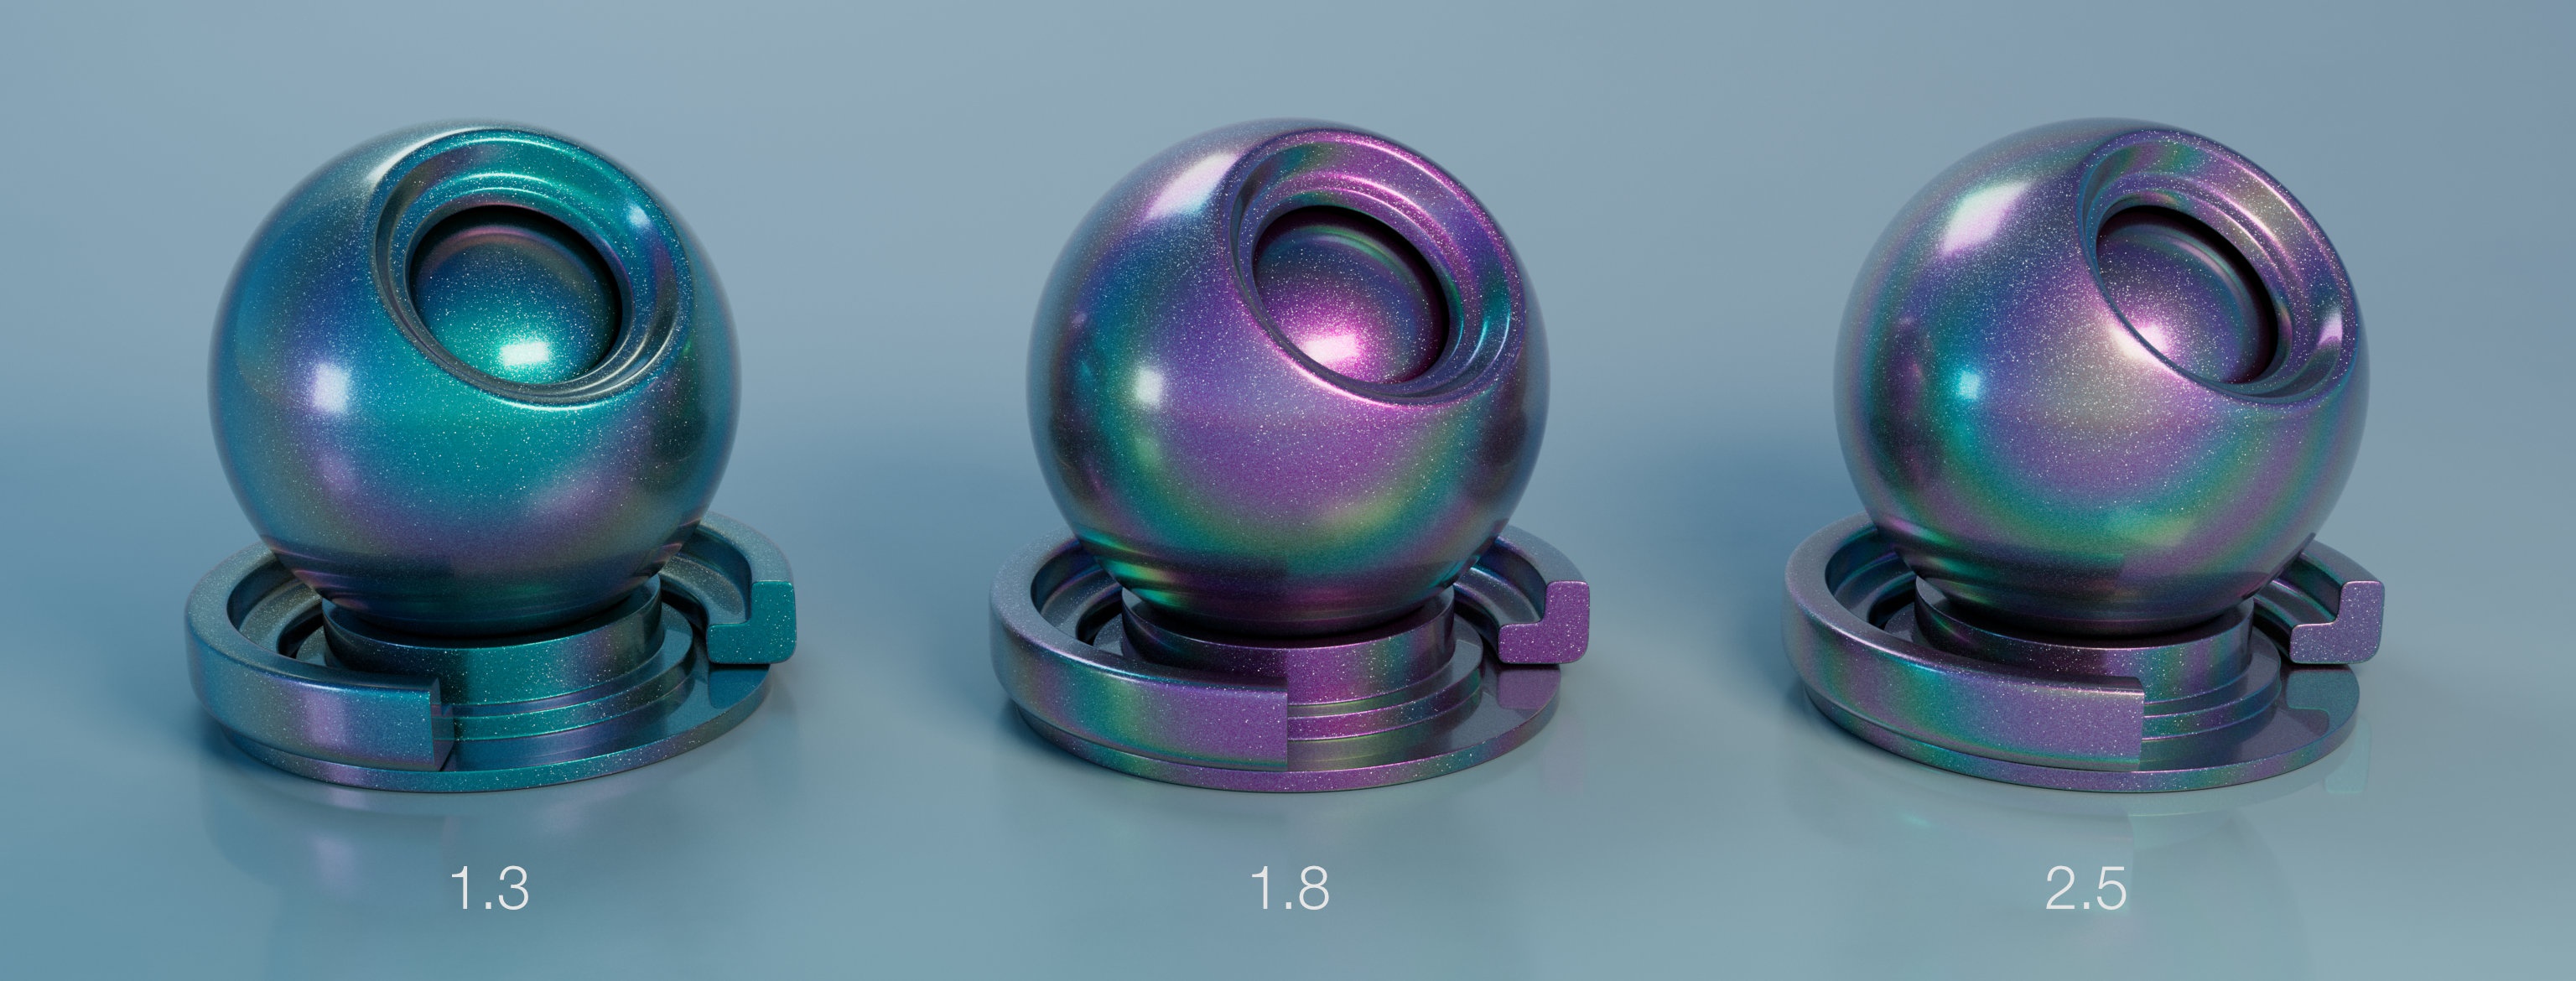
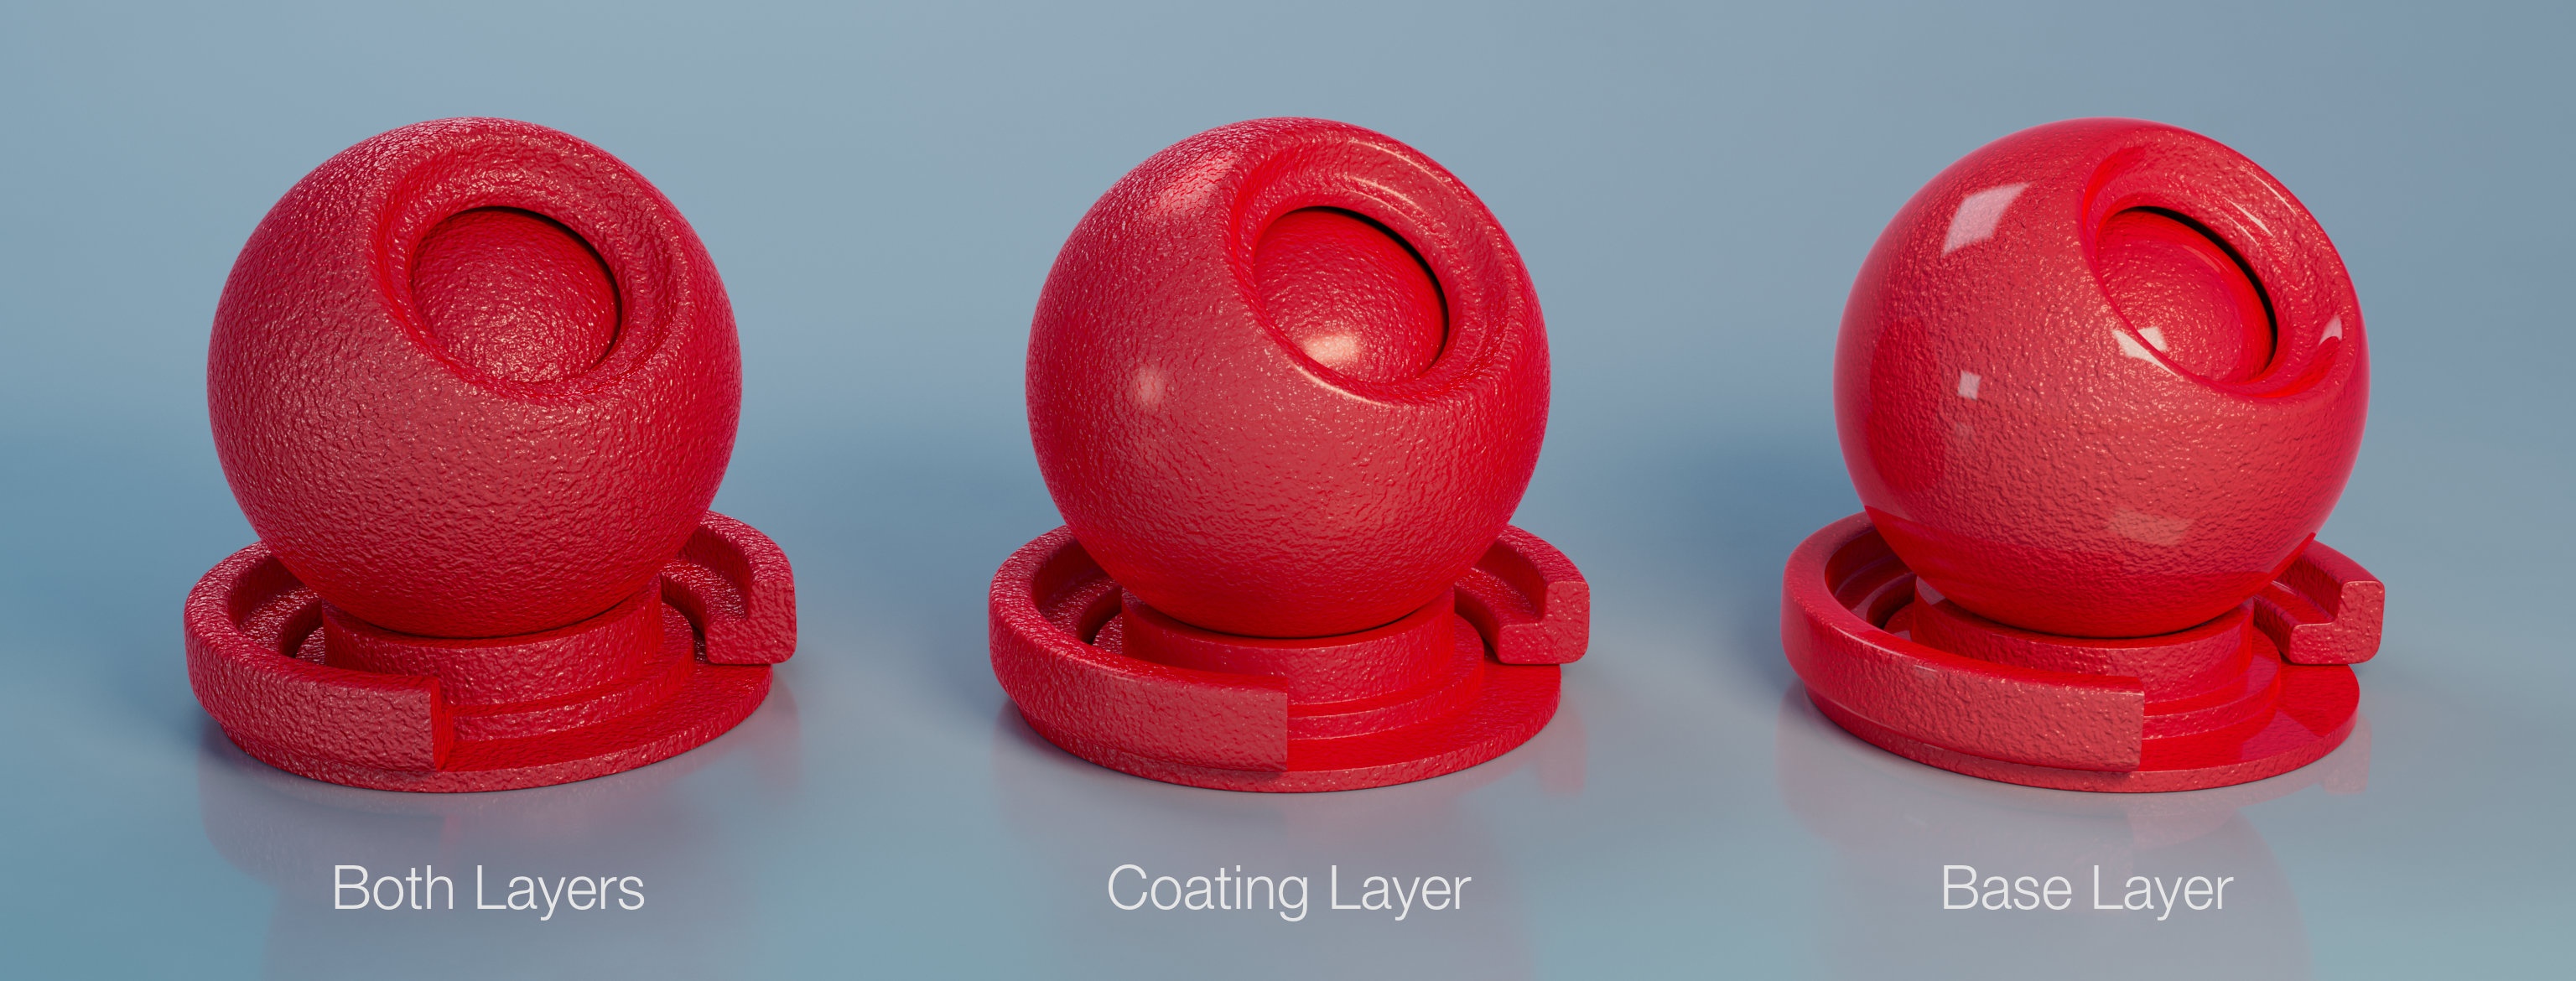
This material is a specialized shader to easily create rendering of cars. Most cars are painted with a metallic paint that has specular flakes in a coat over a base surface. Note that the same look can also be achieved using the 3Delight Principled shader alongside the Flake 3D Texture but this Material frees the artist from cumbersome shading network manipulations.
Base |
|---|
Color
Roughness
Opacity
Specular |
|---|
Color
Specular Level
Roughness 1 & 2
Roughness Balance
Metallic
Flakes |
|---|
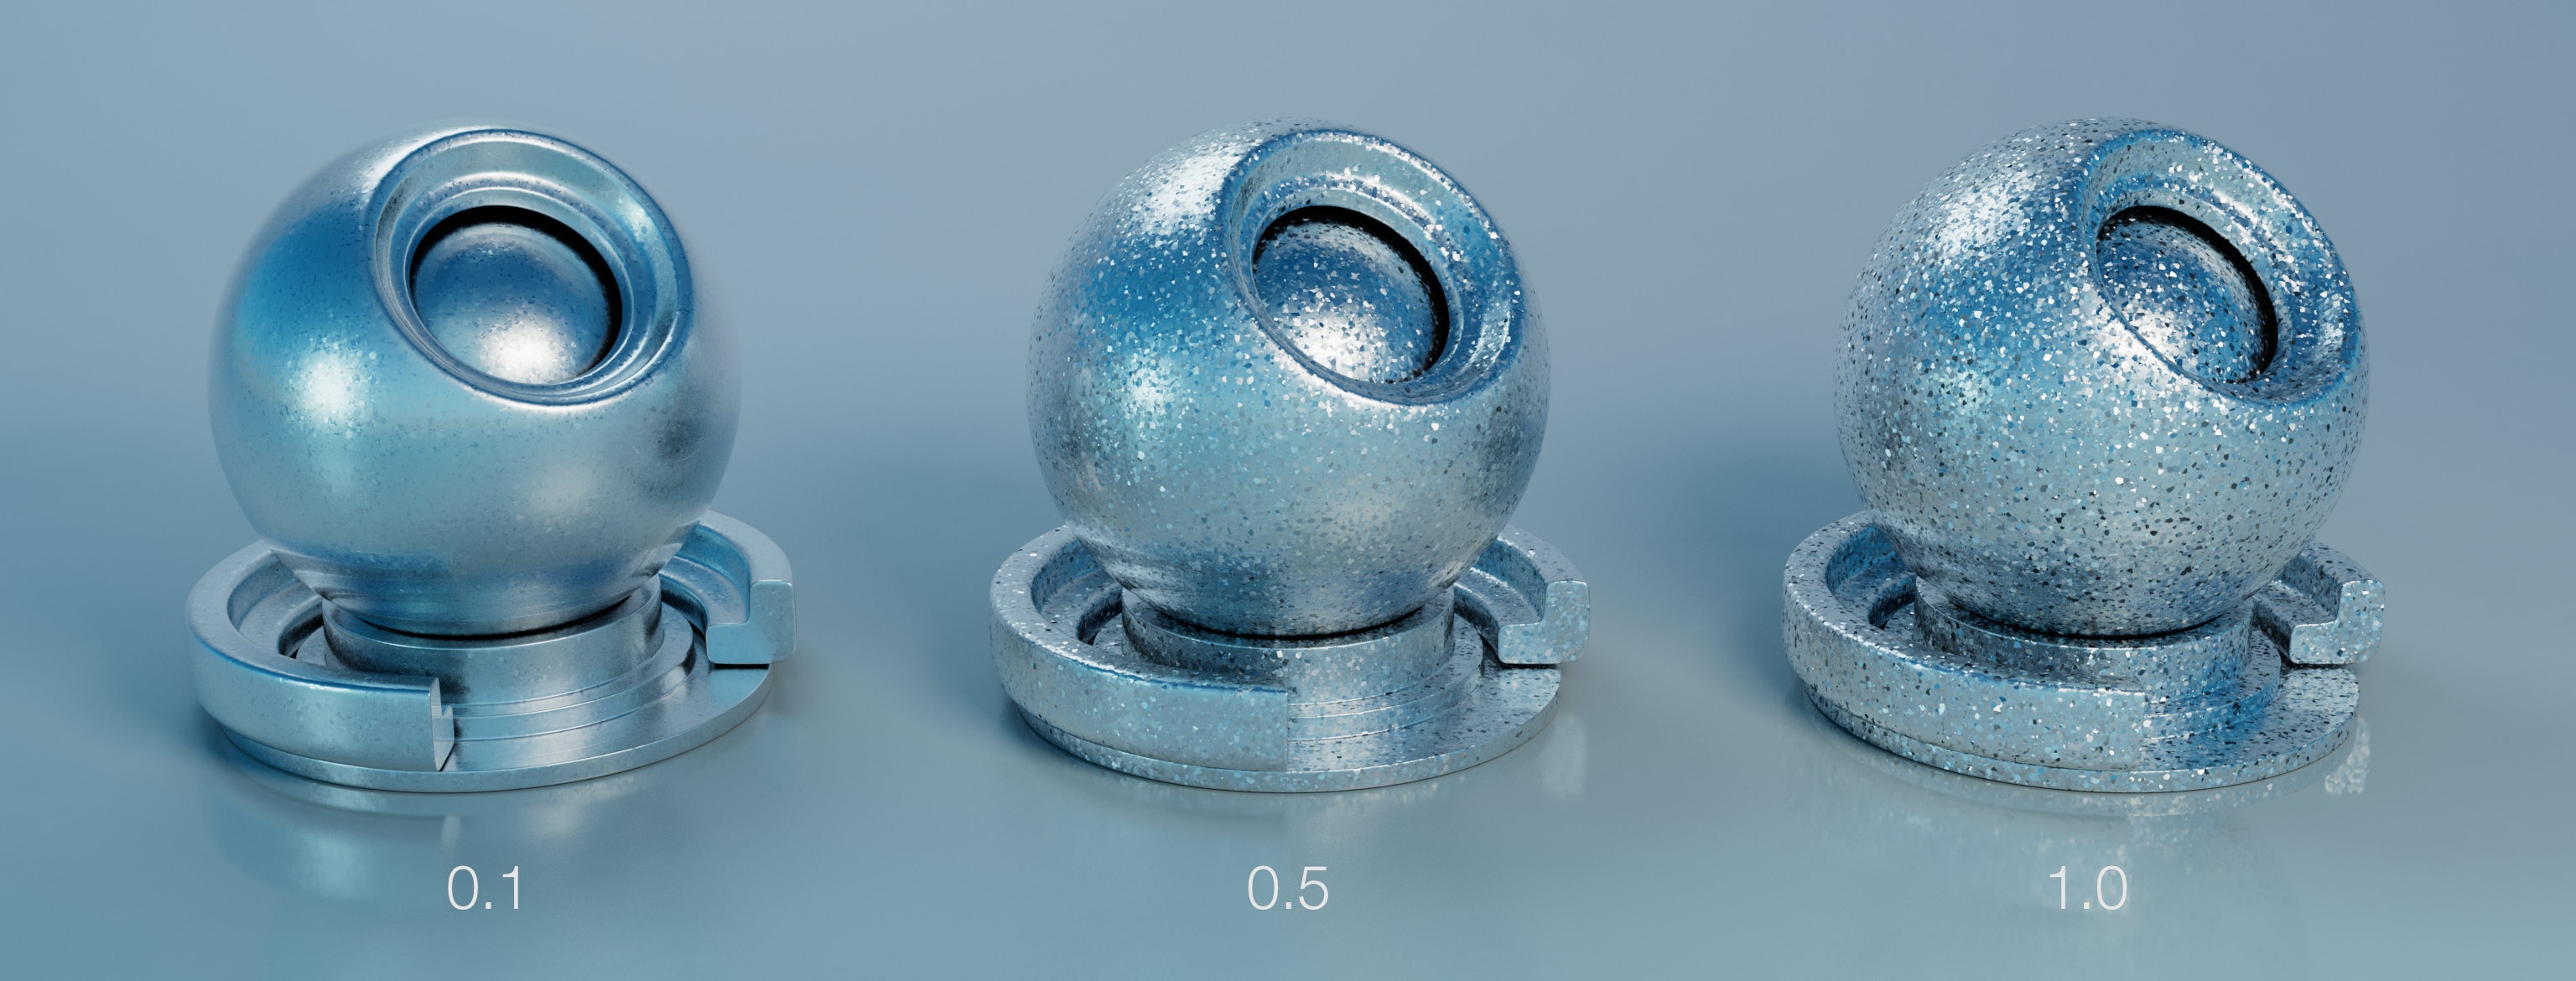
Flakes are little metallic particles floating inside the coating. They give the sparkly look to most car paints. This section controls the characteristics of these flakes.
Weight
Density
Sets the fraction of the surface on which flakes are visible. A density of 0.5 means that a flakes cover half of the surface.
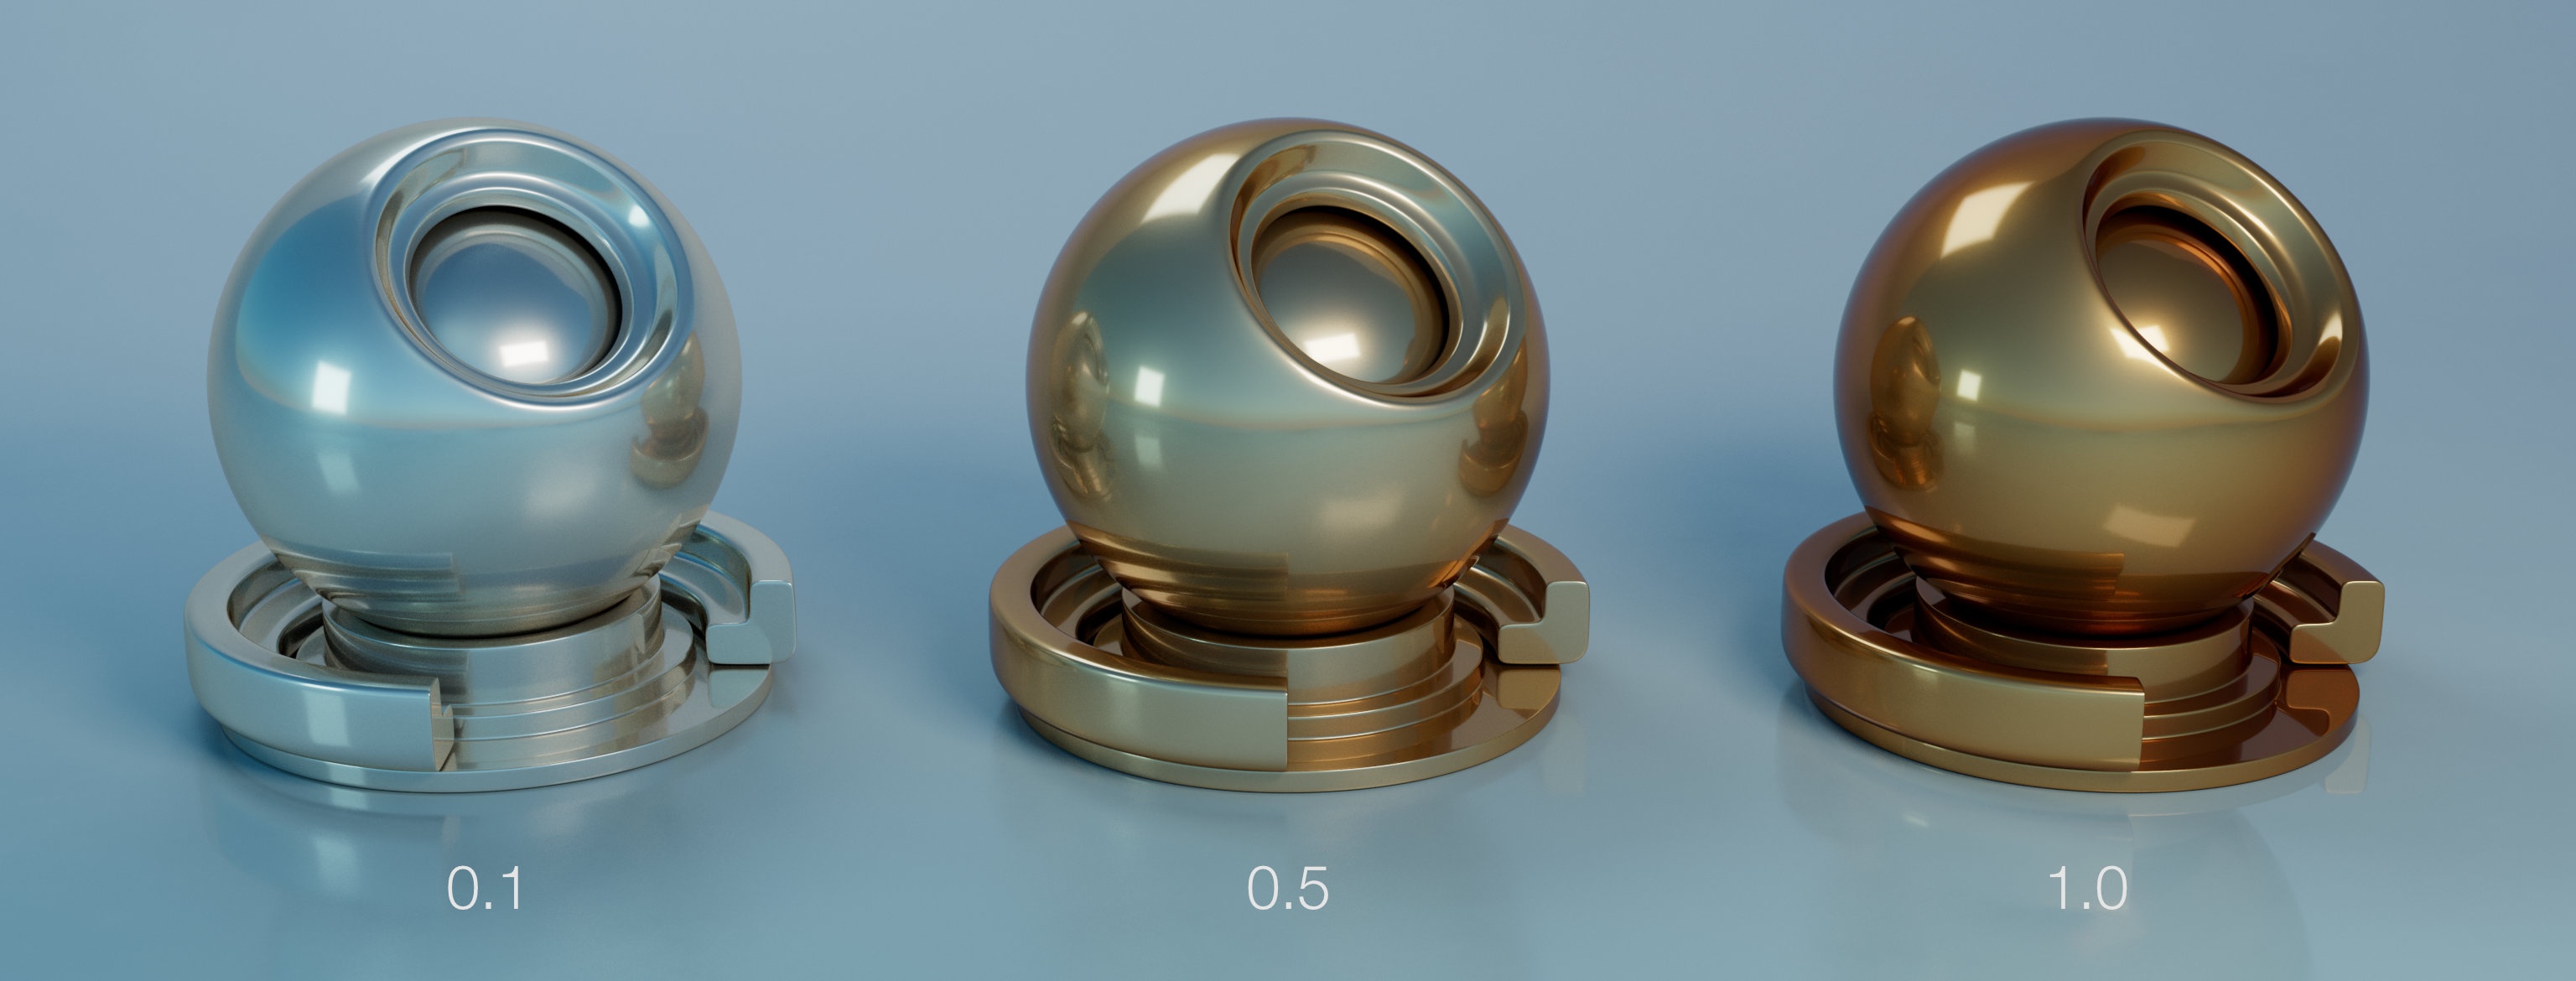
Color
The colour of each flake.
Roughness
The roughness of each flake.
Scale
The scale of each flake. Note that smaller scales will necessitate higher Shading Samples.
Layers
Randomness
How is random is the orientation of flakes. A value of 0 means that all flakes are oriented as the surface normal. A value of 1 means totally random directions.
Coating |
|---|
Coating is an important part of a car paint as it affects the overall look in three main aspects:
- It provides a richer specular response to light as it adds a specular highlight on top of the base surface's highlight.
- It can colour light as it passes through the coating.
- It contains metallic particles (a.k.a flakes) suspended inside the coat.
Thickness
The thickness of the coating layer. The thicker the layer the more it absorbs light and the less of the base layer is visible. A thickness of 0 disables the coating.
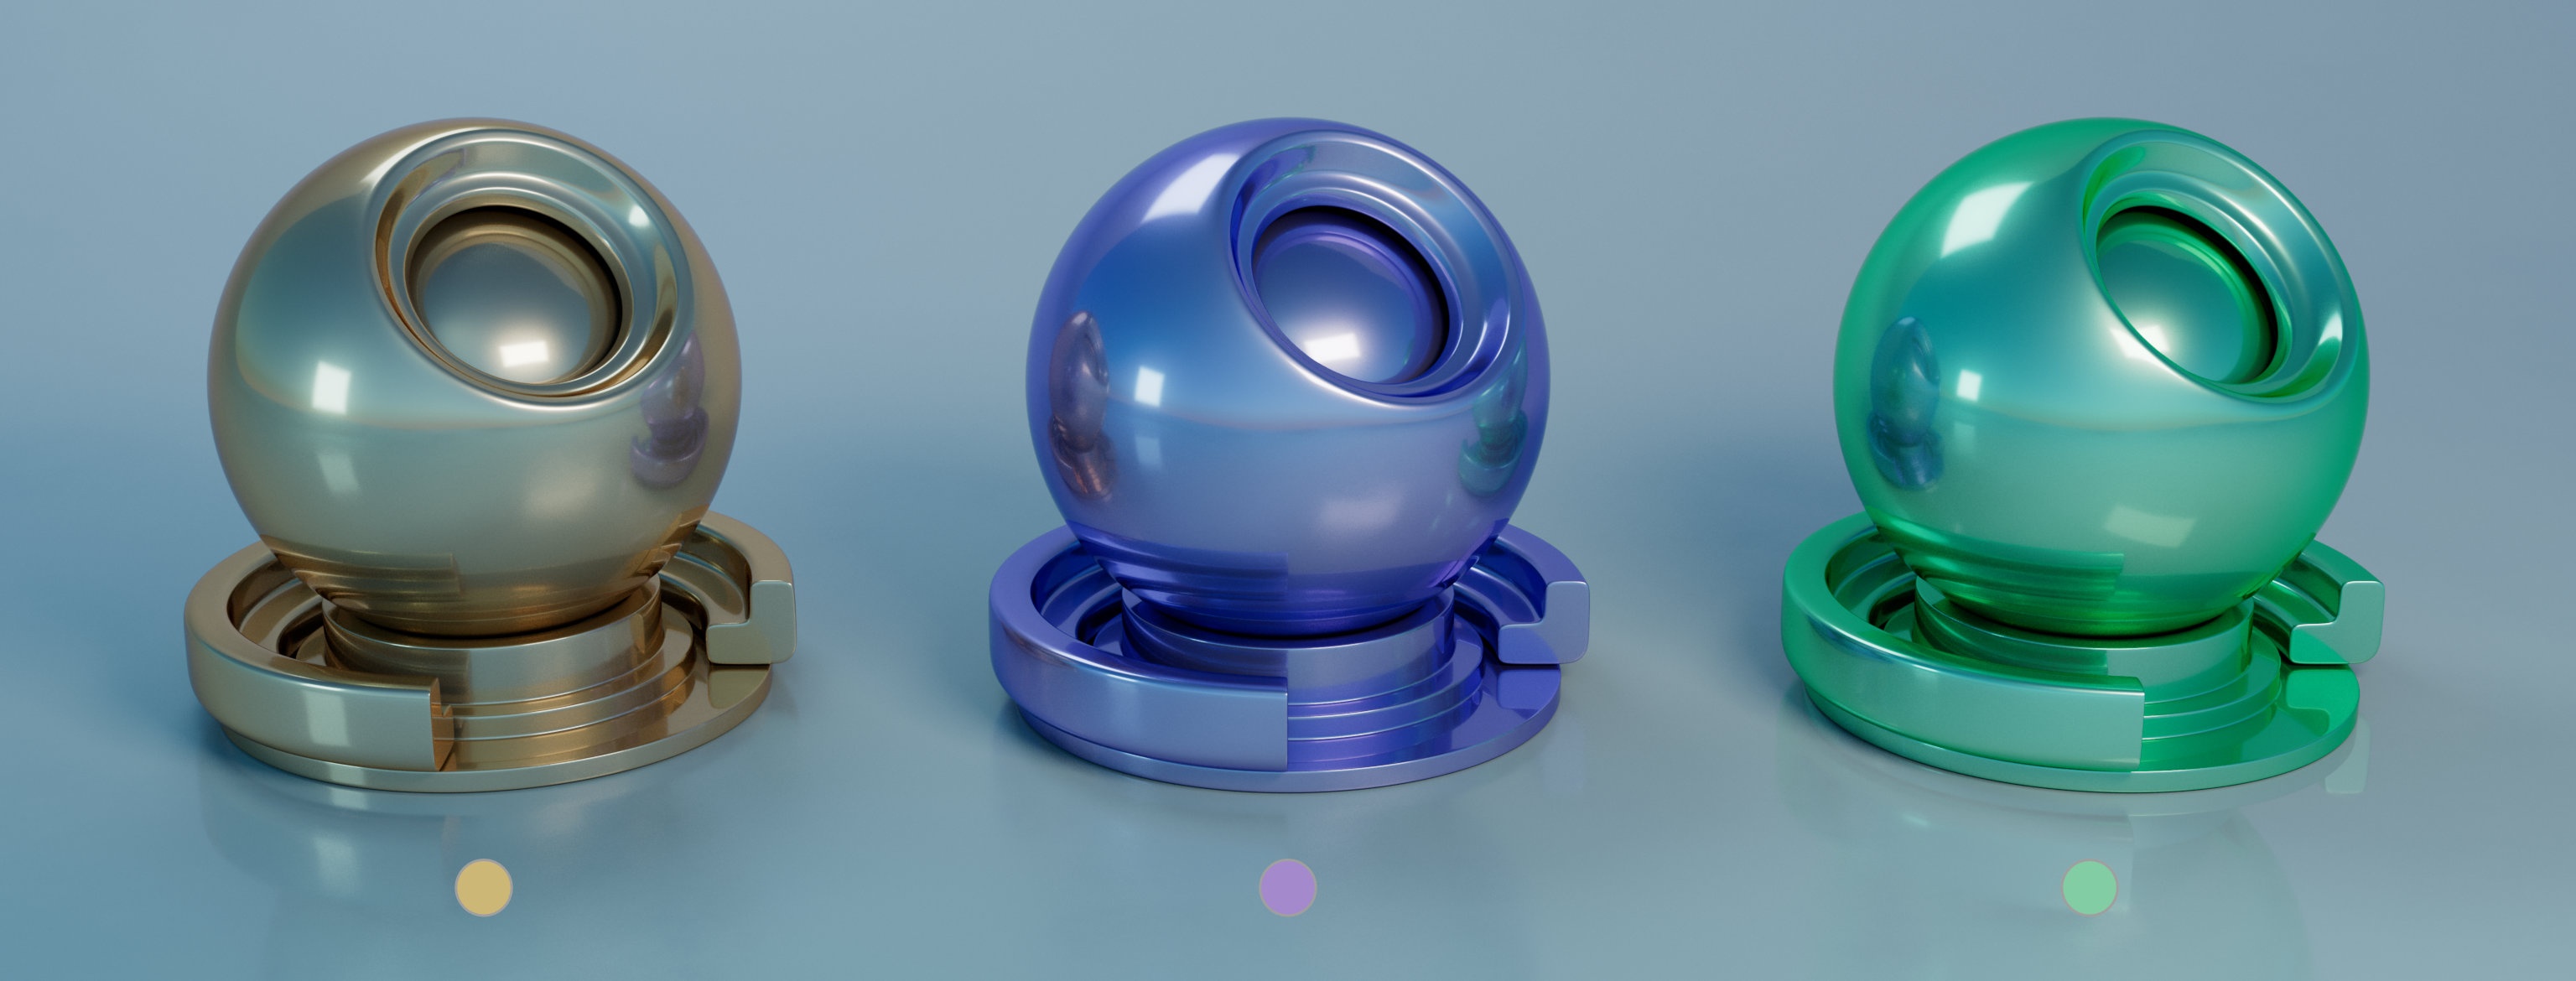
Color
The colouring produced by this coating layer. Colouring will be more prominent in thicker layers.
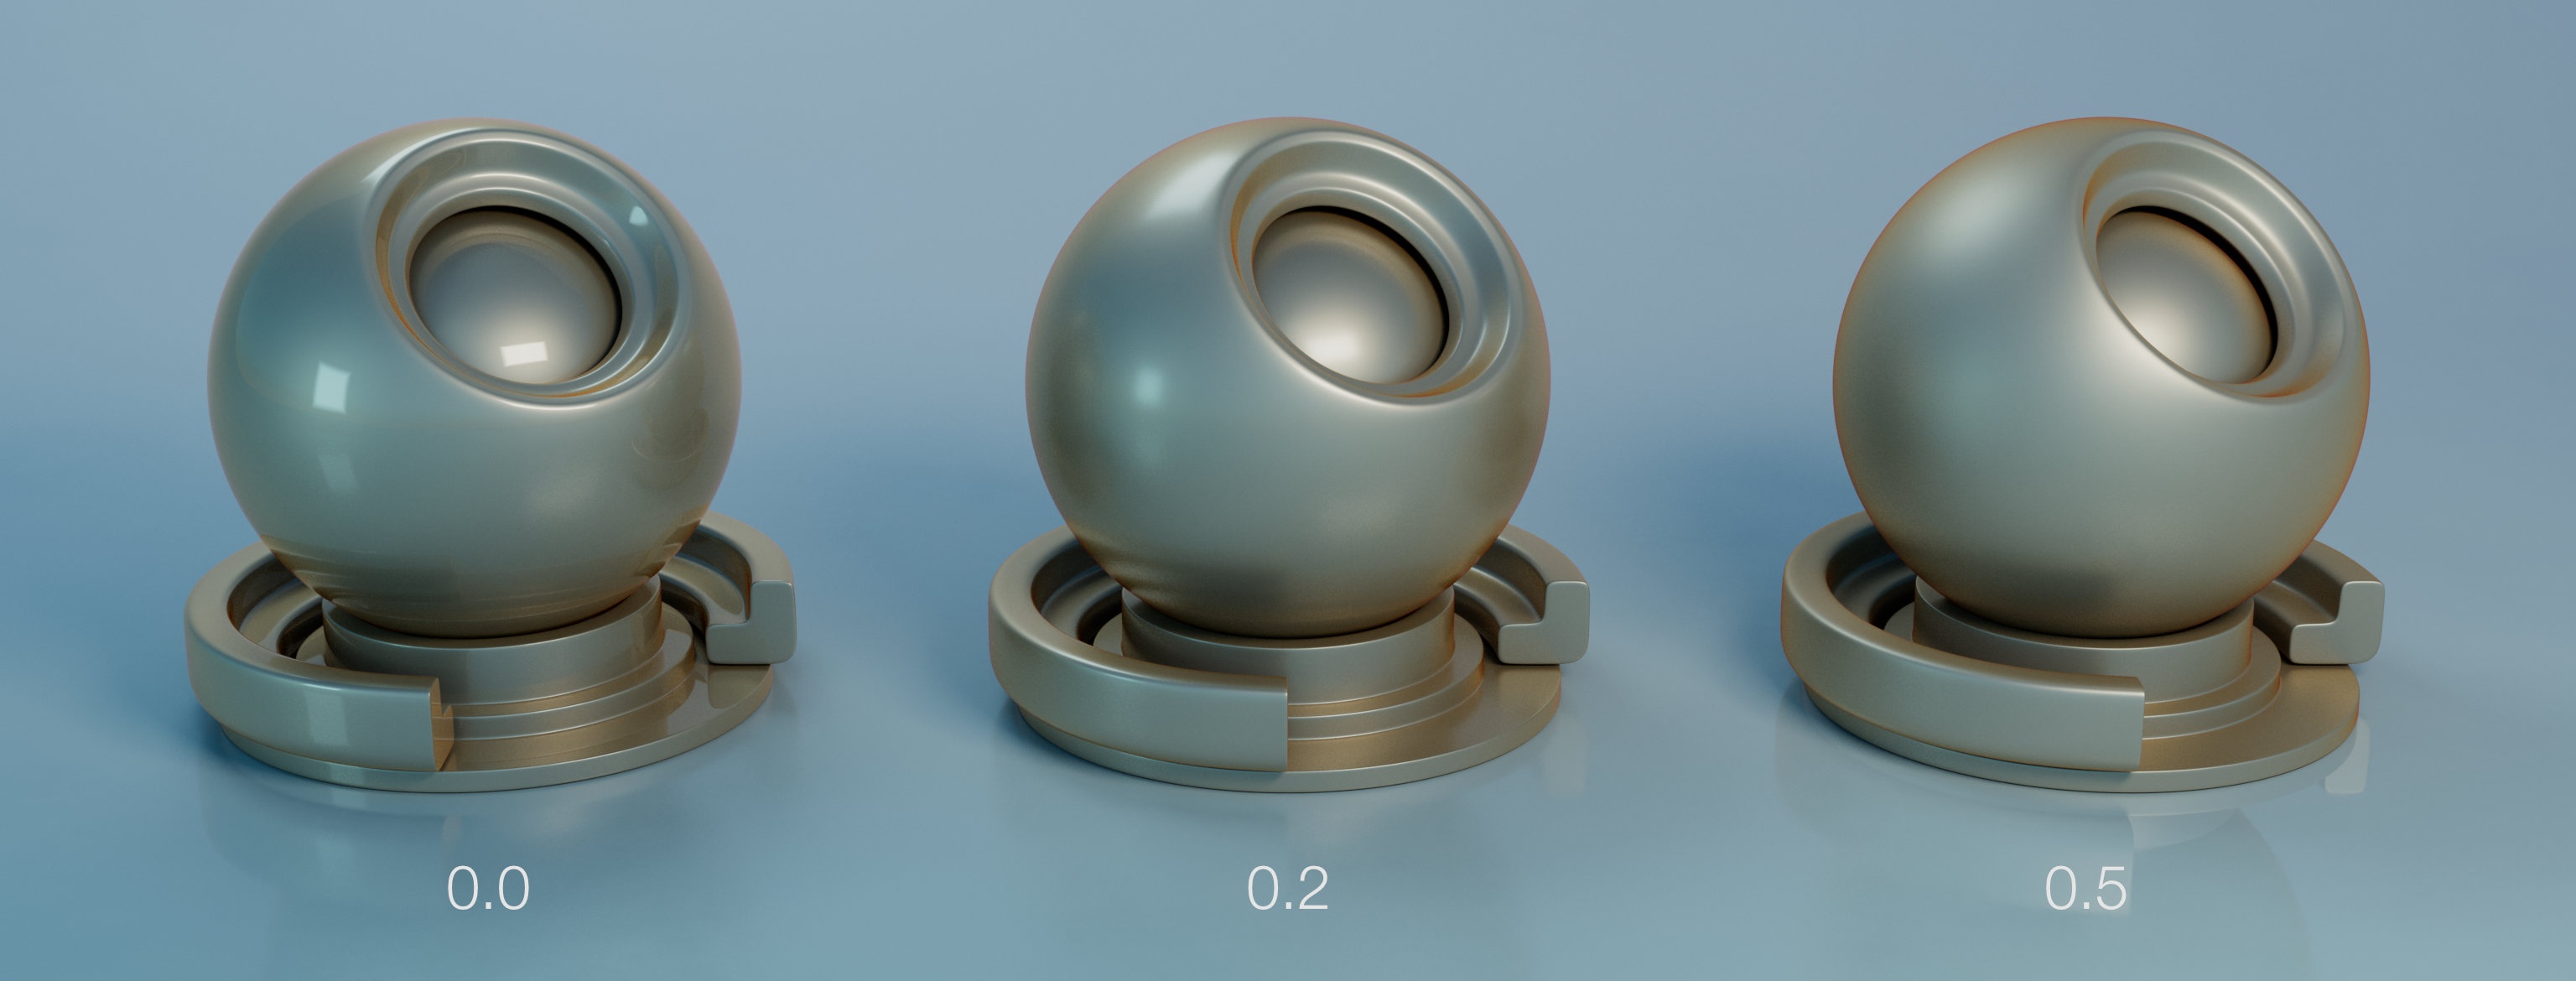
Roughness
Roughness of the coating layer.
Specular Level
How "shiny" is the coating. A value of 1 means a very shiny coating.
Thin Film |
|---|
Thickness
IOR
Normal Map / Bump |
|---|
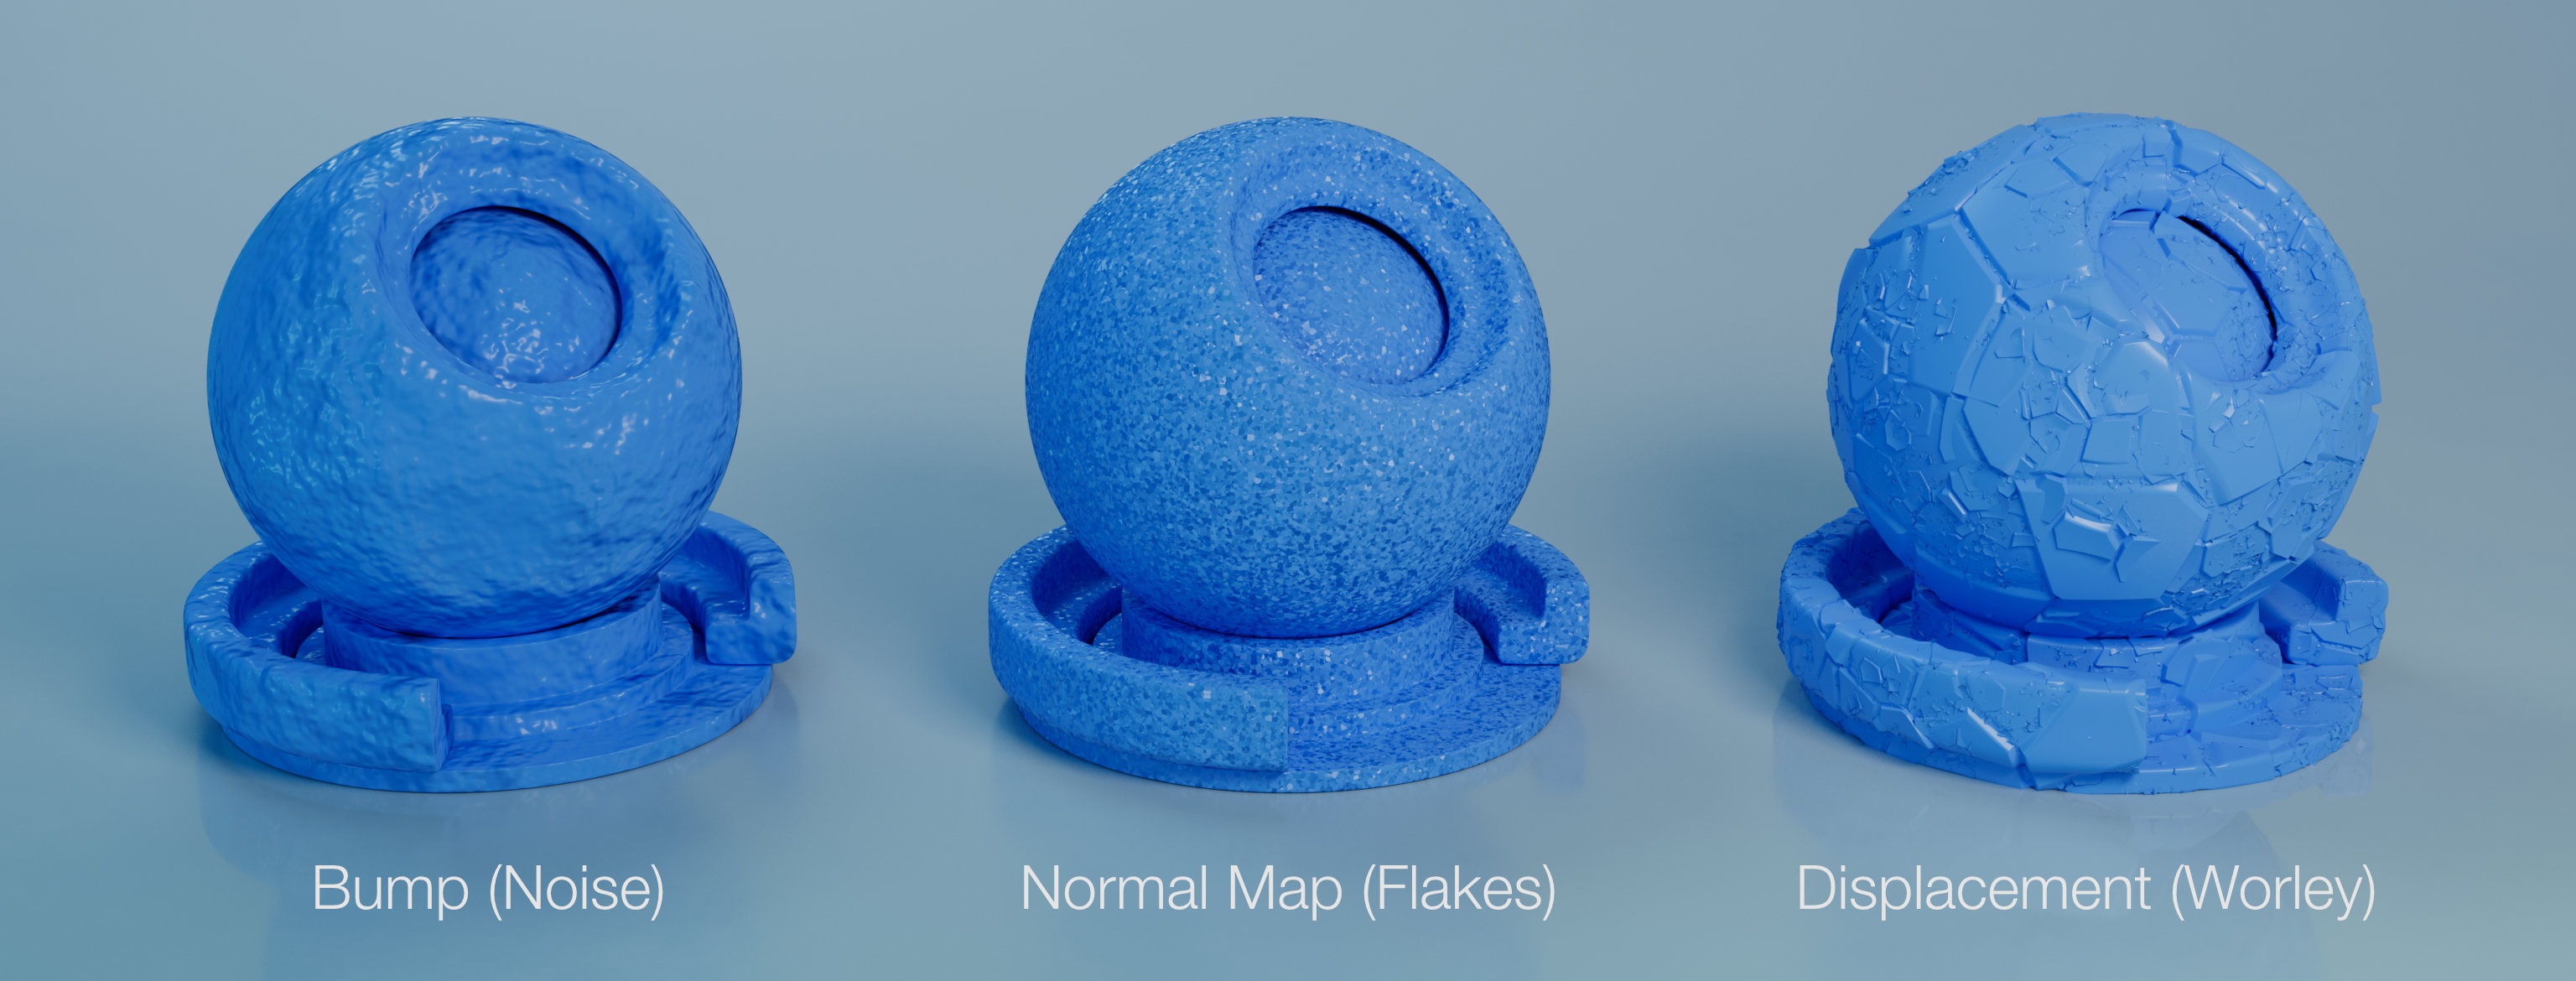
Specifies the type of mapping desired – Bump Map, Normal Map or Displacement Map. In the case of a Normal Map, a color is expected in as a value, it can be encoded in the style or DirectX or OpenGL. In case of Bump Map or Displacement Map the shader will only consider the R value. Displacement maps can be interpreted as having their center value (the one that produces no effect) at 0.0 or 0.5. Displacement is performed in Object Space, so the scale of the geometry affects its intensity. For more intuitive results, a value of 1 for the object scale is recommended. The Displacement bound used is 1, so the ideal range of values is from 0 to 1. Above 1, displacement cracks might occur. Below 1 it might be inefficient. To achieve displacements bigger that 1, using the Intensity control is recommended.
Value
A colour input specifying bump direction (Normal Map) or intensity (Bump Map / Displacement Map).
Intensity
Specifies how intense is the the bump/normal/displacement mapping effect. A value of 0 means that geometry or normals will stay unchanged whereas a value of one will affect them fully.
Layers Affected
Select to apply bump/normal mapping to the Coating, Base Layer or Both Layers (default). Has no effect when Type is set to Displacement Map.
Geometry |
|---|
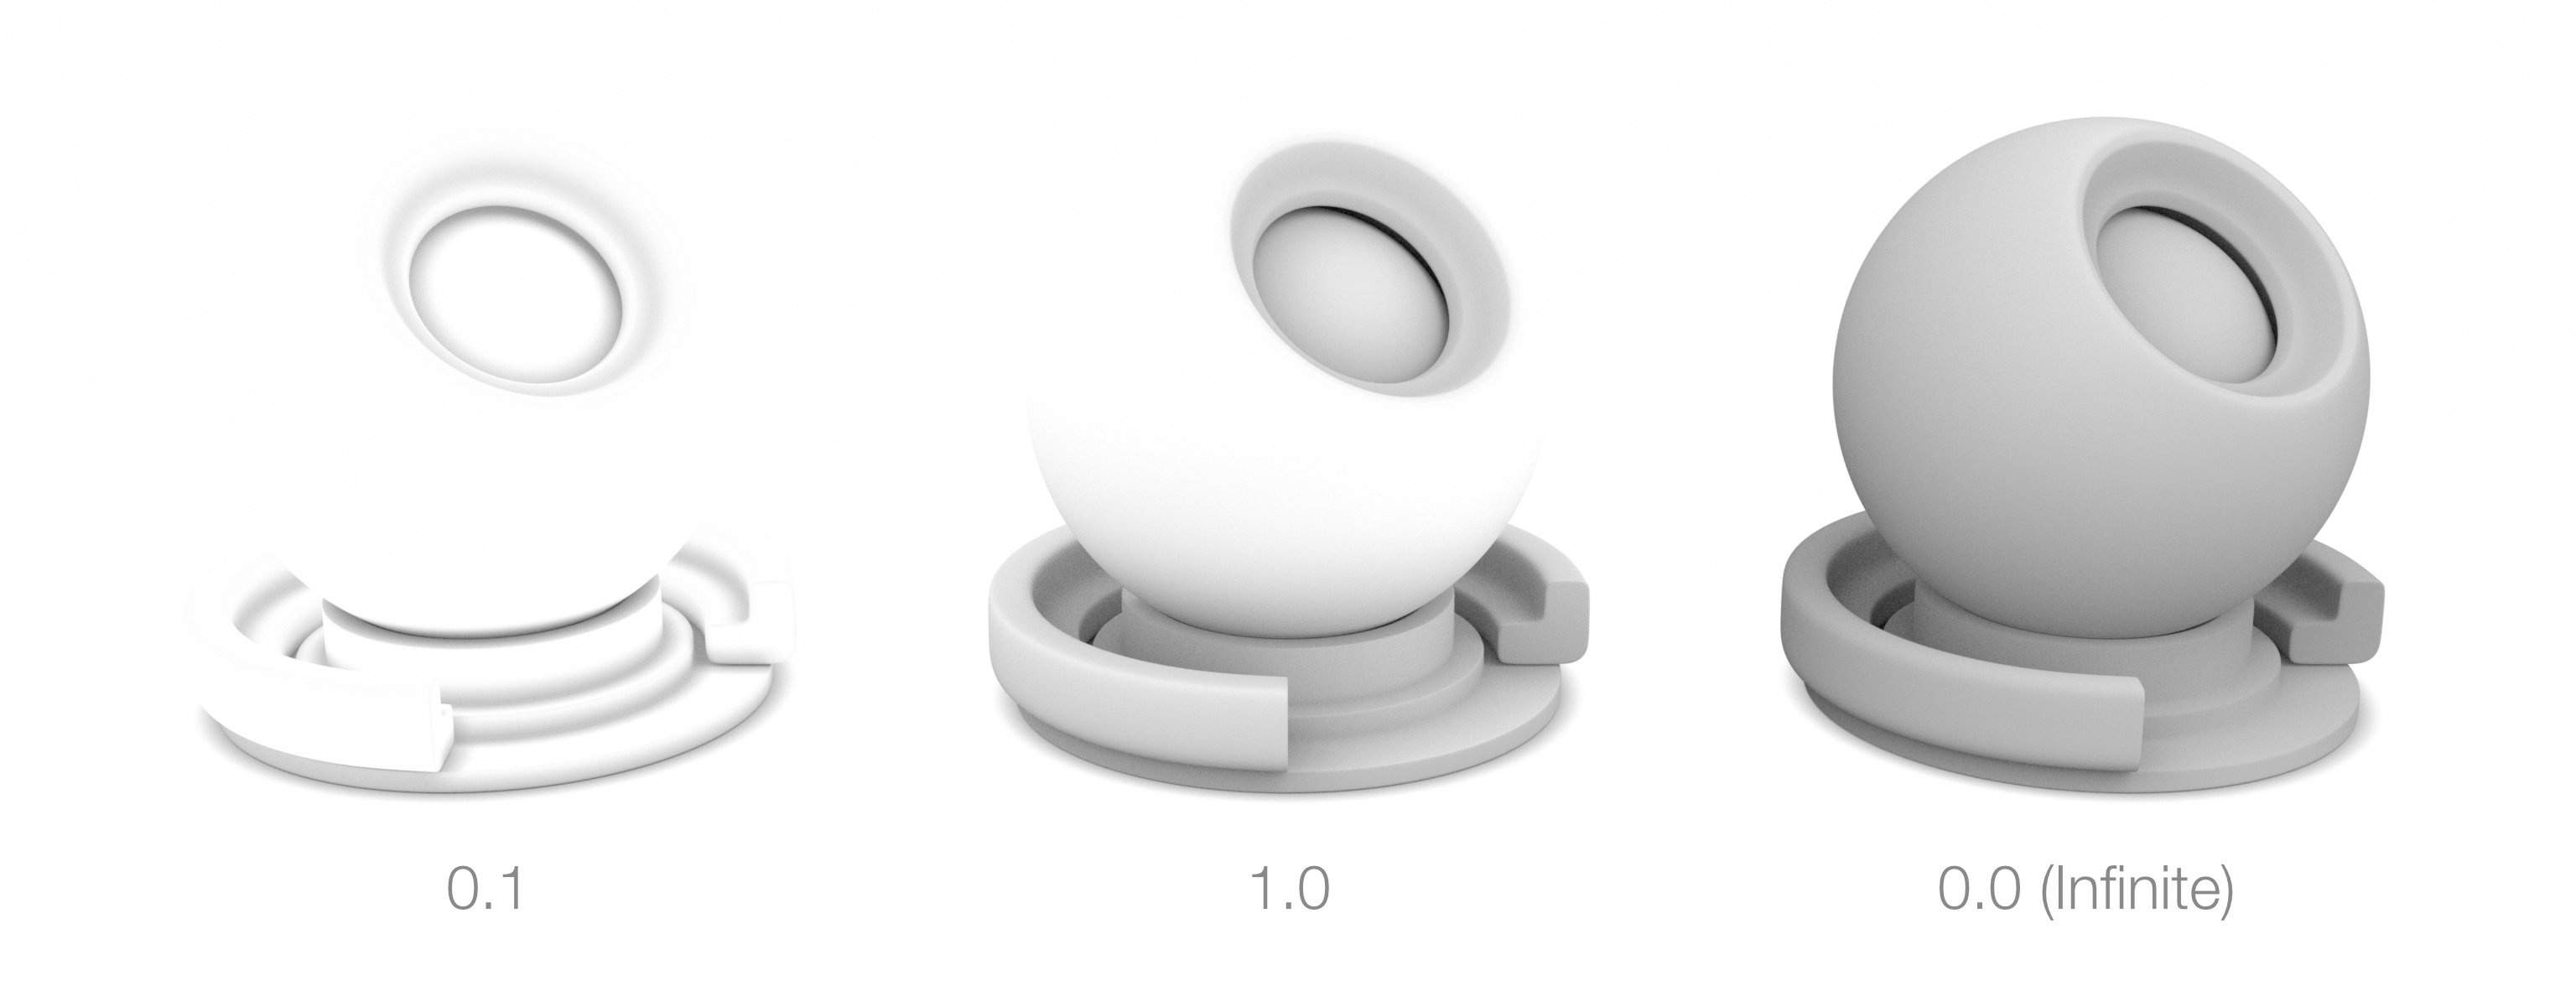
Occlusion Distance

