The Environment Light uses a user-specified image, often an high dynamic range one (HDRI), projected on an infinitely large sphere to light the scene.
Only one Environment Light may be rendered at a given time. An Environment Light and a Sky Light cannot be rendered together.
Creating an Environment Light
An environment light can be created in the GafferThree's Object table by right-clicking in the light list section and selecting Add → Environment Light, or by pressing the E key. Since they tend to interfere with object selection, environment lights are not shown in the Viewer.
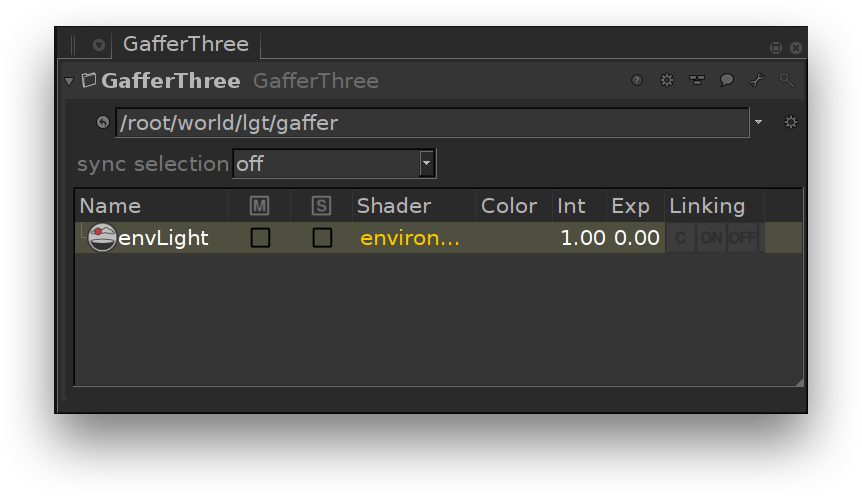
An environment light in the GafferThree node parameters.
Positioning an Environment Light
The environment light's transform can be edited in the Object tab. Only its rotation will have a visible effect in a rendered image.
Using an Environment Light as the Image Background
This can be enabled by turning on Visible to Camera in the Object tab. The contribution of the environment light to the image background can be adjusted by using the Background Contribution parameter in the Material tab (see below for details).
Controlling the Light from an Environment Light
The Material tab offers controls over several light parameters. The effect of these are explained and illustrated in the next sections.
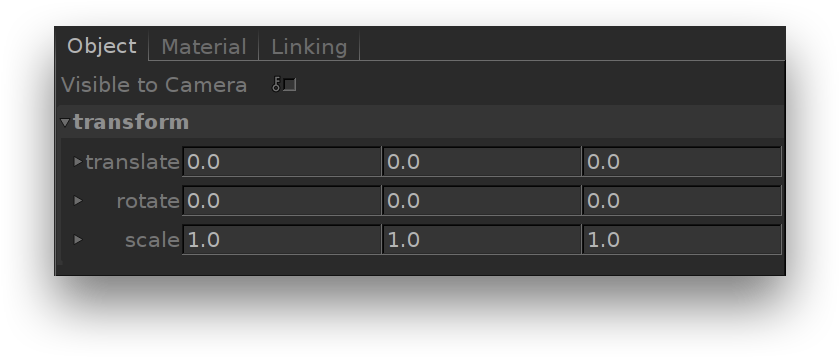
The Object tab of an environment light.
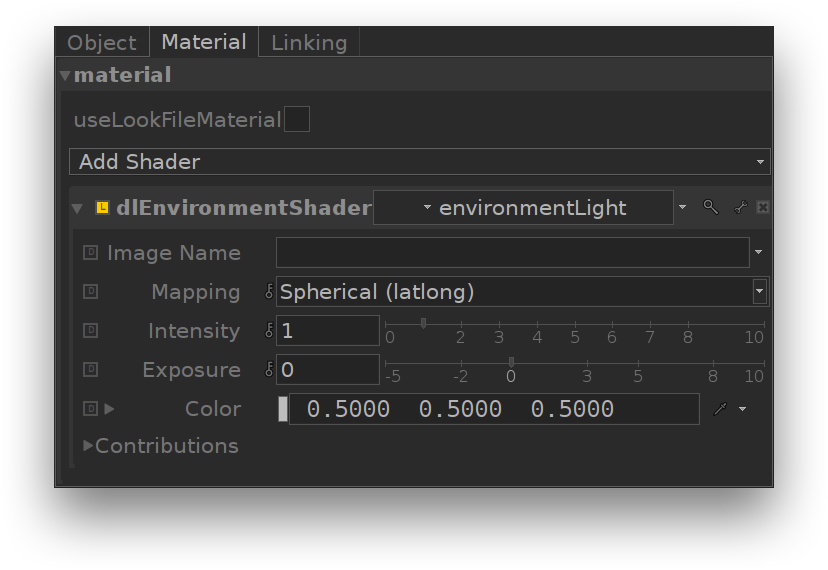
The Material tab of an environment light.
Color, Intensity and Exposure can be adjusted using their respective gadget in the GafferThree's object table. Exposure and Intensity can also be adjusted through 3Delight Display's Mixer for lights that have their own Mutli-Light image output.
Image Name Specifies the texture file to use as an environment map. Mapping Defines how the texture will be mapped on the environment sphere. The available options are: Color Defines the light color. Intensity Species the light intensity. Exposure This is an additional control over the standard light intensity. Exposure is in many cases a preferred control due to its likeness to photography. Final light intensity is thus computed by: It is sometimes useful to have a fine and direct control on how the light intensity affects various shading components. The following controls allows for that: Diffuse Contribution Specifies a multiplier for the light contribution to diffuse shading. Specular Contribution Specifies a multiplier for the light contribution to specular shading. Hair Contribution Specifies a multiplier for the light contribution to hair shading. Volume Contribution Specifies a multiplier for the light contribution to volumetric effects in atmosphere and OpenVDB volumes. A multiplier applied on the environment appearing in the rendered image background. This parameter has not effect unless the Visible to Camera parameter in the Object tab is turned on. Prelit The effect of the environment will be considered as already baked into objects with the "Prelit" compositing mode. This is used to implement Prelit Materials as described in Prelit materials: light transport for live-action elements in production rendering.Environment Light Texture
Value Description Spherical (latlong) Specifies a spherical mapping, generally used with regular environment maps. Angular Specifies an angular mapping, generally used with light probe images. Light Intensity and Color Controls
I = intensity * pow(2, exposure)Fine Tuning the Light Contribution to the Shading Components
Background Contribution