3Delight adds some attributes to Maya's geometry and transforms. These attributes allow to conveniently toggle 3Delight features on a per-object basis. To control some of these attributes on several objects at once, please refer to Set-Based Attributes.
For light-specific attributes, please refer to Lights & Light Filters.
Geometry Attributes
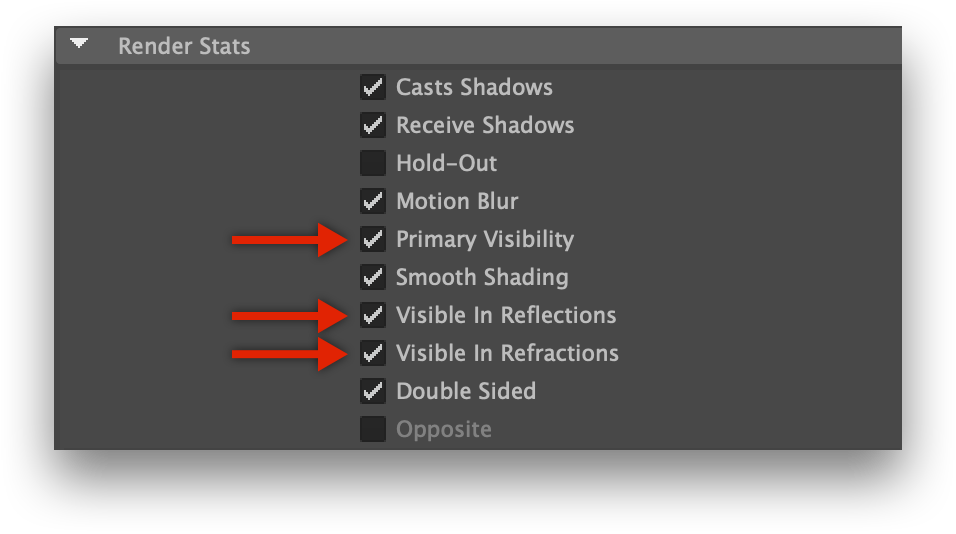
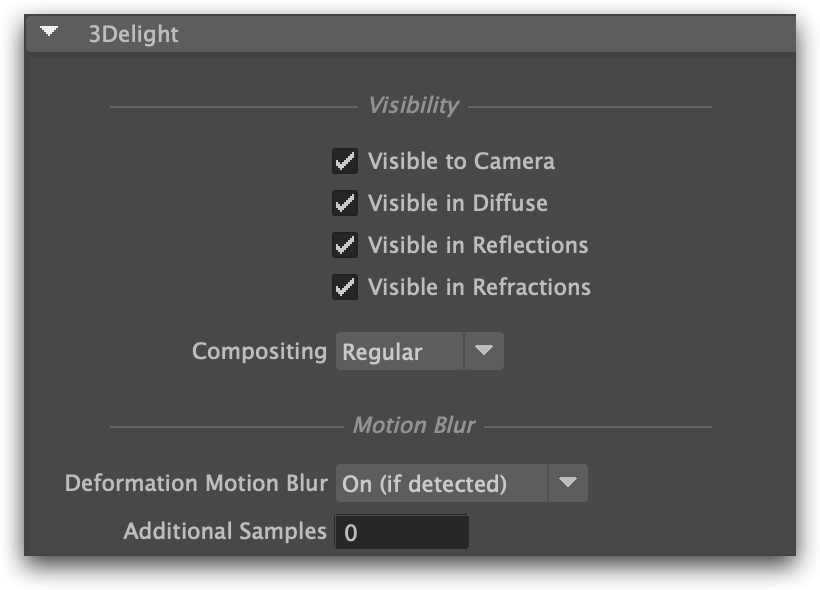
The supported Render Stats attributes and the 3Delight attributes on all renderable geometric objects.
Visible in Diffuse
Sets the visibility of the underlying object to diffuse ray types. Note that other kinds of visibility are controlled through the standard Maya's Render Stats. This includes Primary Visibility, Visible in Reflection and Visible in Refraction.
Object is Matte
Sets the object as a matte. The region covered by a matte object will be rendered with an alpha of 0.
Deformation Motion Blur
If motion blur is disabled in 3Delight's Quality render settings, no deformation blur will rendered regardless of the settings in this section. Note that 3Delight ignores the Motion Blur attribute in the Render Stats.
Sets deformation blur mode of operation for this object. It can be one of the following options:
| On (if detected) | 3Delight tries to detect if the geometry is deforming (particles, geometry with animated deformers). This is the suggested mode of operation since most objects in a scene are not deforming. |
| On (always) | Assume object is deforming and output geometry at each motion sample. This mode of operation will increase memory usage unduly if the geometry is in fact not deforming. |
| Off | Disables deformation blur for this object. This mode of operation is useful to increase performance in the case of geometry with barely noticeable deformation during the timespan of the images (per shutter exposure) of an animation. |
Additional Samples
By default, only two motion samples will be used to motion blur the deformation. This control allows using additional deformation samples for the geometry. This is necessary for geometry deformation with noticeable motion blur curvature within the image.
Mesh 3Delight Attributes
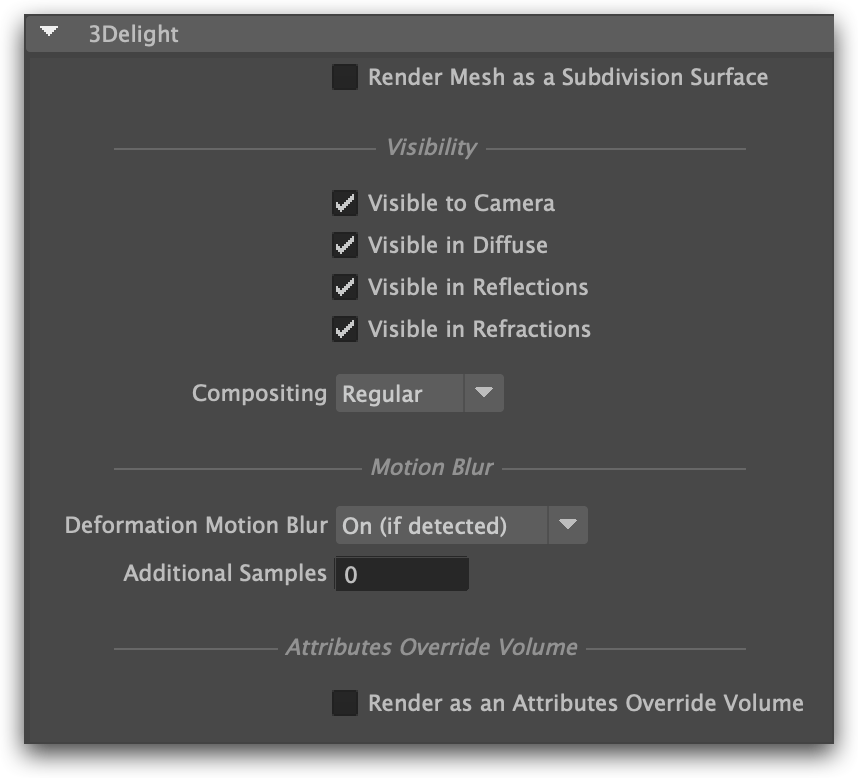
The following additional attribute is offered on polygonal mesh objects.
The 3Delight attributes on a mesh object.
Render Mesh as a Subdivision Surface
When on, the underlying object will be rendered as a smooth catmull-clark subdivision surface.
Curve 3Delight Attributes
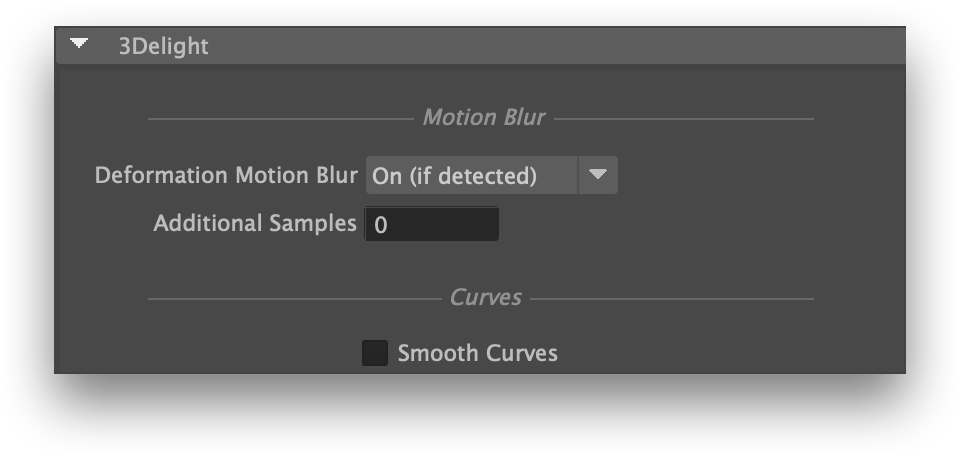
The following additional attribute is offered on curve objects, such as Hair Paint Effects or XGen Groomable Splines Description nodes.
The 3Delight attributes on a curve object.
Smooth Curves
When enabled, the curves are rendered as cubic splines. Depending on the number of segments of the curve and its rendered size, this may produce a smoother curve. When disabled, the curves are rendered as line segments, similar to how they are rendered in the viewport. This generally offers better performance with little visible difference unless the curves appear very large in the rendered image.
Transforms Attributes
The 3Delight attributes on a transform.
Additional Samples
Specifies how many additional motion samples 3Delight should use with rendering motion blur. These samples will be applied on the transforms and not on the objects themselves. For example, if you wish to have more accurate motion blur on rotating propeller, increase Additional Samples on the transform that is responsible of the rotation and not on the propeller's geometry.
If motion blur is disabled in 3Delight's Quality render settings, this attribute will have no effect. Note that 3Delight ignores the Motion Blur attribute in the Render Stats.
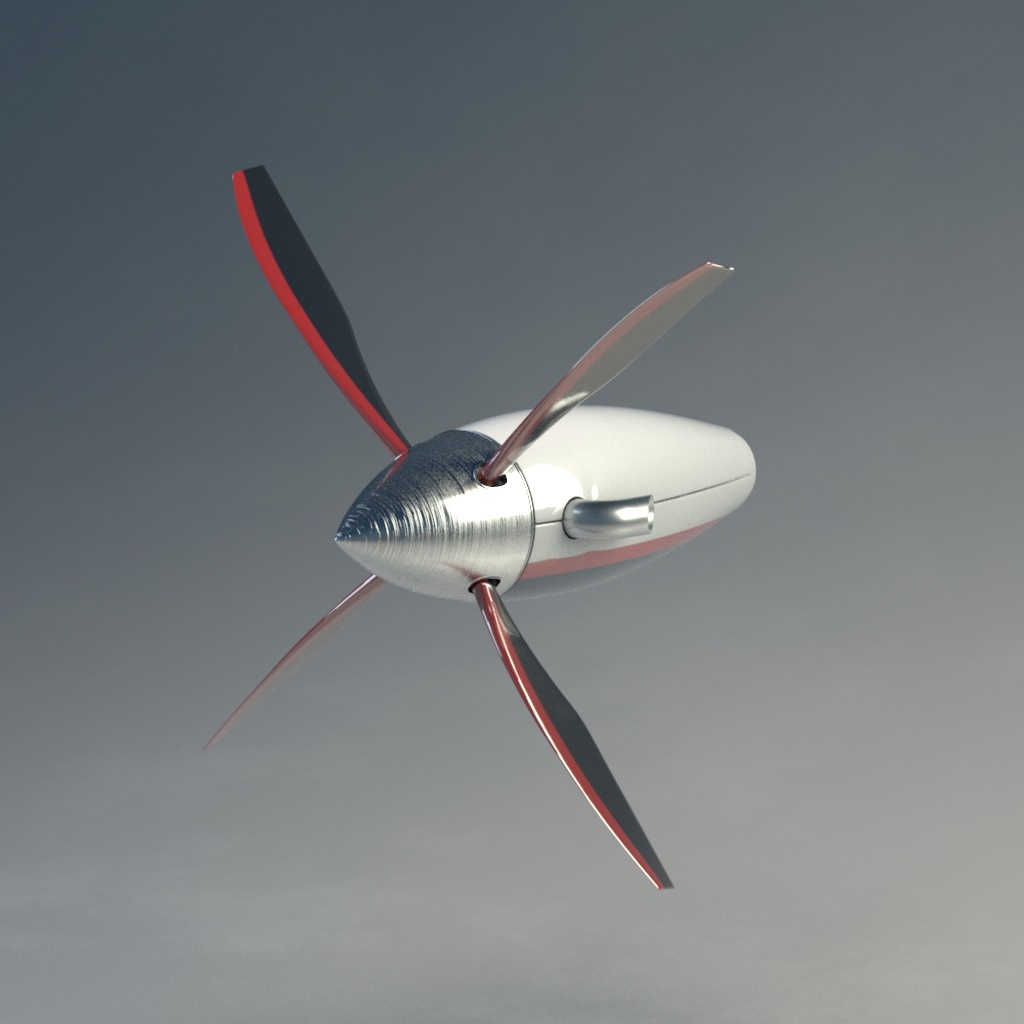
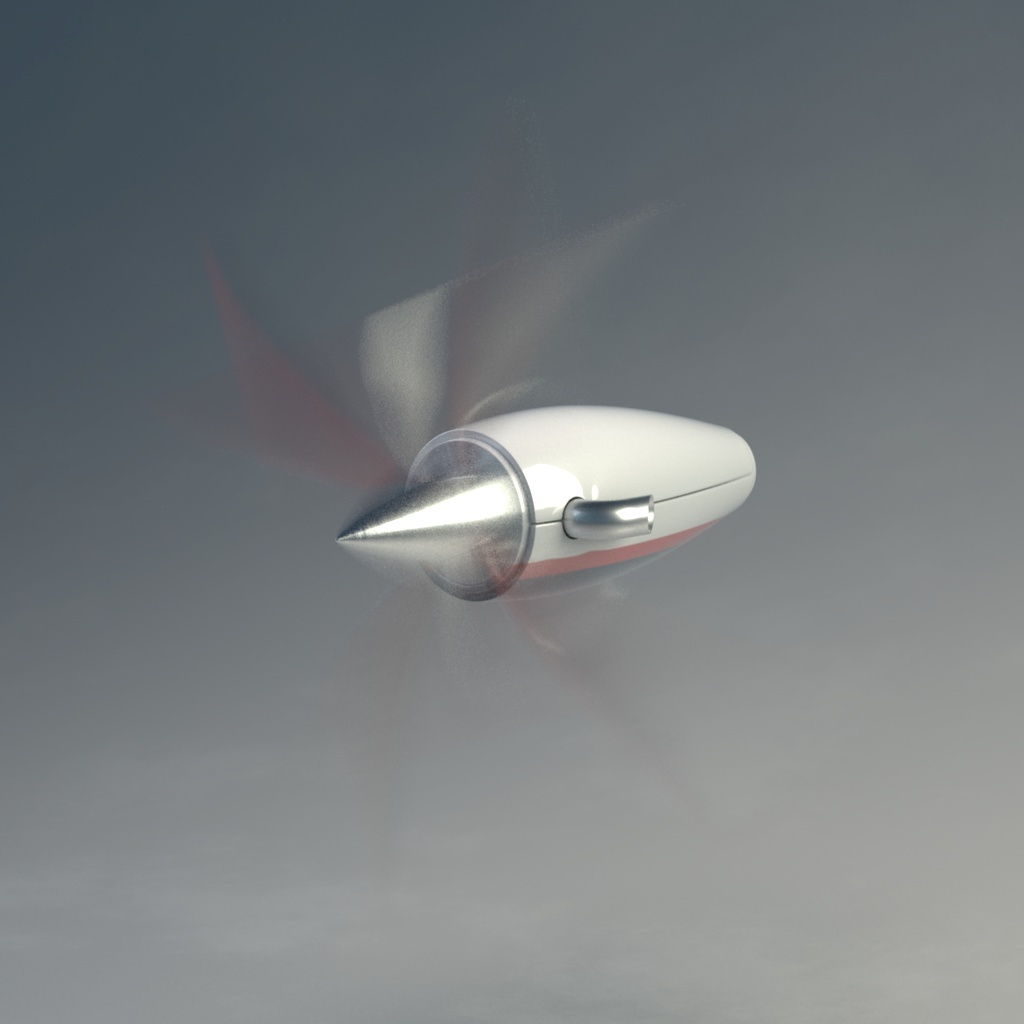
Here is the effect of motion blur on a propeller without the use of Additional Samples:
Motion Blur = Off
Additional Samples is ignored
Motion Blur = On
Additional Samples = 0
Total samples used = 2
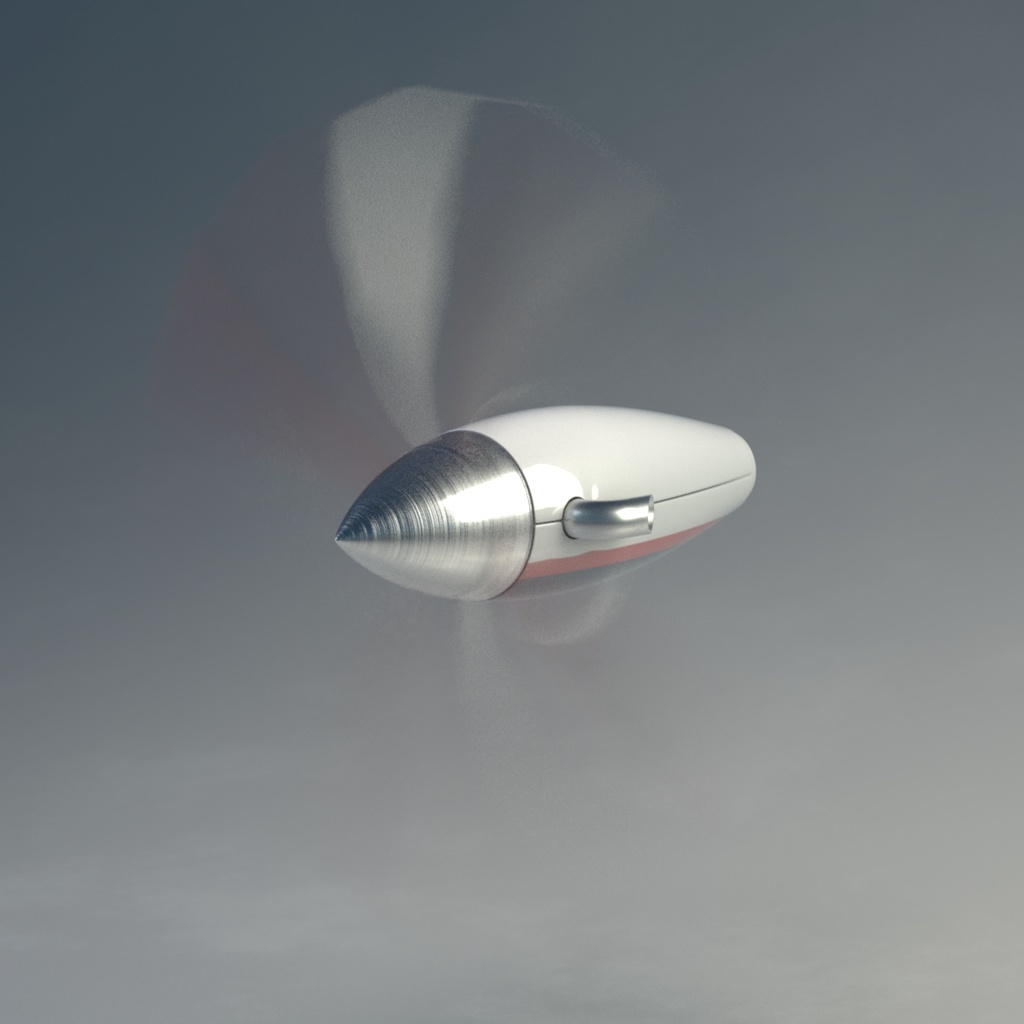
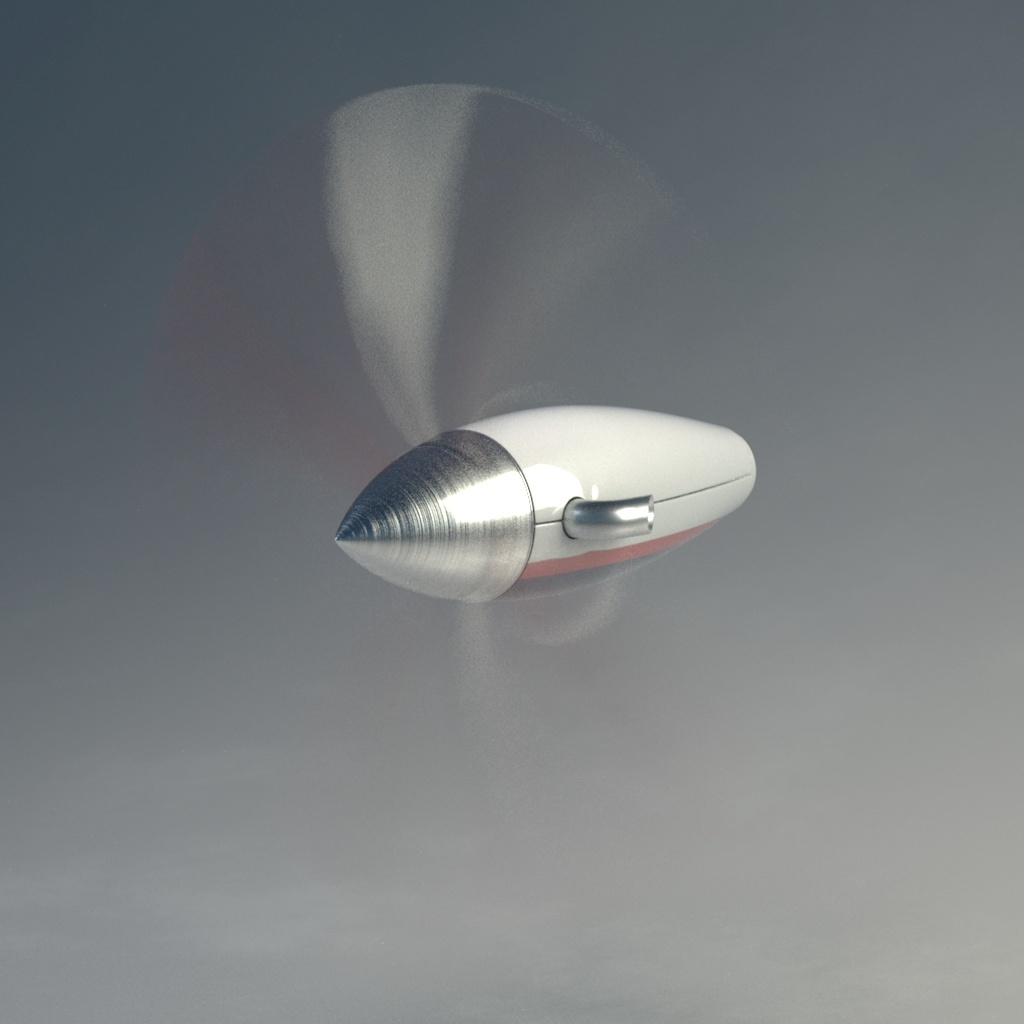
As can be seen in this example, more motion samples are necessary to accurately render the high curvature of the blur. Here is the result when using Additional Samples:
Motion Blur = On
Additional Samples = 4
Total samples used = 6
Motion Blur = On
Additional Samples = 30
Total samples used = 32
Displacement Shader Attributes
The 3Delight attributes on a displacement shader
Render as Bump
Transform displacements into bump. This is the recommended way of doing bump mapping as it is conceptually close to displacement mapping. Bump maps are more efficient to render but of lesser visually quality than displacement maps.
Displacement Bound
Specifies the displacement bound for the attached objects, which is the amount by which the bounding box of each object should be increased to include the displaced surfaces. Failure to provide the renderer with a decent value will result in shading artifacts (when the value is too small) or inefficiency (when the value is too large). Refer to this section for details about when you should bother to adjust this value, and how to figure that value. The default value is ‘1.0’.
Camera Attributes
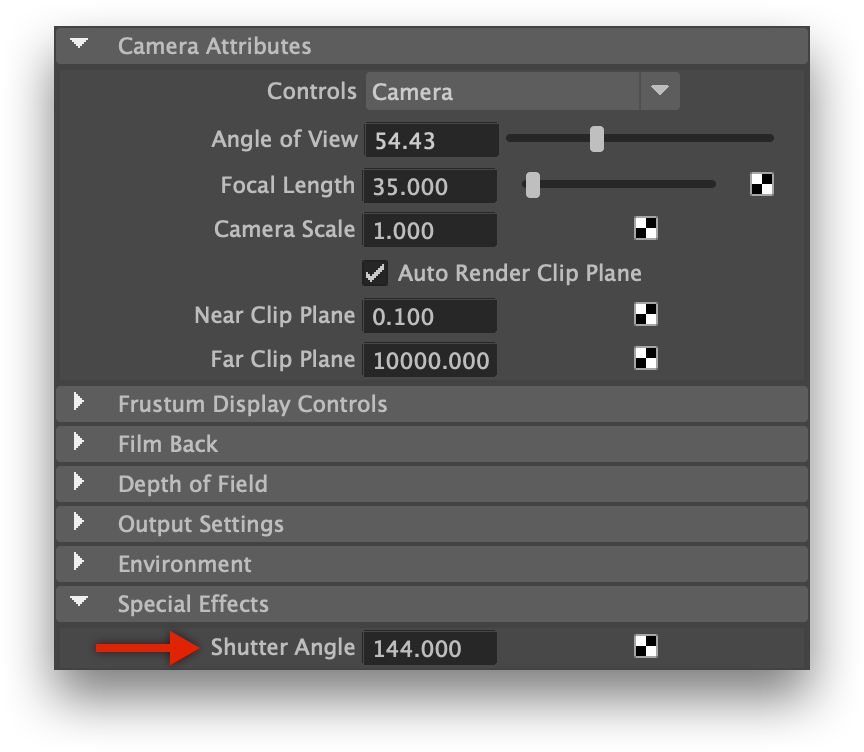
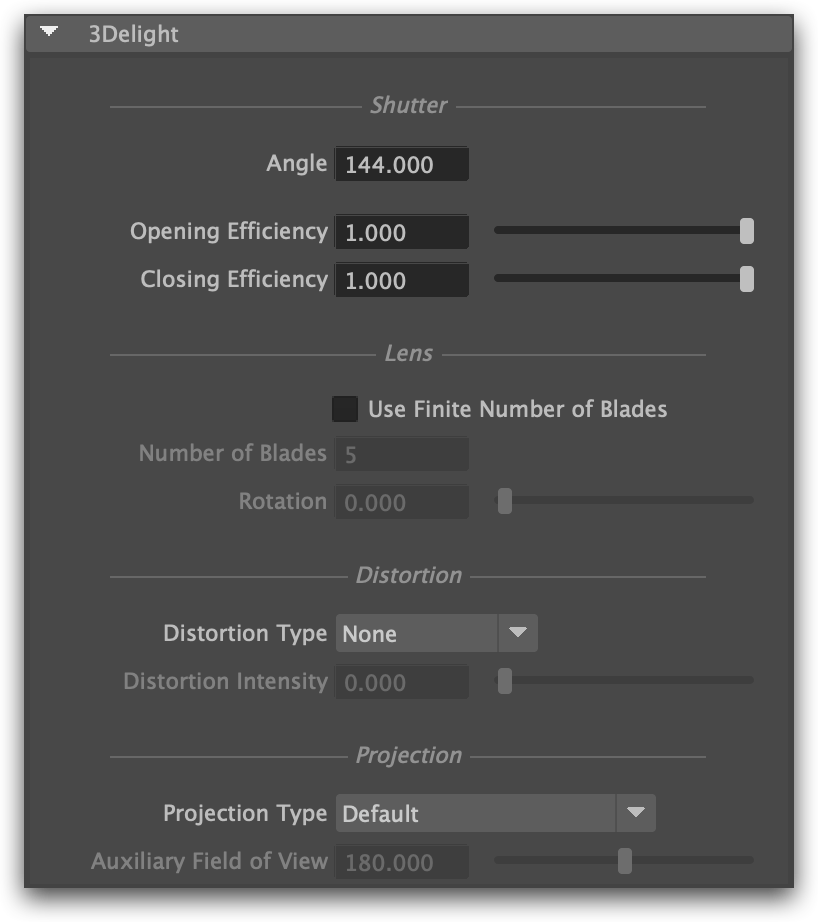
The camera shutter is defined by the Maya Shutter Angle and some of the 3Delight Camera Attributes.
Shutter
Shutter Angle The angle of the opening in a rotary shutter disc, in degrees. A value of 360 degrees means that the whole frame duration is used as the exposure time (this yields maximum motion blur). A value of 180 degrees means half the frame duration will be exposed for rendering (thus reducing the motion blur).
Shutter Opening Efficiency Sets how “efficient” the shutter of the camera is at opening and closing times. ‘1.0’ is maximum efficiency, meaning that the shutter of the camera opens instantaneously, and then closes instantaneously, which is a non-natural shutter. Lower values, such as the default value of ‘0.75’, will simulate slower opening camera shutter and produces softer motion blurs, closer to what is expected in real life cameras.
Shutter Closing Efficiency
Use Finite Number of Blades Turning this attribute on allows customization of the aperture shape using the following attributes. This attribute is off by default, which produces a perfectly round aperture. Number of Blades The aperture is shaped after a regular polygon; this attribute specifies how many sides this polygon has. This can also been seen as the number of blades of the diaphragm that controls the aperture. The minimum number of blades is 3, which produces triangular out-of-focus highlights. Rotation The angle of the rotation to apply on the aperture, in degrees.Lens Aperture
Projection
Projection Type
Several projection types are available. The possible values are detailed in a table below.
Option | Description |
|---|---|
| Default | A perspective projection, or an orthographic projection if the Orthographic Maya attribute is turned on |
Cylindrical | The vertical axis uses the projection specified by the standard Maya attribute (see Default above). |
Fisheye stereographic | A stereographic fisheye projection. Maintains angles. |
| Fisheye equidistant | An equidistant fisheye projection. Maintains angular distances. |
| Fisheye equisolid | An equisolid angle fisheye projection. Maintains surface relations. |
| Fisheye orthographic | An orthographic fisheye projection. Maintains planar illuminance. |
| Spherical | A latitude/longitude spherical projection. Implies a 360 degree field of view. |
Auxiliary Field of View
Specifies a field of view, in degrees. This is used for the following projection types:
| Projection Type | Auxiliary Field of View interpretation |
|---|---|
| Cylindrical | Specifies the horizontal field of view. The camera's Angle of View attribute specifies the vertical field of view. |
Fisheye stereographic Fisheye equidistant Fisheye equisolid Fisheye orthographic | Defines the field of view. Replaces the camera's Angle of View attribute, which is limited to a maximum value of 164.19 degrees. |
